> ## Documentation Index
> Fetch the complete documentation index at: https://docs.insighto.ai/llms.txt
> Use this file to discover all available pages before exploring further.
# Build Your First Chat Agent
Build a simple Chat assistant and deploy it on your website either using HTML iframe or Chat type Widget.\
No knowledge base or tools for now — just a quick way to get started.
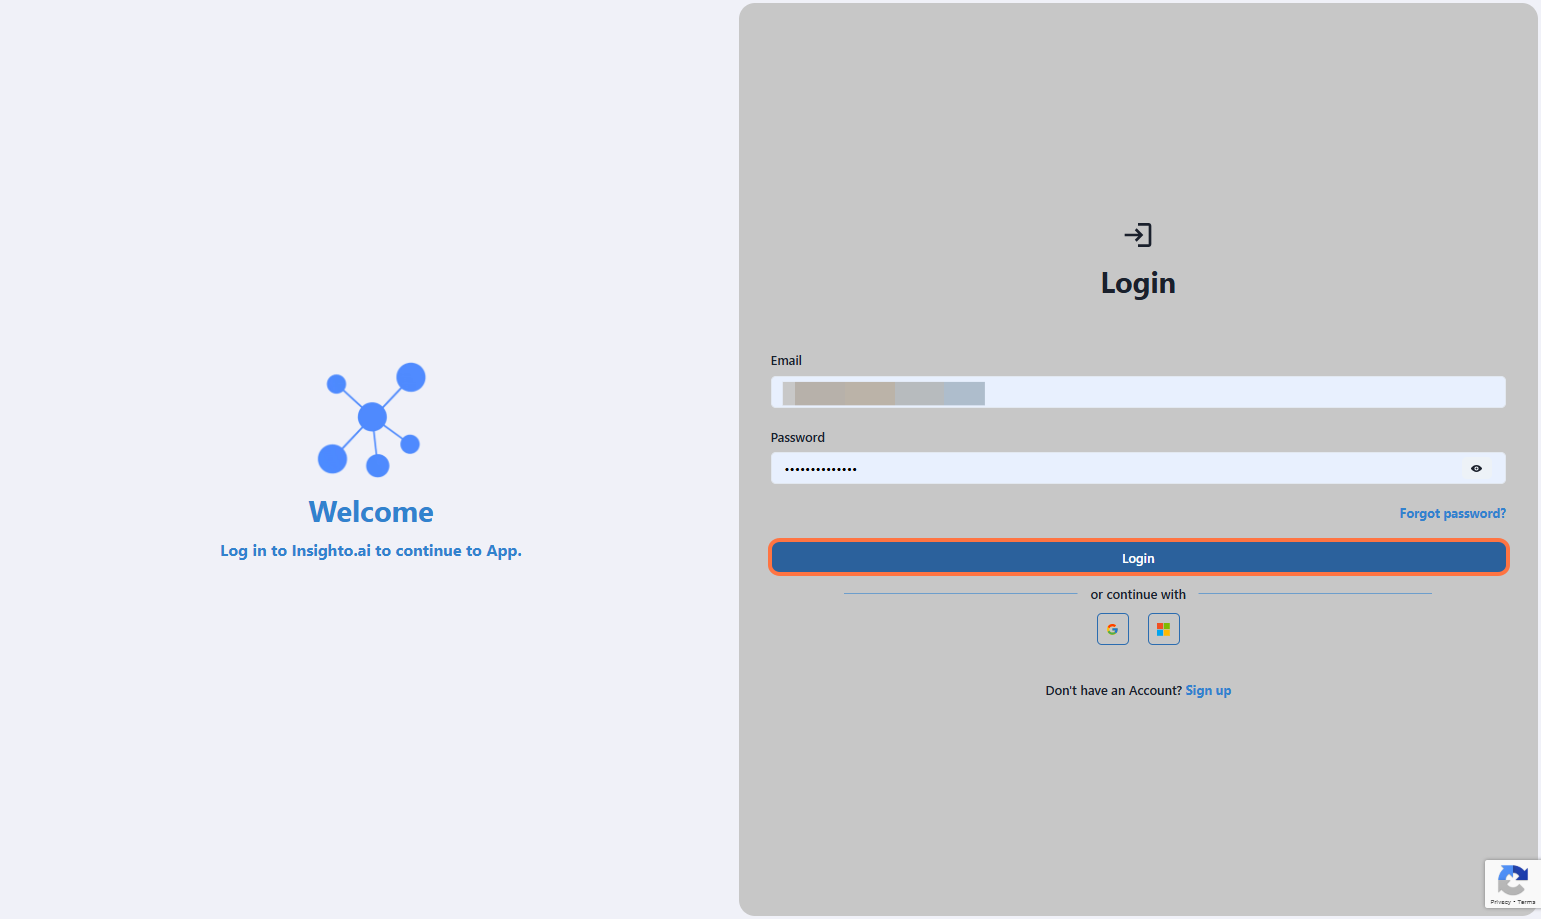
1. Log in to your Insighto.ai account.
 ***
## Start with Creating Assistant
***
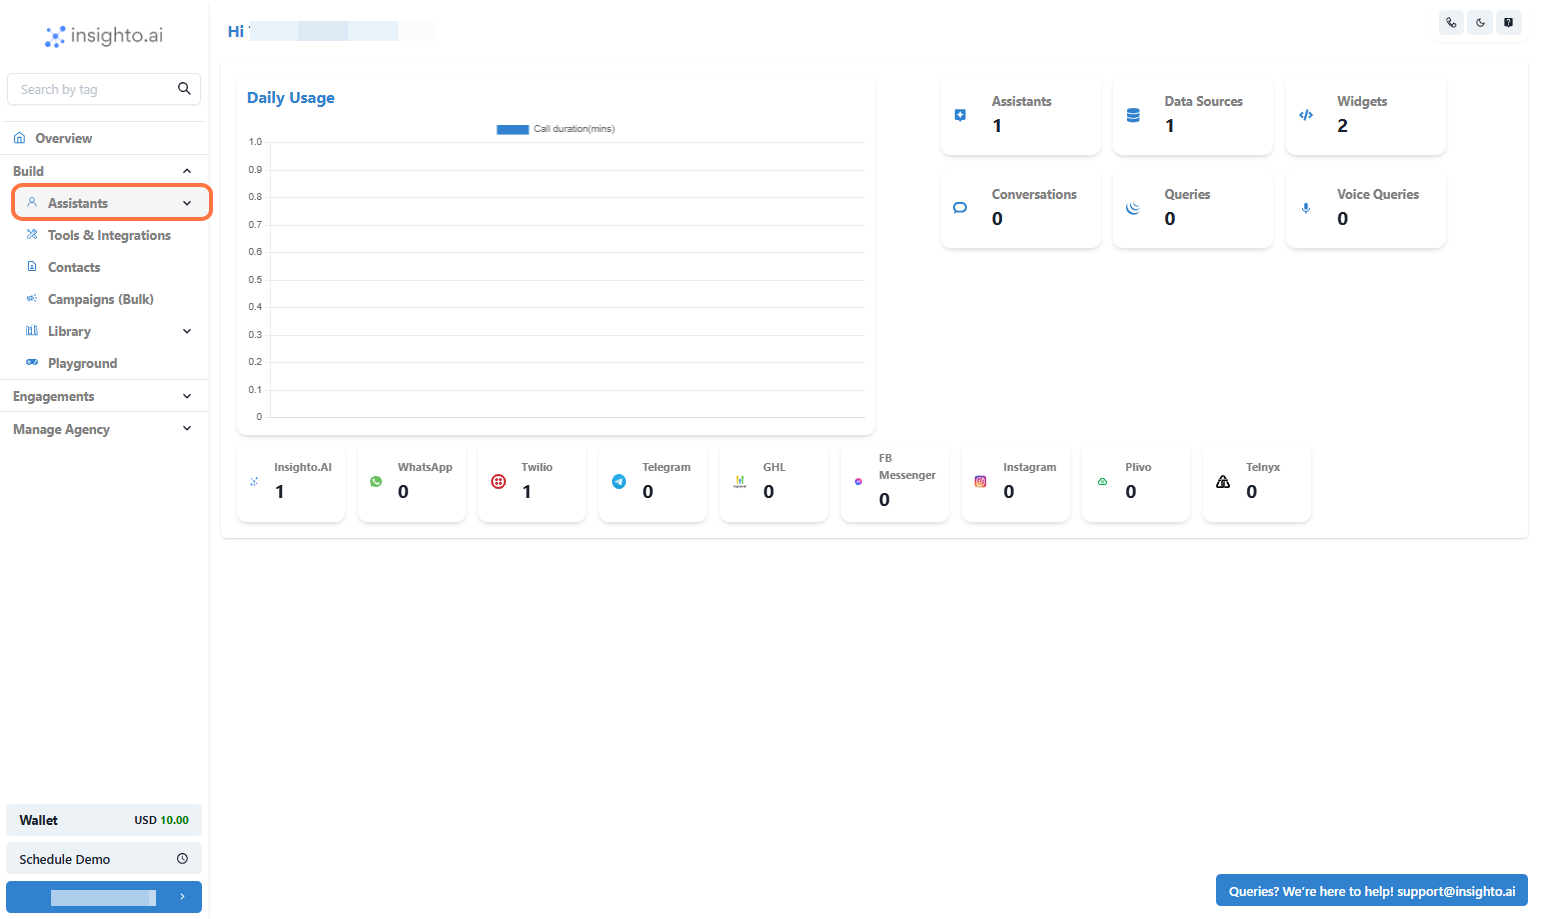
2. From the left panel, click on Assistants.
***
## Start with Creating Assistant
***
2. From the left panel, click on Assistants.
 ***
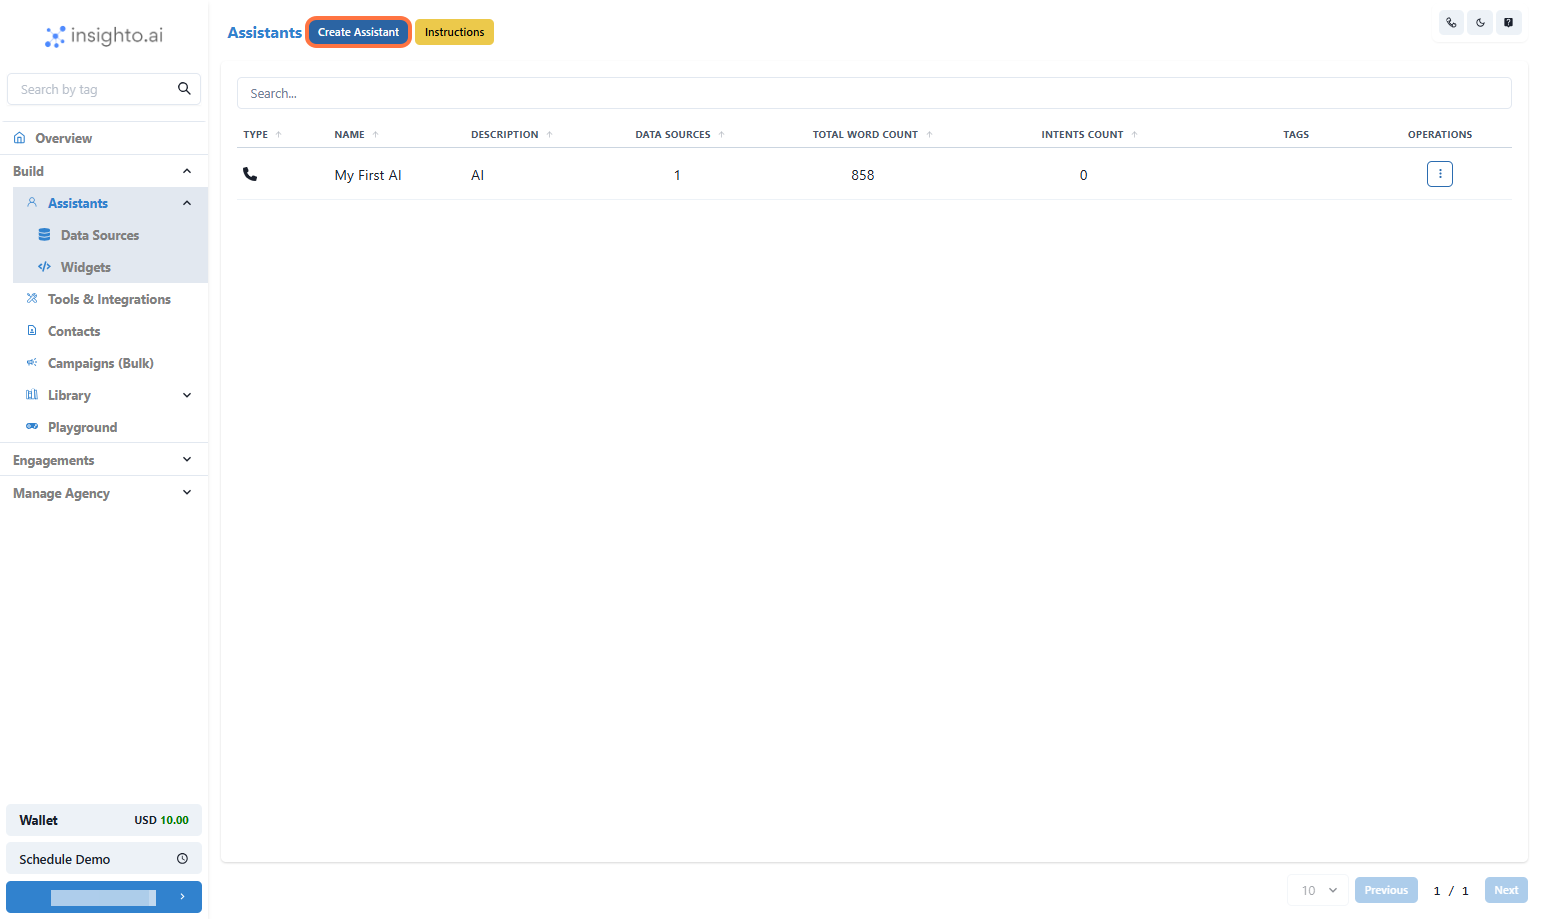
3. Click the "Create Assistant" button
***
3. Click the "Create Assistant" button
 ***
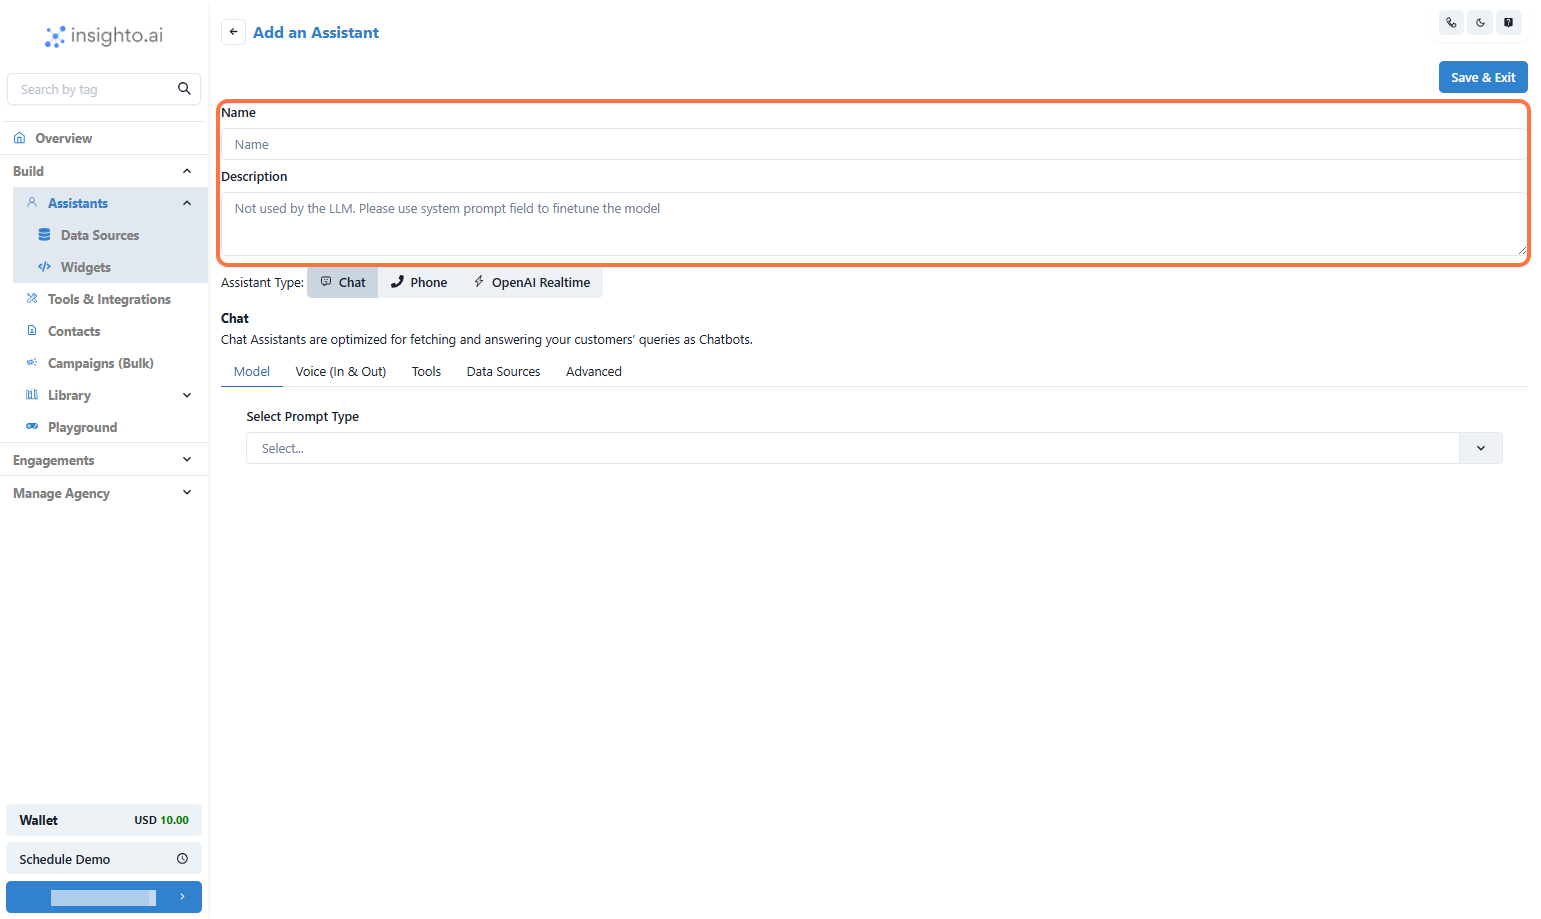
4. Enter a name & Description for your assistant.
***
4. Enter a name & Description for your assistant.
 ***
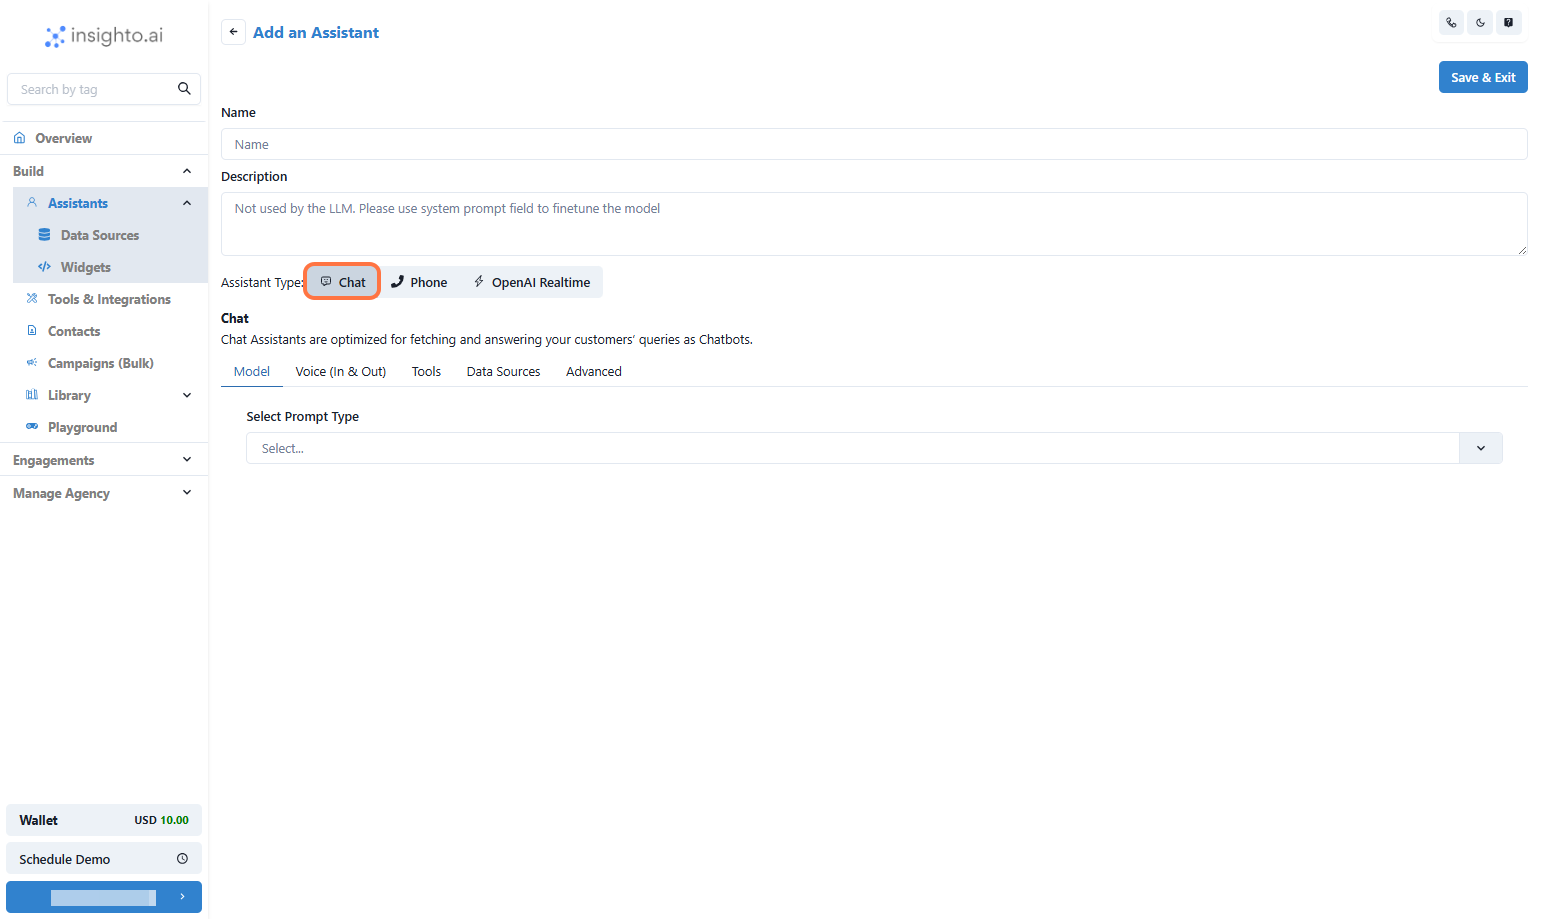
5. Set the Assistant Type to Chat
***
5. Set the Assistant Type to Chat
 ***
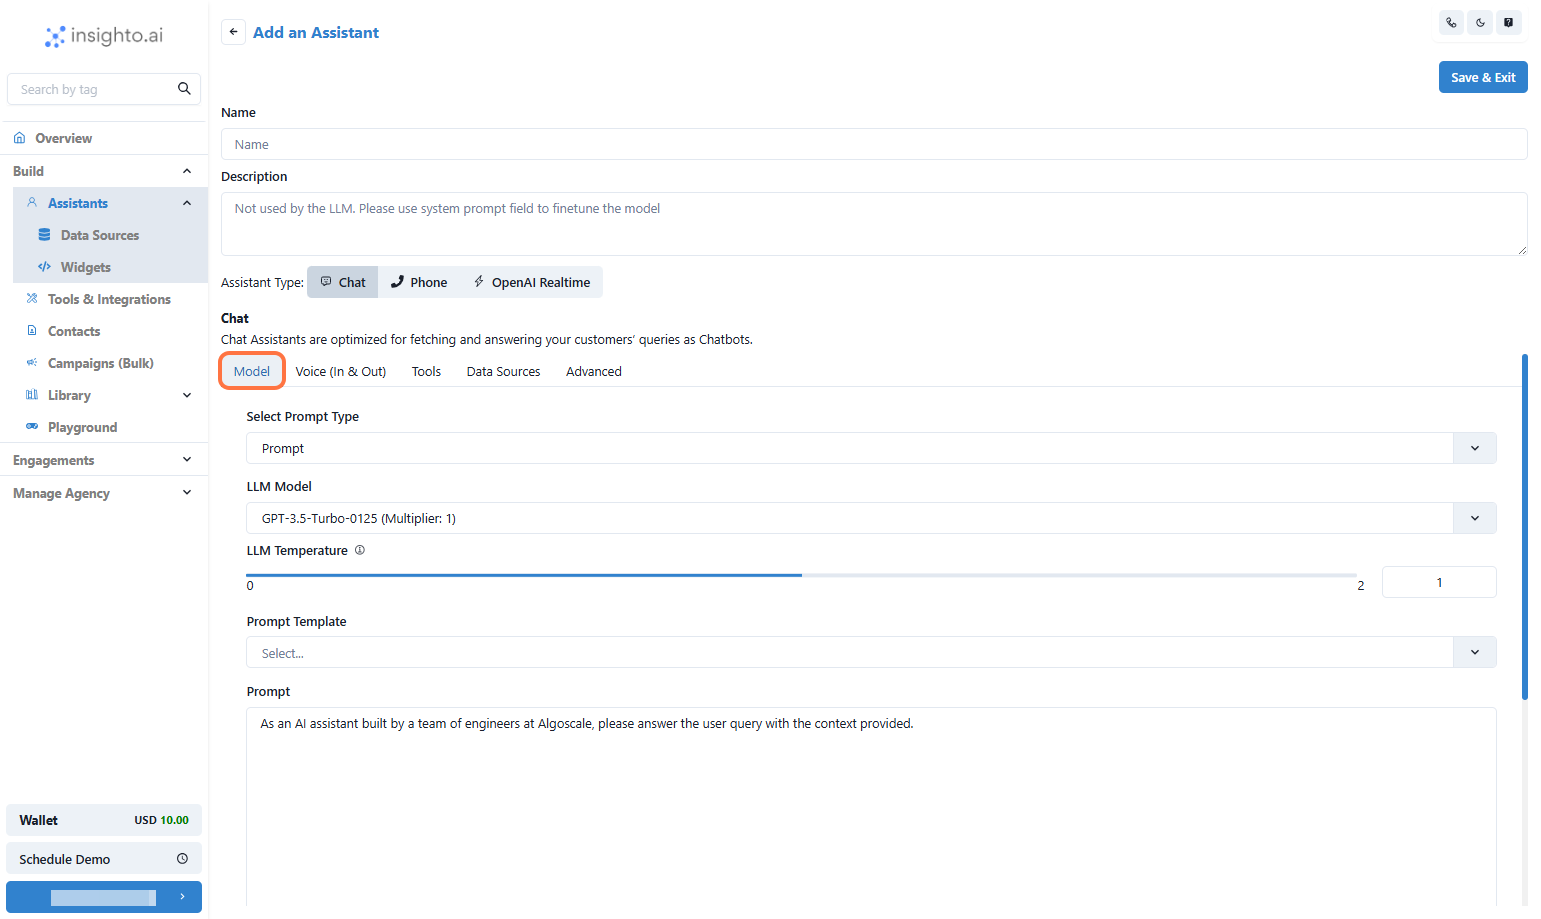
6. Go to Model Tab
Under this, the assistant is set to Prompt by default.
The default LLM is GPT-3.5, but you can choose another model from the dropdown.
Adjust the temperature if needed (higher = more creative, lower = more precise).
In the Prompt box, enter a simple instruction like:
> “Greet the user and ask how you can assist them today.” or Add your prompt according to use-case.
💡 You can update this prompt anytime based on your assistant’s role.
***
6. Go to Model Tab
Under this, the assistant is set to Prompt by default.
The default LLM is GPT-3.5, but you can choose another model from the dropdown.
Adjust the temperature if needed (higher = more creative, lower = more precise).
In the Prompt box, enter a simple instruction like:
> “Greet the user and ask how you can assist them today.” or Add your prompt according to use-case.
💡 You can update this prompt anytime based on your assistant’s role.
 ***
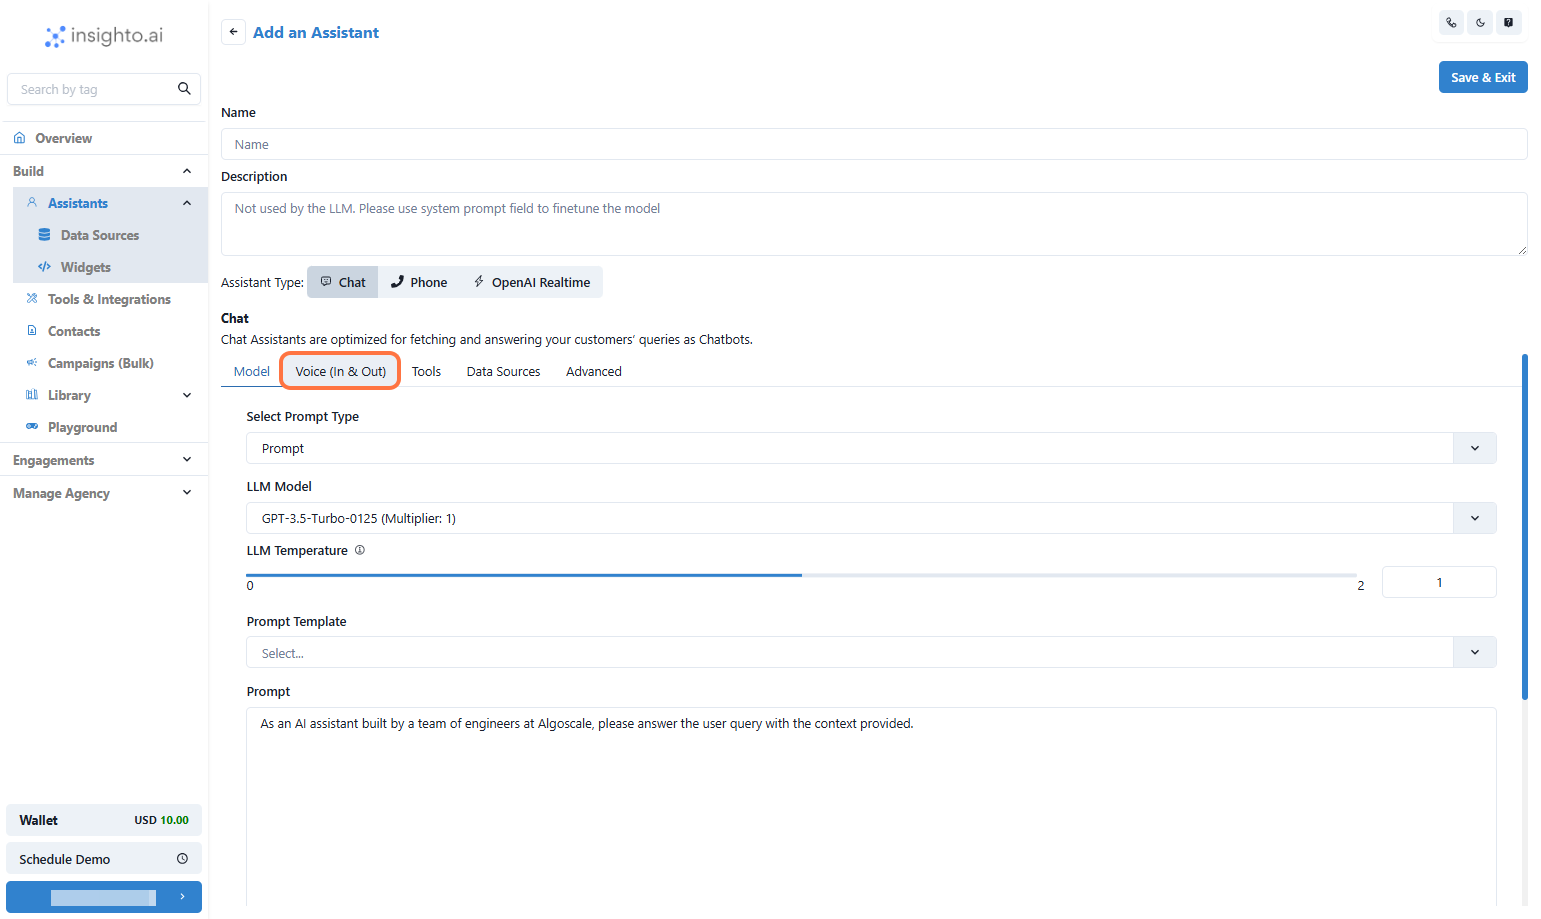
7. Click on Voice Tab
***
7. Click on Voice Tab
 ***
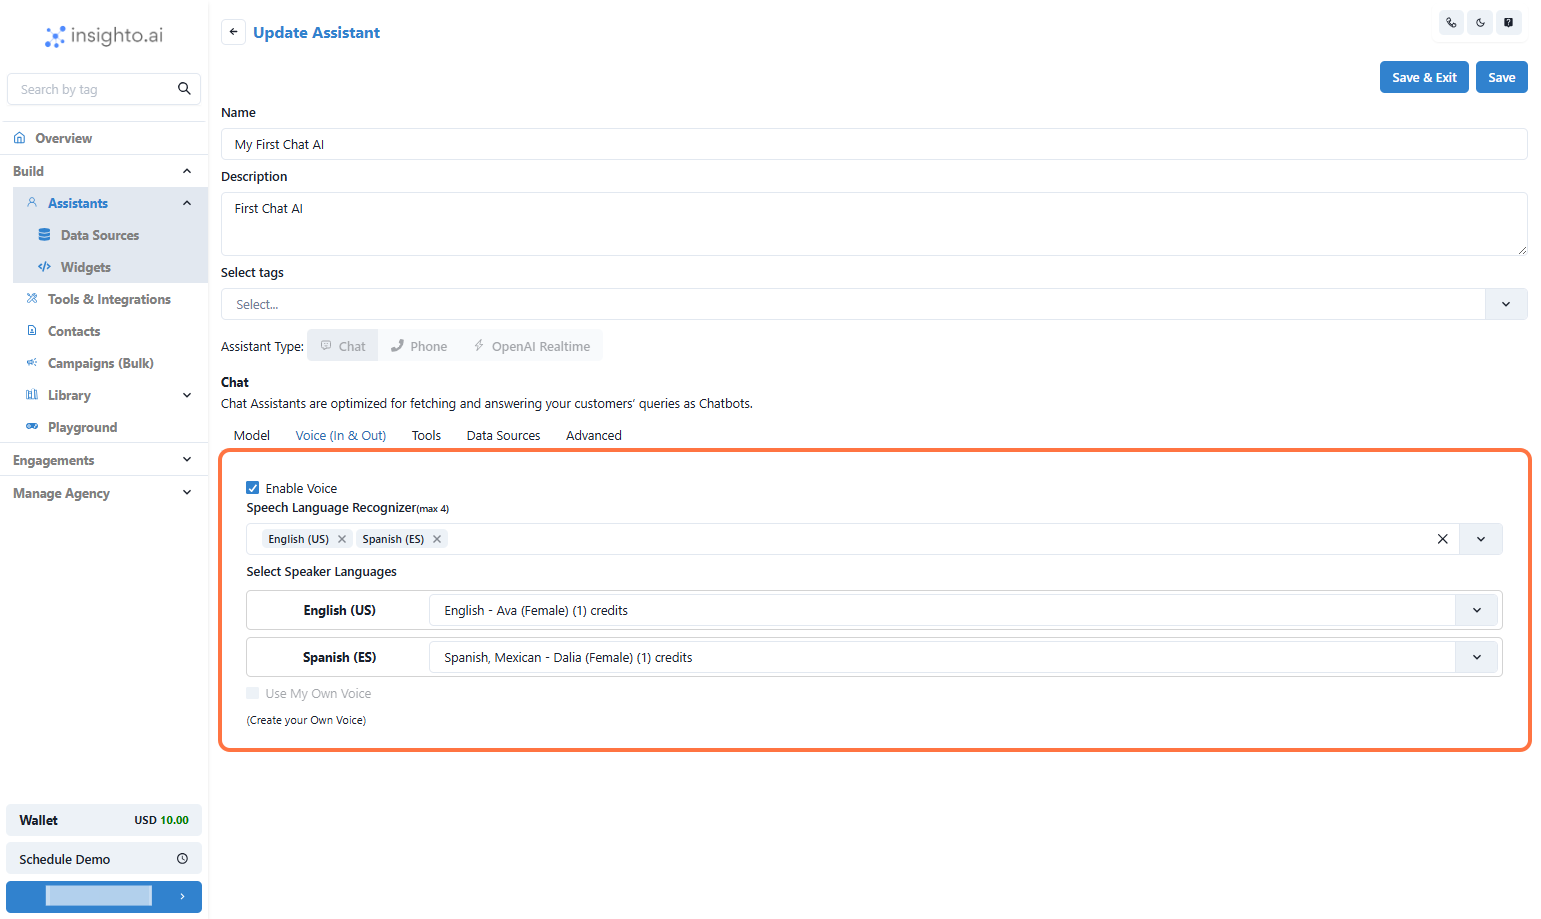
8. Enable Voice for Your Chatbot
Add a human-like touch to your chatbot by enabling voice interaction! This feature allows users to speak their queries instead of typing—and receive spoken responses from the bot in return.
✅ **What You Can Do in This Step**:\
**Select Supported Languages (Max 4)**\
From the dropdown menu, choose up to 4 languages that your chatbot will support for both speech recognition (input) and voice response (output).
**Choose AI Voices for Each Language**\
For each selected language, pick the AI voice profile your bot will use when speaking responses. These voices are pre-trained for natural tone and clarity, ensuring a smooth user experience.
🛠 **Example**:\
If you select Arabic, English, Hindi, and French, your bot will:
* Understand queries spoken in any of these languages.
* Reply in the same language using the chosen AI voice.
💡 **Tip**: Make sure to select voices that best align with your brand's tone—formal, friendly, professional, etc.
***
8. Enable Voice for Your Chatbot
Add a human-like touch to your chatbot by enabling voice interaction! This feature allows users to speak their queries instead of typing—and receive spoken responses from the bot in return.
✅ **What You Can Do in This Step**:\
**Select Supported Languages (Max 4)**\
From the dropdown menu, choose up to 4 languages that your chatbot will support for both speech recognition (input) and voice response (output).
**Choose AI Voices for Each Language**\
For each selected language, pick the AI voice profile your bot will use when speaking responses. These voices are pre-trained for natural tone and clarity, ensuring a smooth user experience.
🛠 **Example**:\
If you select Arabic, English, Hindi, and French, your bot will:
* Understand queries spoken in any of these languages.
* Reply in the same language using the chosen AI voice.
💡 **Tip**: Make sure to select voices that best align with your brand's tone—formal, friendly, professional, etc.
 ***
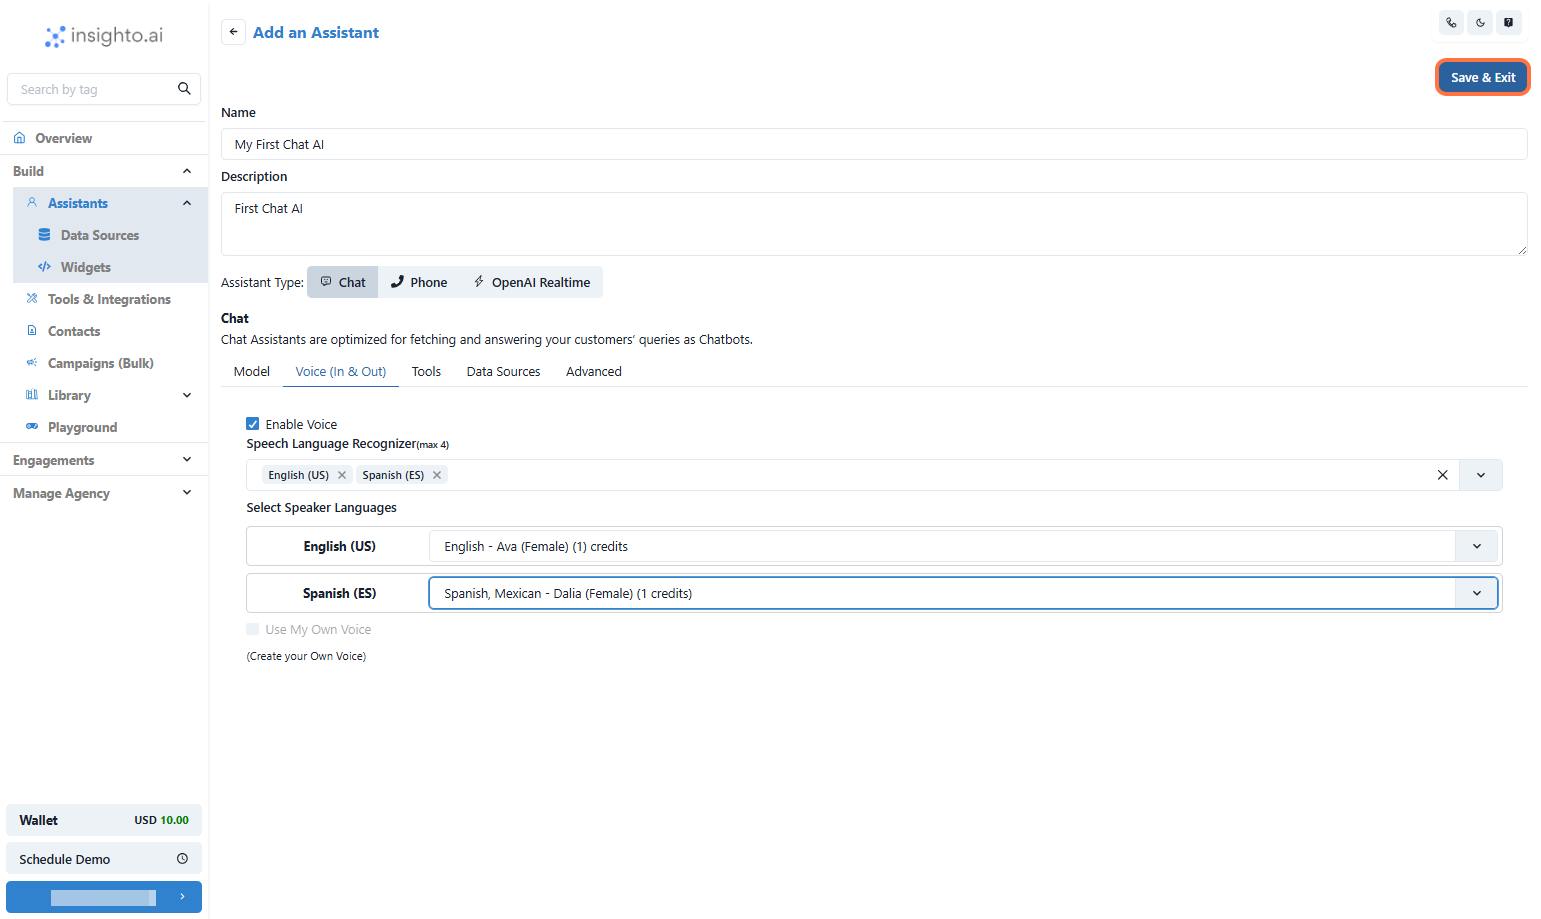
9. Click on Save & Exit
***
9. Click on Save & Exit
 ***
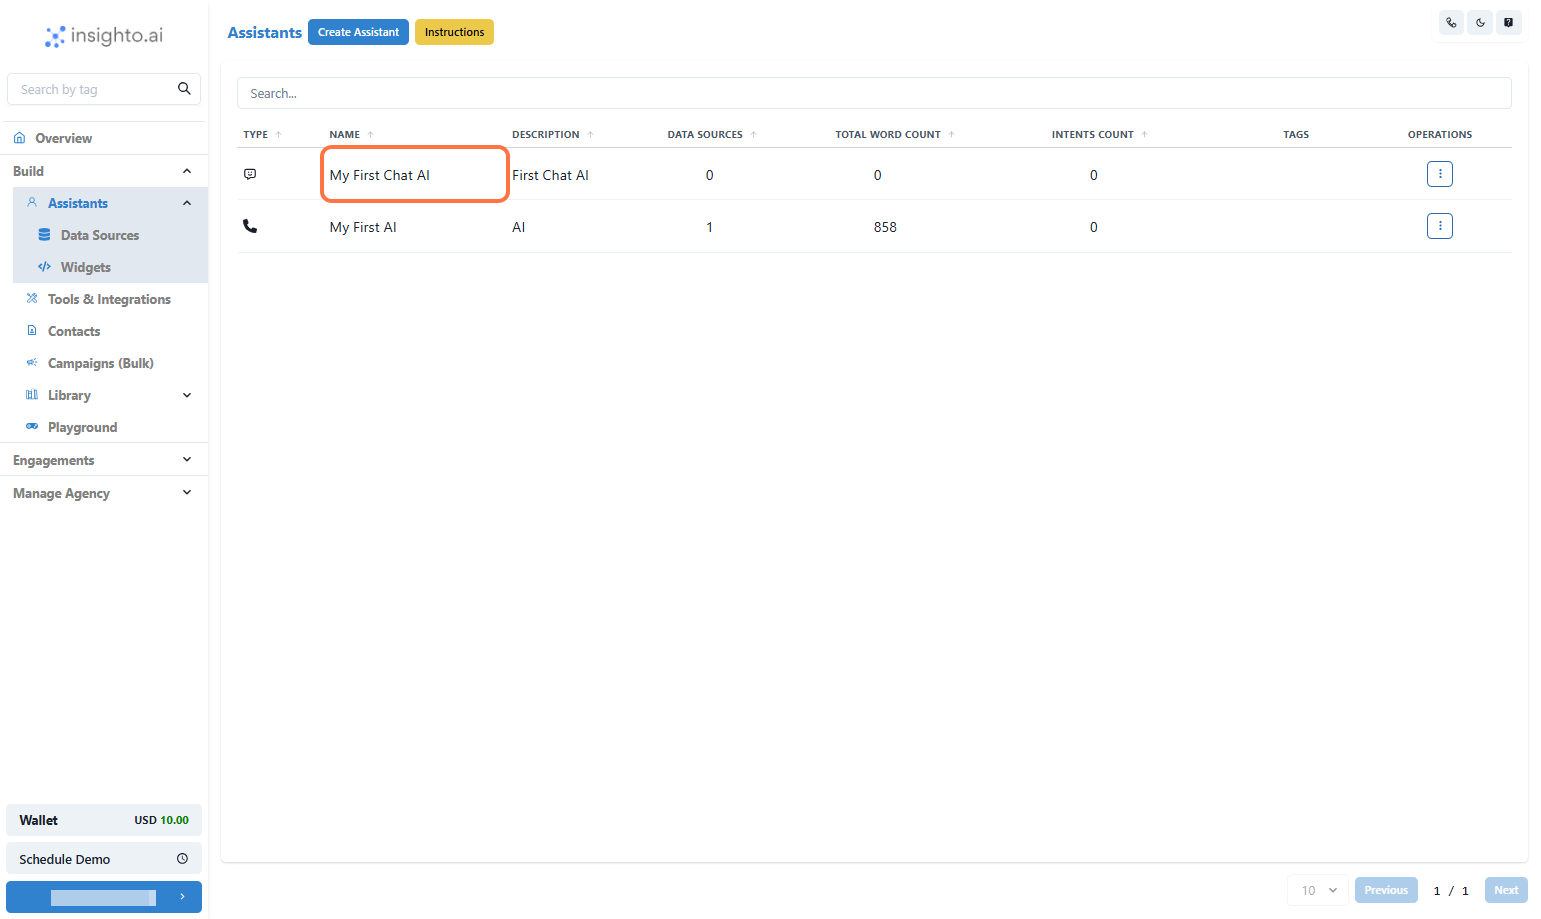
10. 🎉 Congratulations!\
Your first AI Chat assistant is now configured
***
10. 🎉 Congratulations!\
Your first AI Chat assistant is now configured
 ***
# Creating a Widget
***
# Creating a Widget
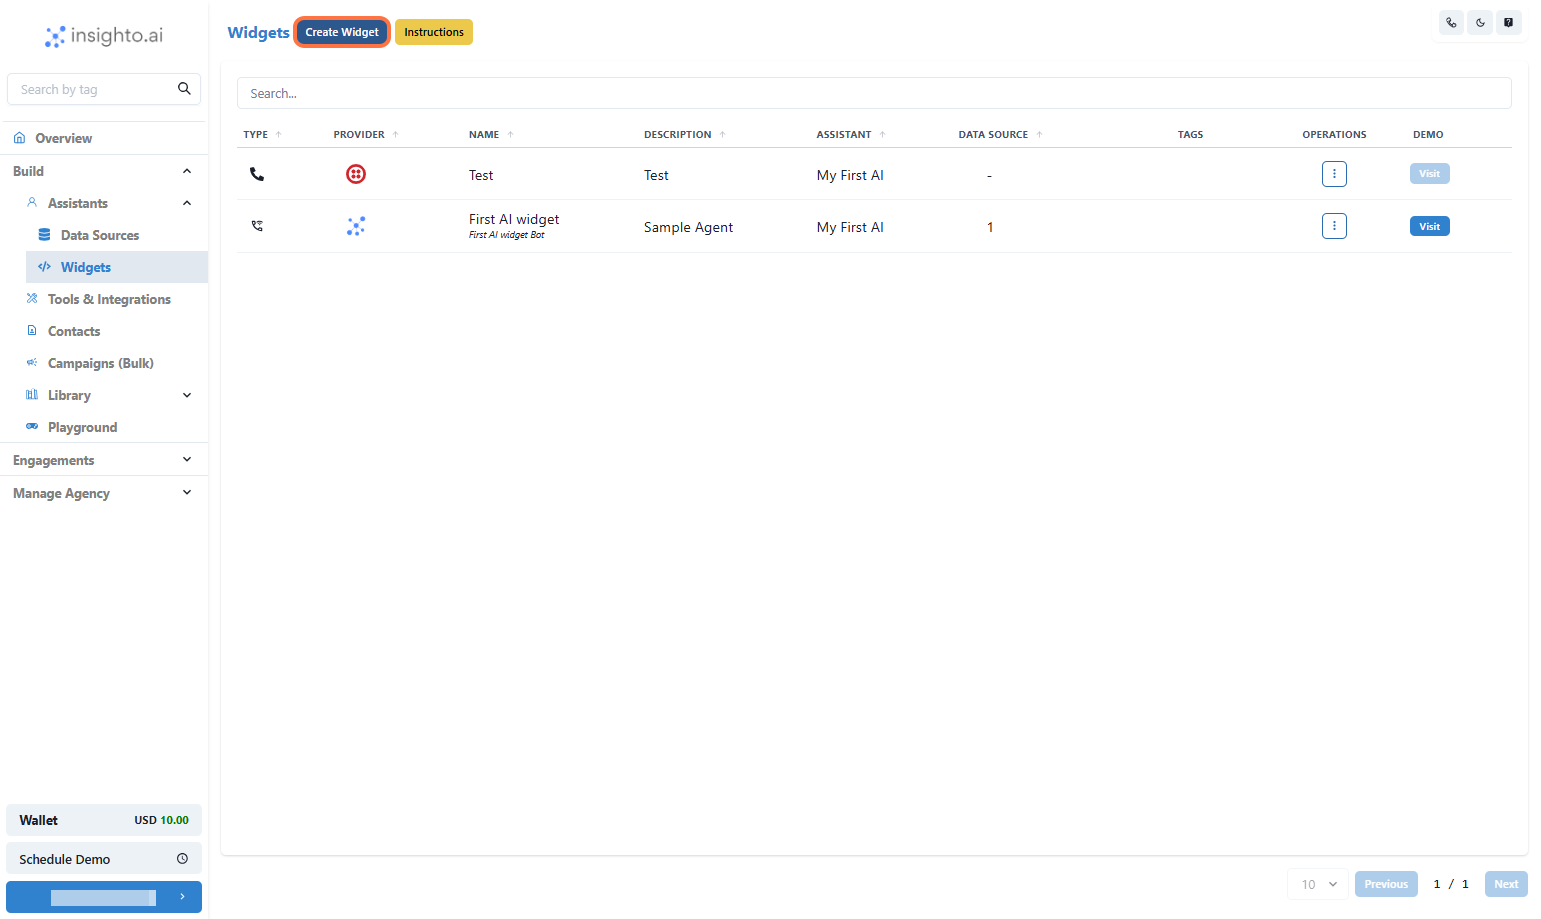 ***
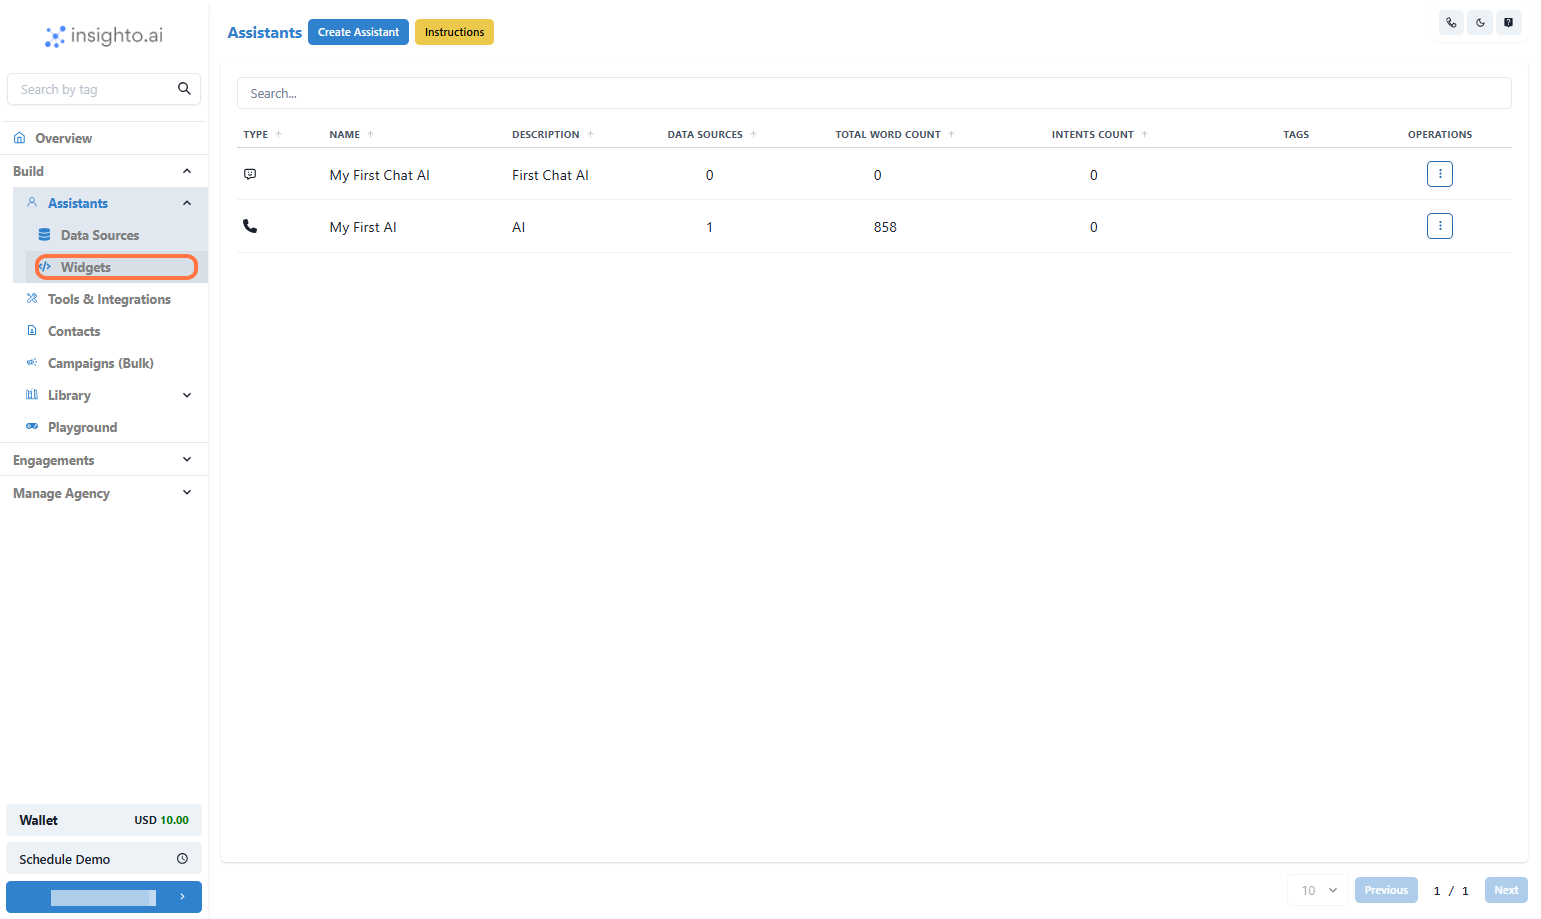
11. Click on Widgets
***
11. Click on Widgets
 ***
12. Click on Create Widget
***
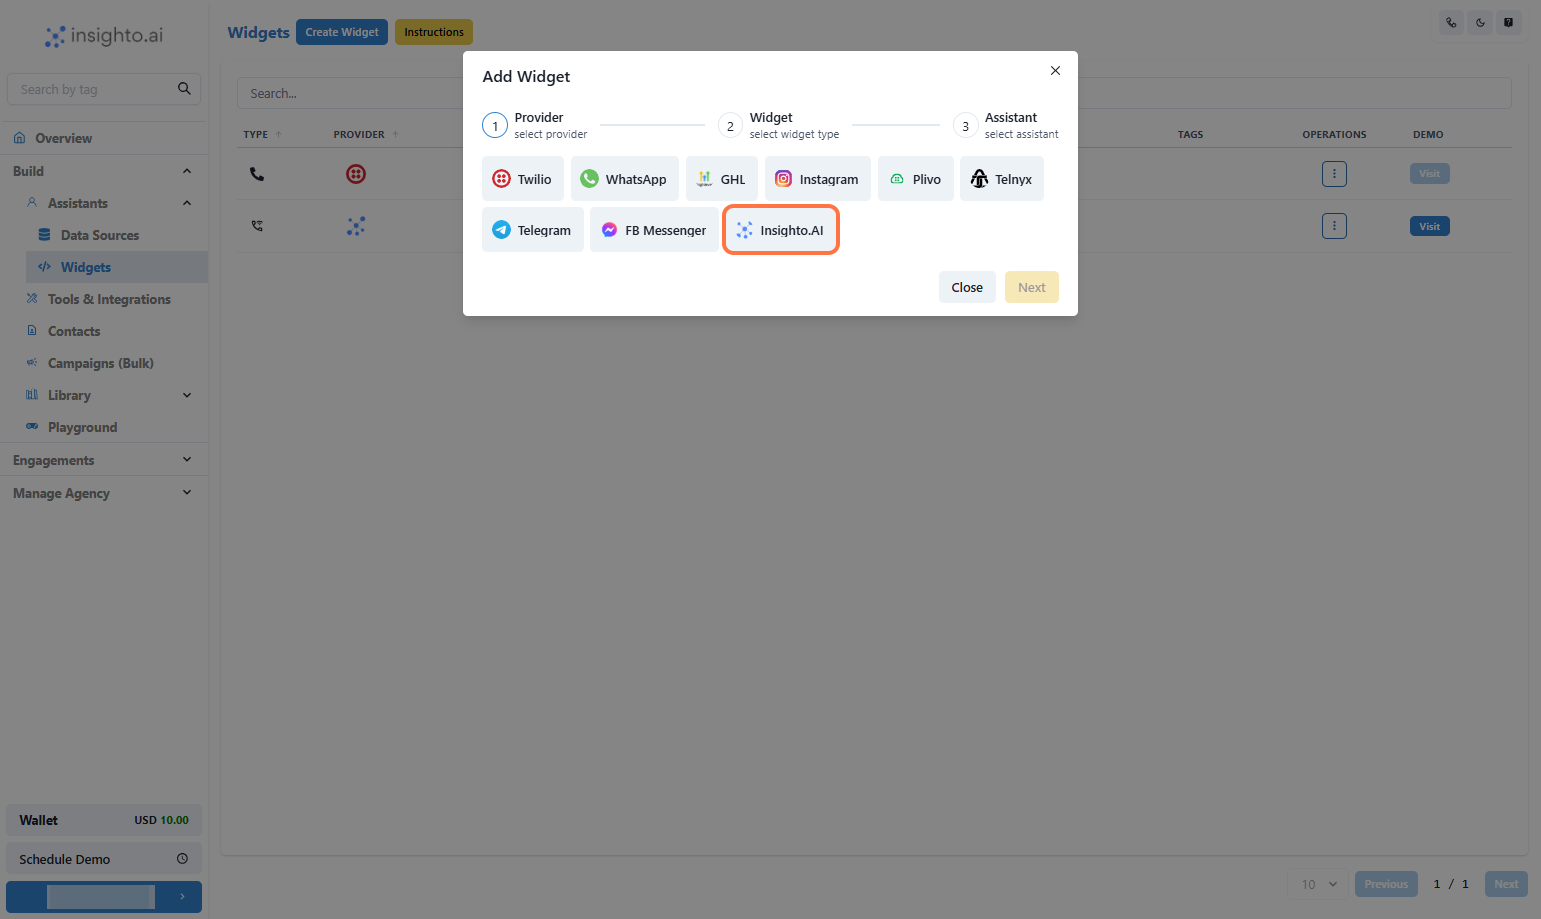
13. Select Insighto.ai
Since we’re deploying this assistant as a widget on website
***
12. Click on Create Widget
***
13. Select Insighto.ai
Since we’re deploying this assistant as a widget on website
 ***
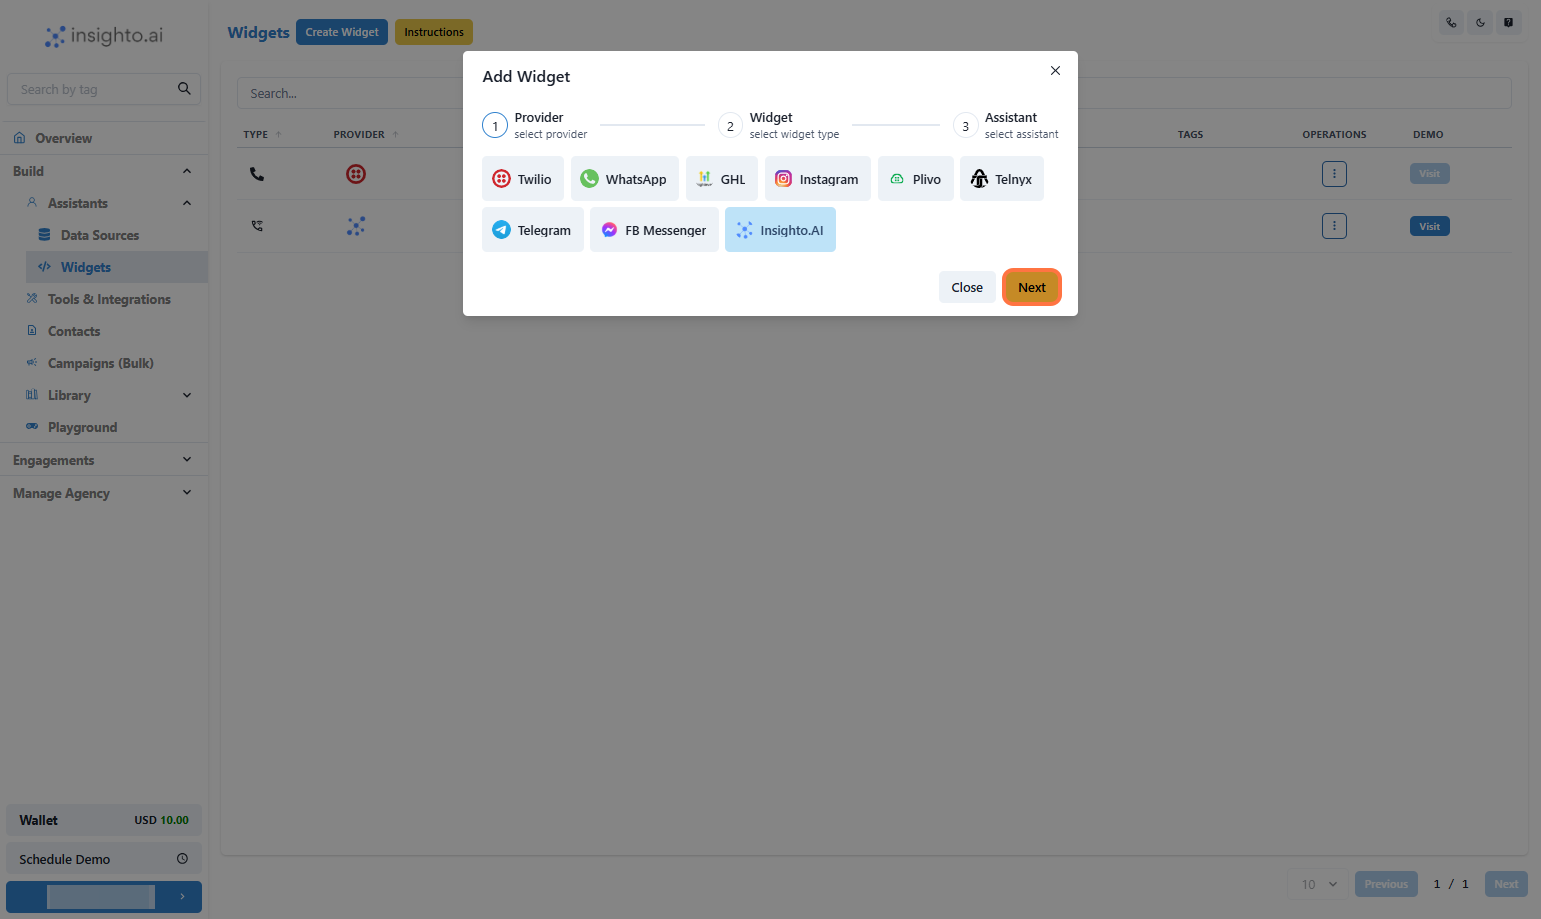
14. Click on Next
***
14. Click on Next
 ***
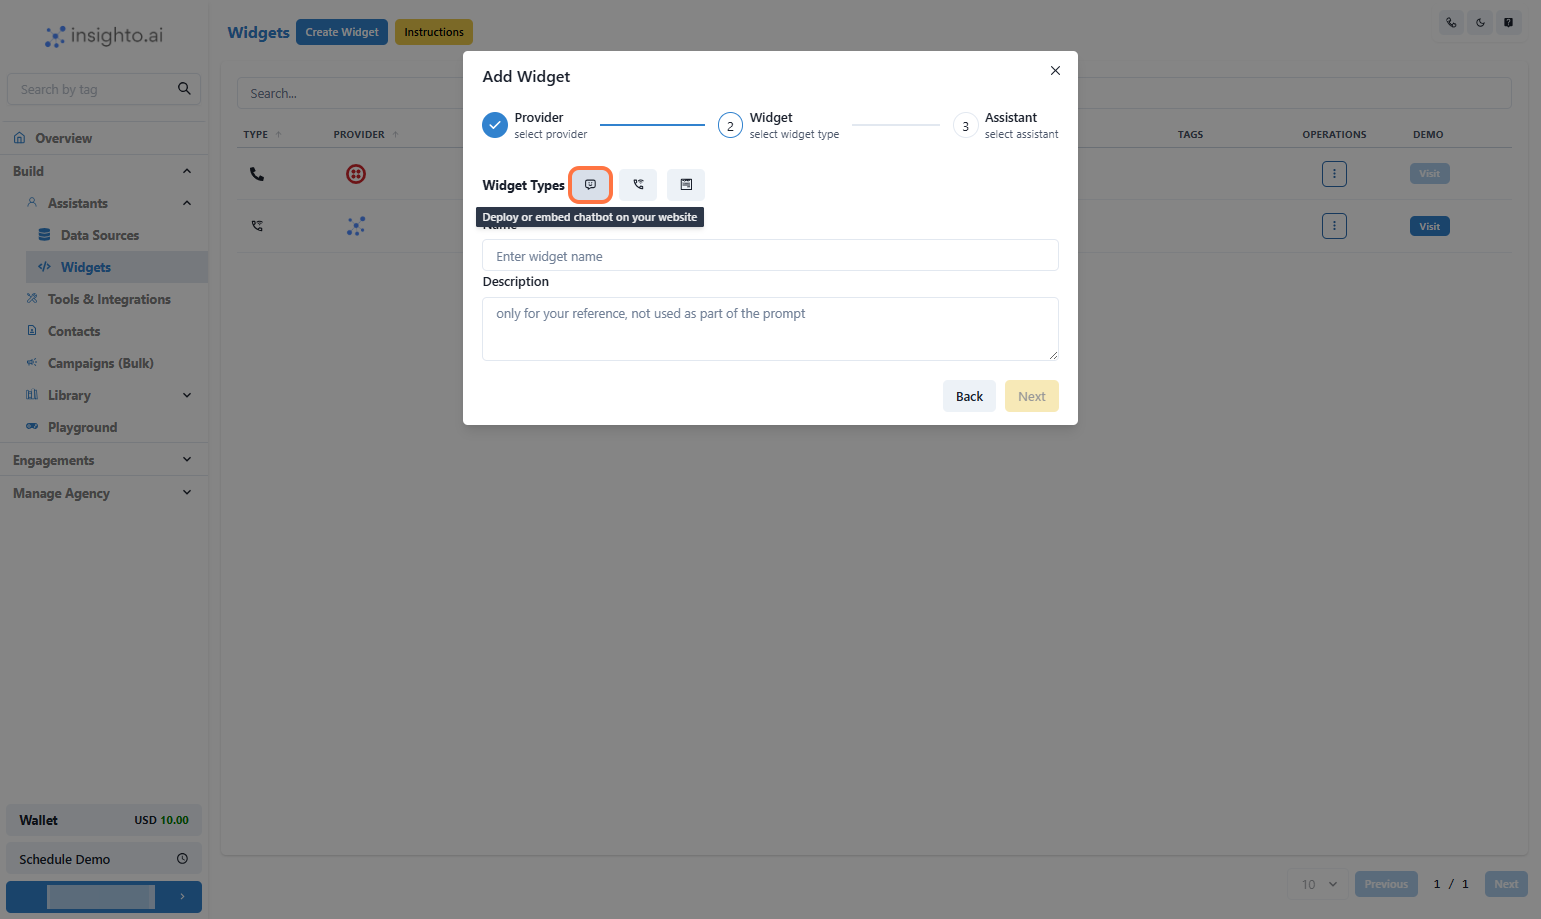
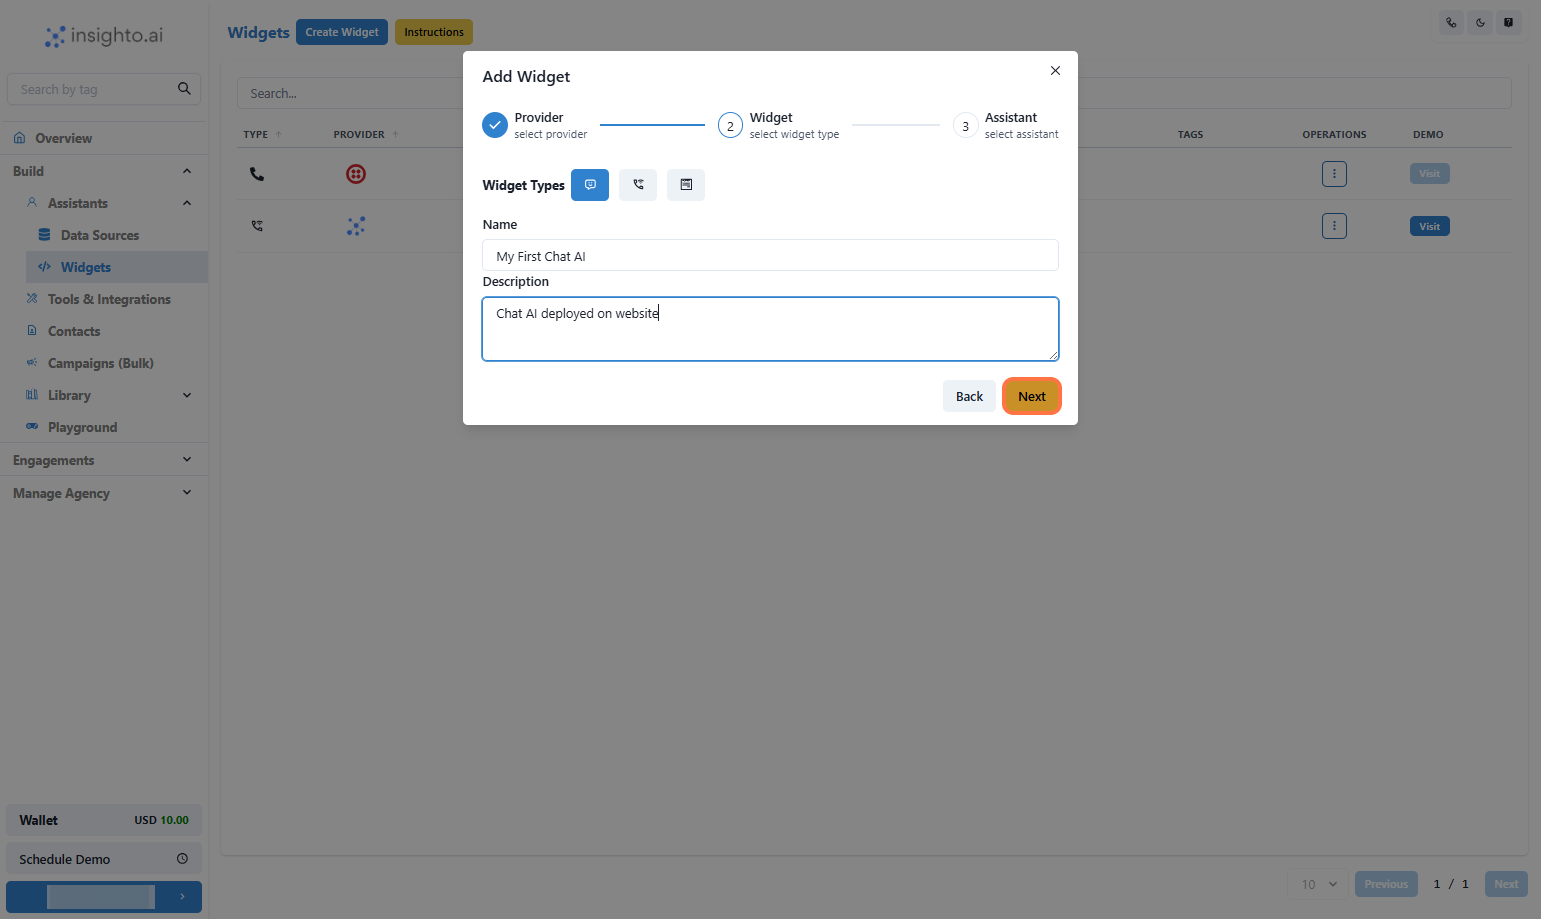
15. Click on Embed AI Agent Chat as shown below
Enter the Name & Description of your widget
***
15. Click on Embed AI Agent Chat as shown below
Enter the Name & Description of your widget
 ***
16. Click on Next
***
16. Click on Next
 ***
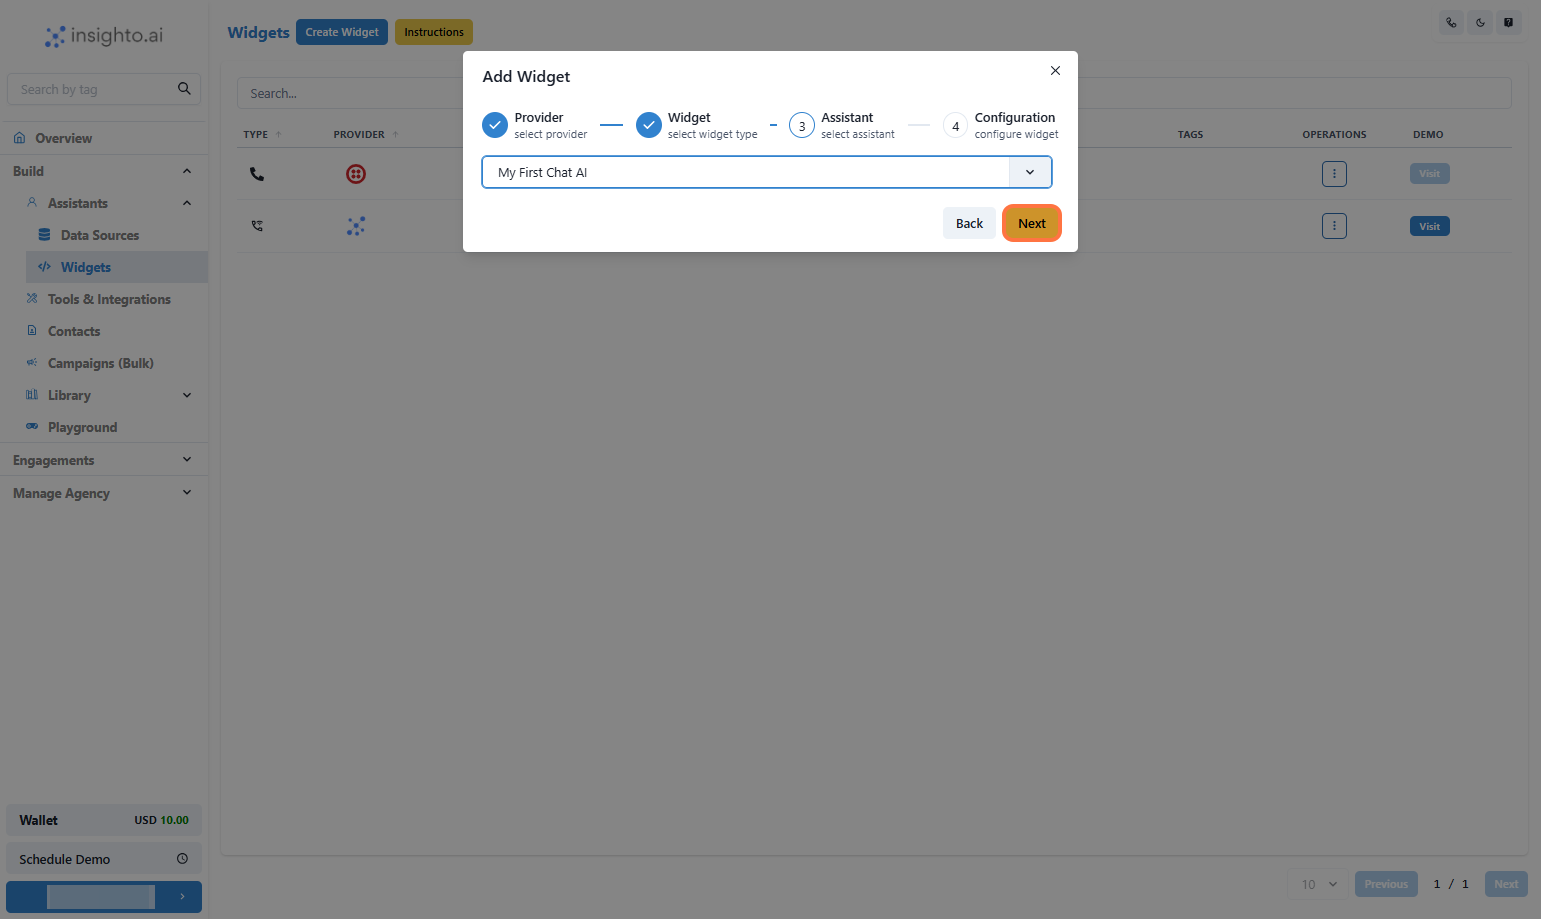
17. Select the Assistant and click Next
From the Assistant dropdown, select the Chat assistant you just created.
💡 Only assistants with Chat type will appear in this list.
***
17. Select the Assistant and click Next
From the Assistant dropdown, select the Chat assistant you just created.
💡 Only assistants with Chat type will appear in this list.
 ***
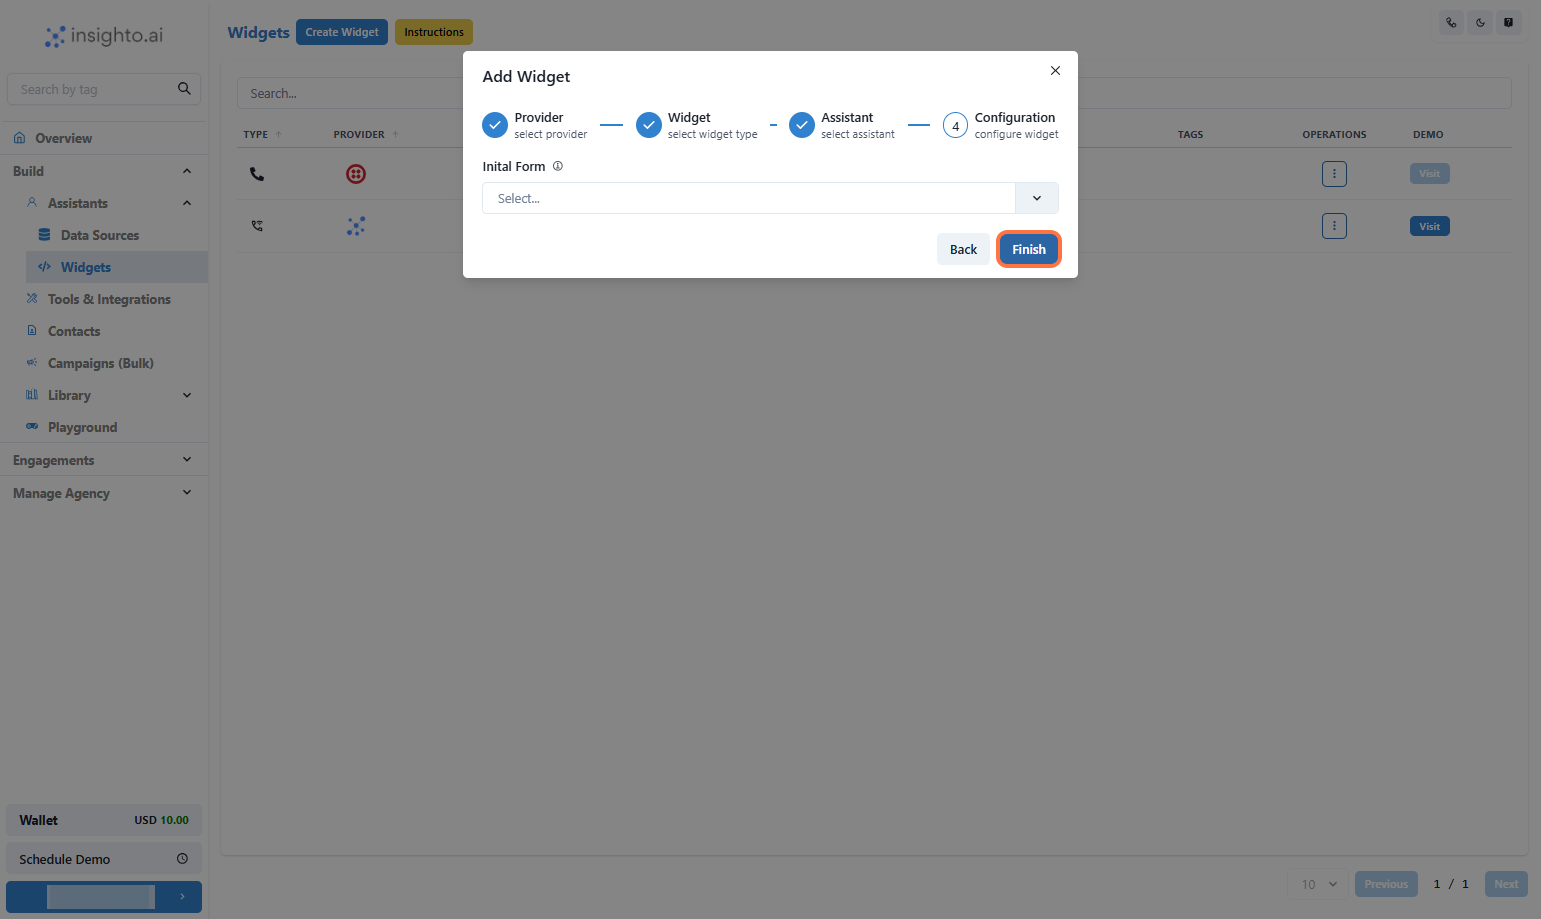
18. Final Step: Widget Setup Complete!
You’re almost done setting up your widget. This is the final step before your chatbot is created.
⚙ **What’s Happening Here**:\
At this point, you’ll see an option to “Initial Form”. This feature lets you connect a form to your chatbot—but don’t worry about it for now.
ℹ We’ll cover forms and how to use them effectively in an upcoming guide.
👉 **What You Need to Do**:\
Simply skip the form selection and click Finish to complete your widget setup.
***
18. Final Step: Widget Setup Complete!
You’re almost done setting up your widget. This is the final step before your chatbot is created.
⚙ **What’s Happening Here**:\
At this point, you’ll see an option to “Initial Form”. This feature lets you connect a form to your chatbot—but don’t worry about it for now.
ℹ We’ll cover forms and how to use them effectively in an upcoming guide.
👉 **What You Need to Do**:\
Simply skip the form selection and click Finish to complete your widget setup.
 ***
19. 🎉 Congratulations! Your Widget is created
***
19. 🎉 Congratulations! Your Widget is created
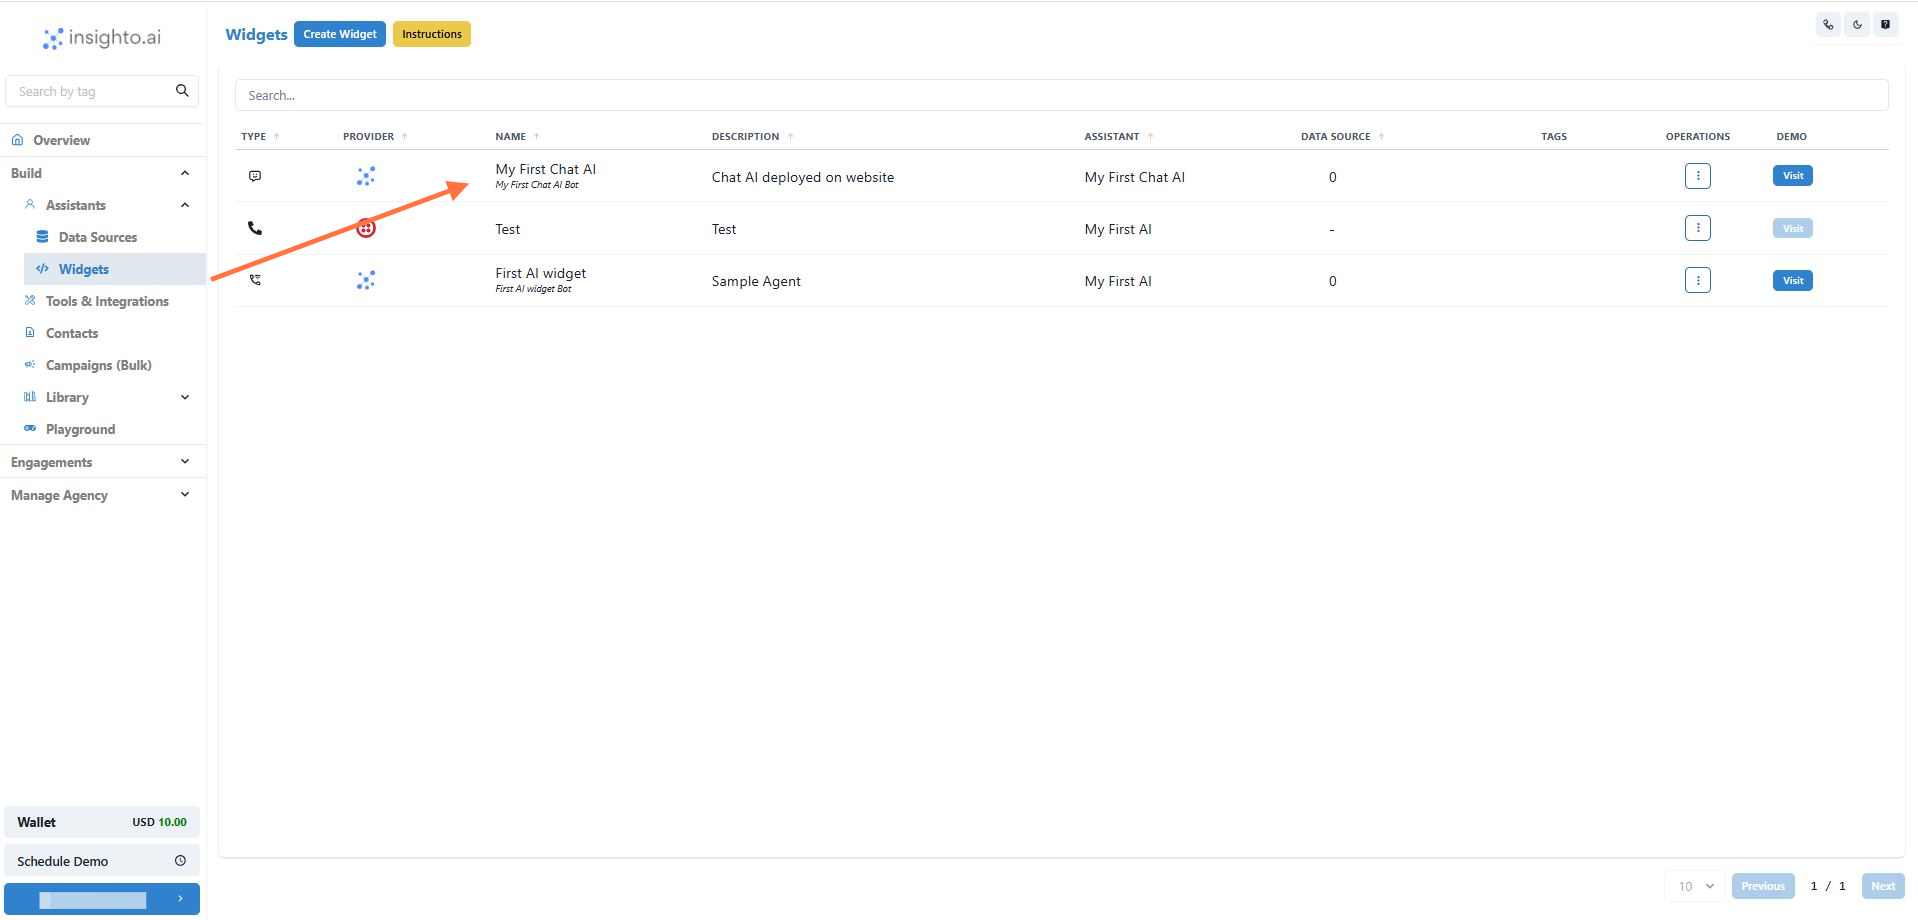 ***
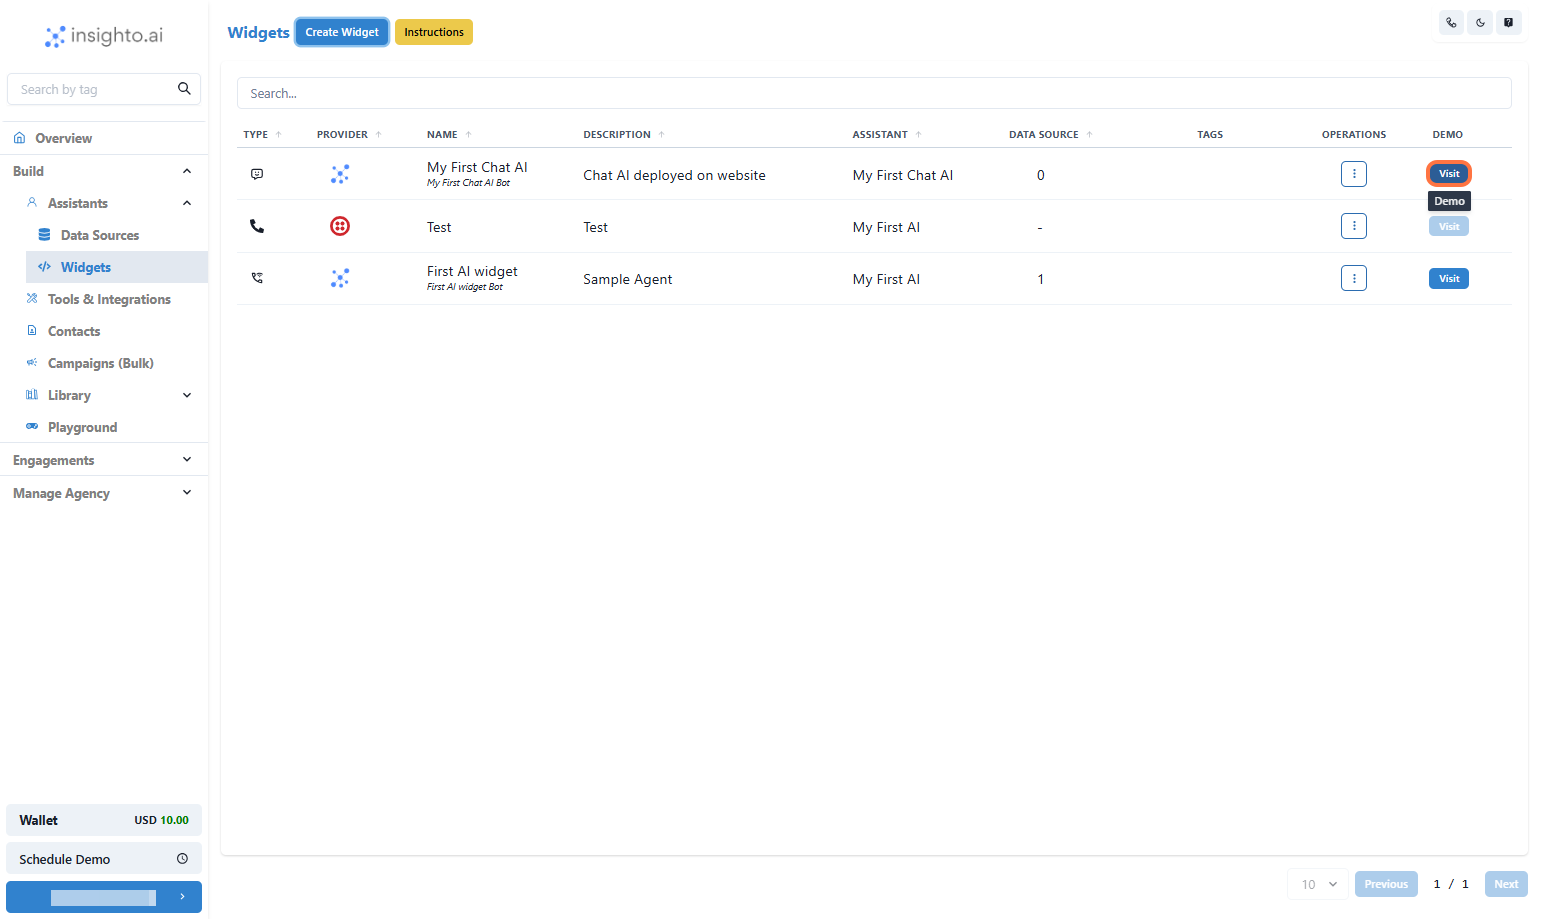
20. Click on Visit
***
20. Click on Visit
 ***
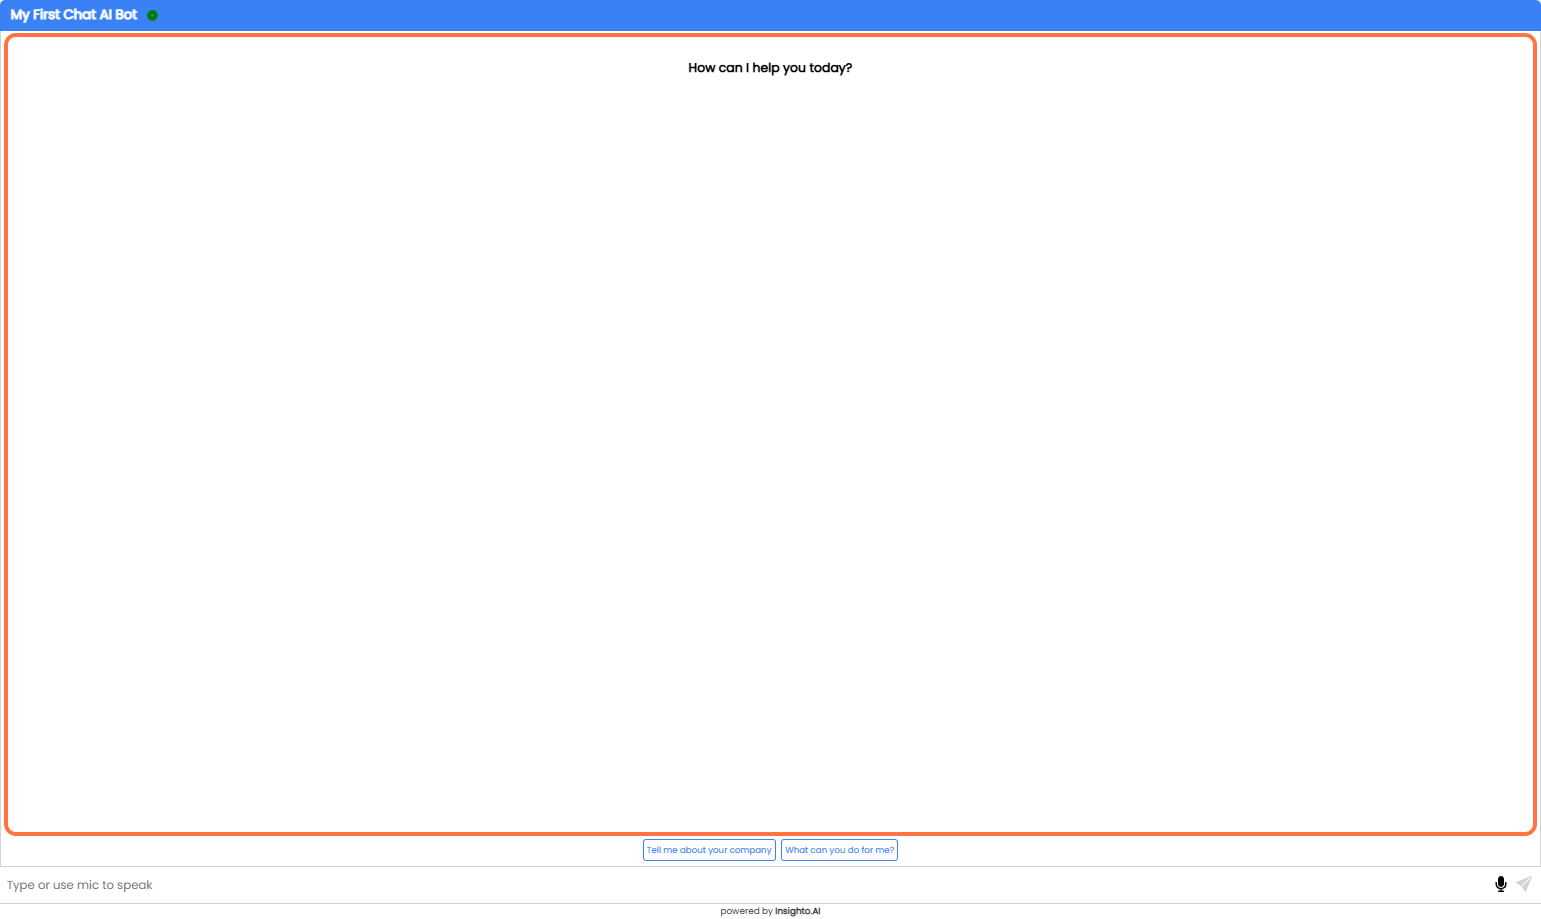
21. Chatbot Demo Window in New tab
Test your chat widget here before deploying
***
21. Chatbot Demo Window in New tab
Test your chat widget here before deploying
 ***
# Deploy it on your website now!
***
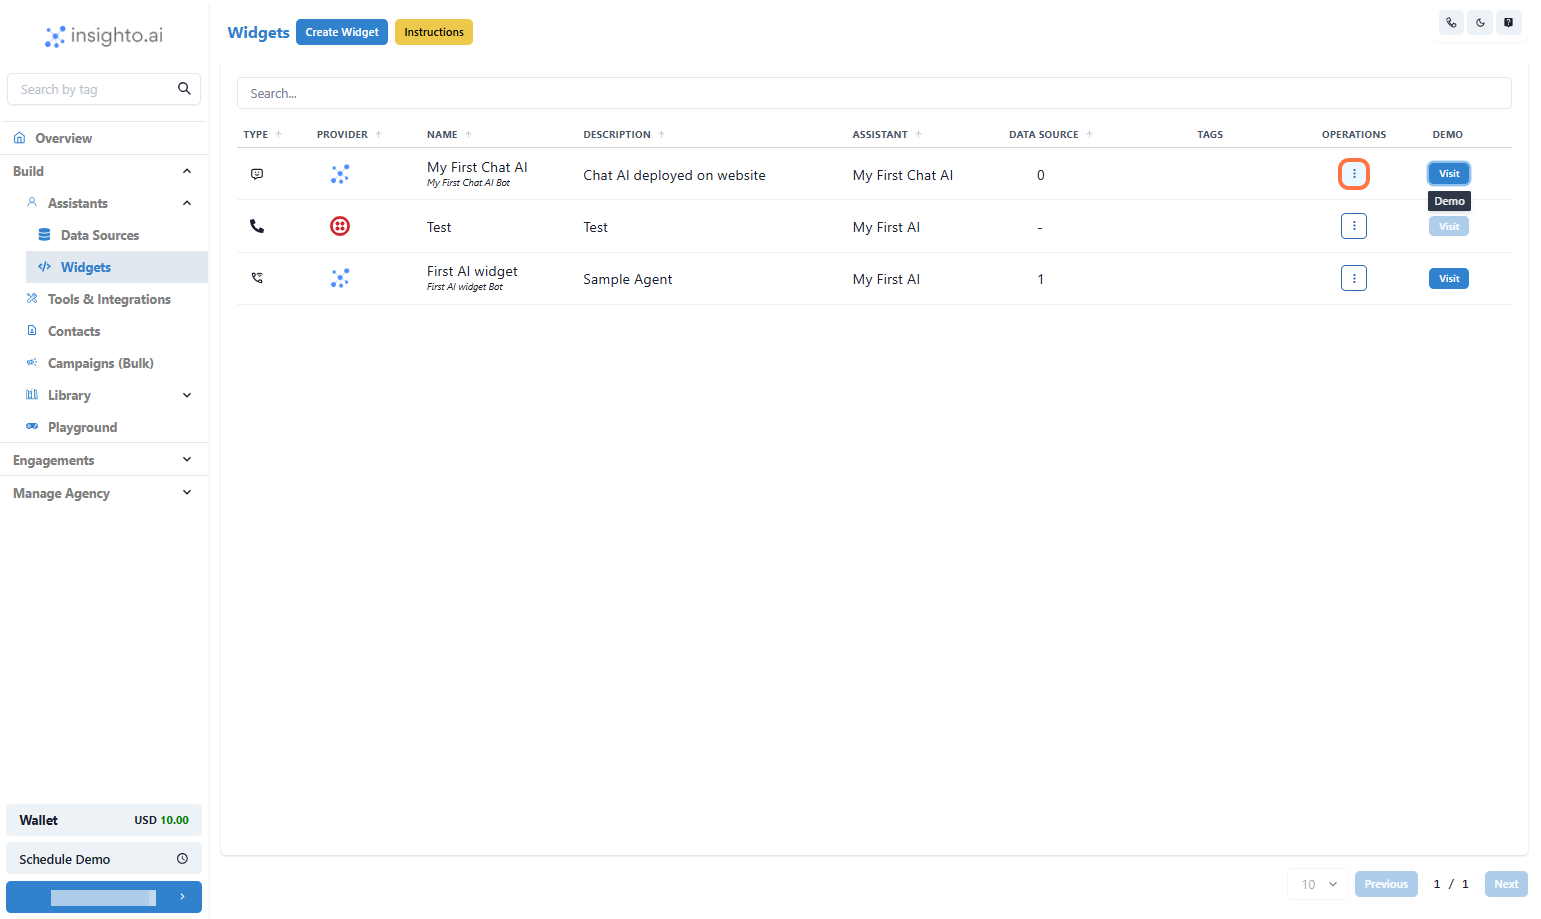
22. Click on Options
***
# Deploy it on your website now!
***
22. Click on Options
 ***
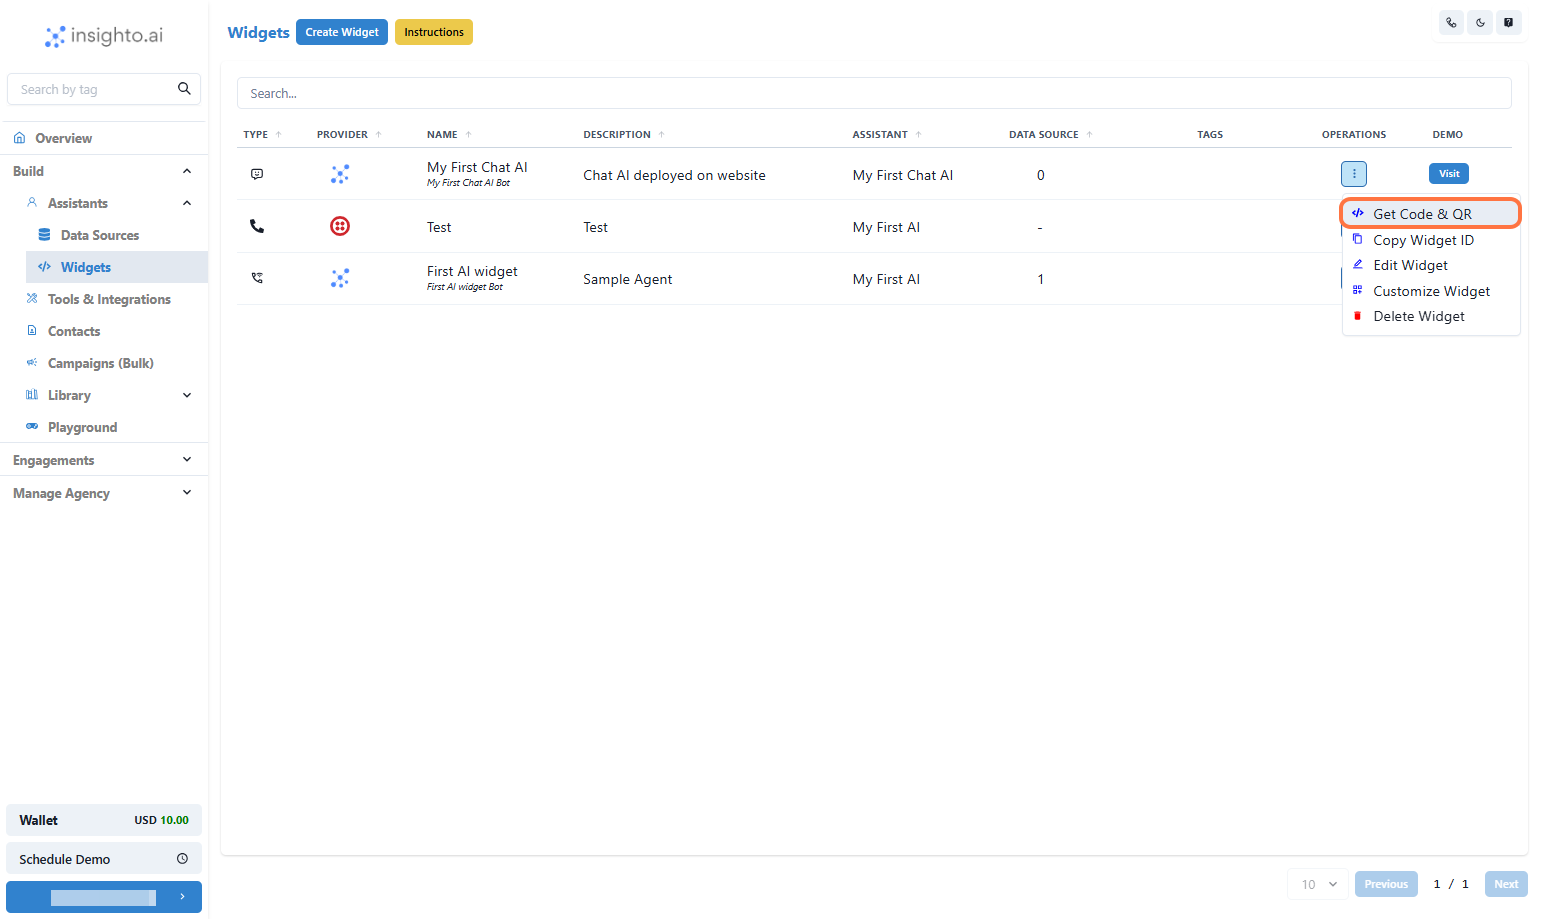
23. Click on Get Code & QR
***
23. Click on Get Code & QR
 ***
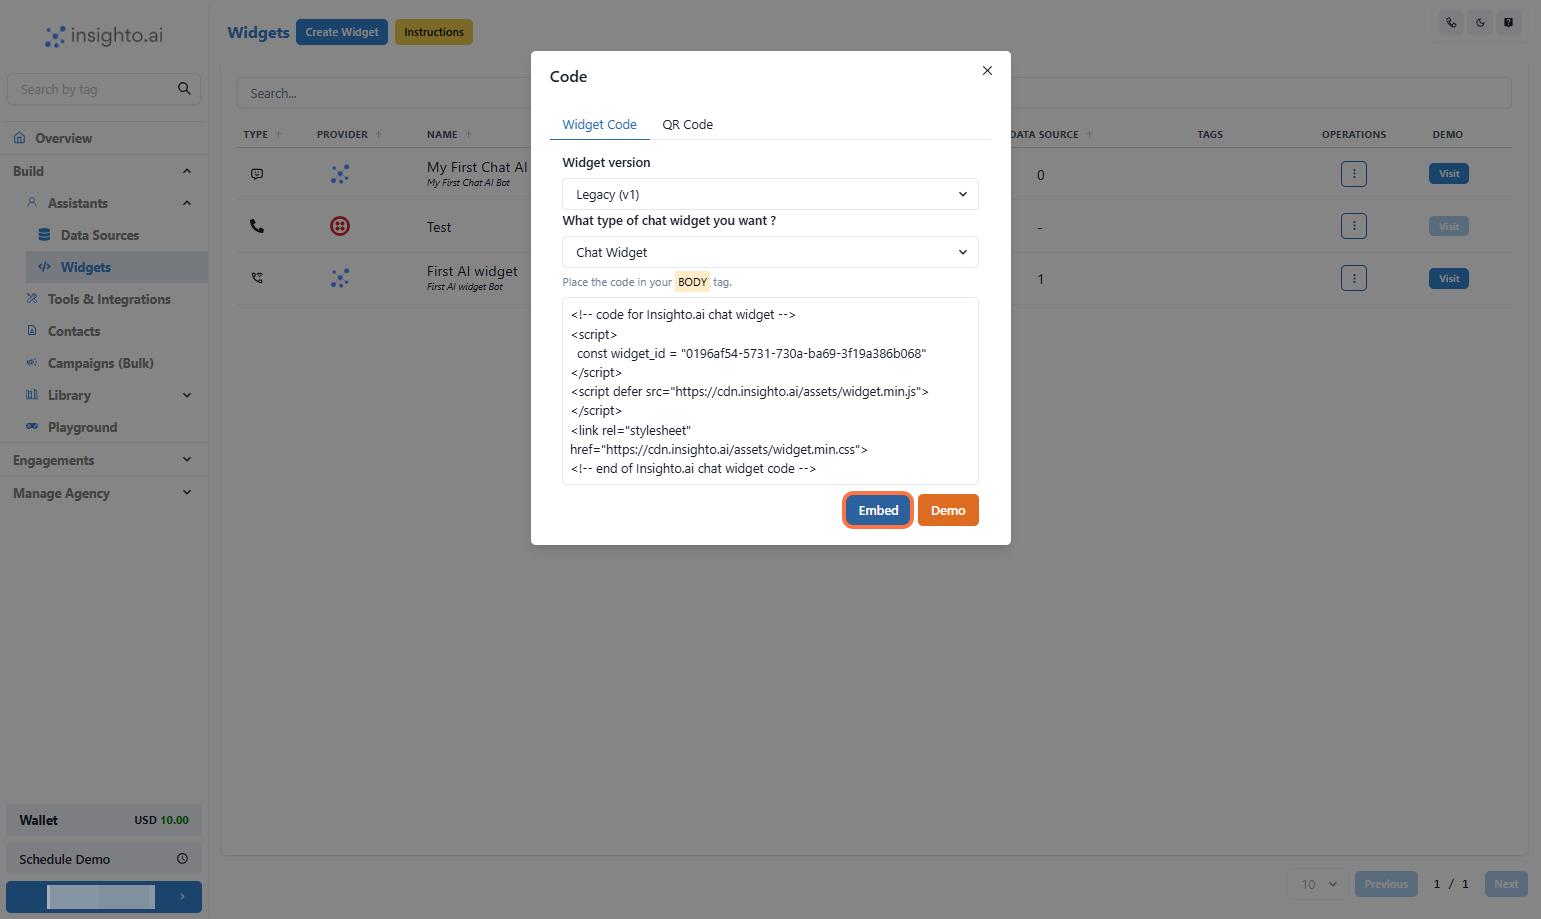
24. Choose Widget Version & Deployment Type
Choose how your chatbot appears on your site:
**Widget Version**\
Select from:
* **Modern (Recommended)** – Latest design and features
* **Legacy** – For older setups
**Deployment Type**
* **HTML iFrame** – Embed in a fixed section of your site
* **Chat Widget** – Floating bubble on your webpage
Your selections will update the embed code automatically.
***
24. Choose Widget Version & Deployment Type
Choose how your chatbot appears on your site:
**Widget Version**\
Select from:
* **Modern (Recommended)** – Latest design and features
* **Legacy** – For older setups
**Deployment Type**
* **HTML iFrame** – Embed in a fixed section of your site
* **Chat Widget** – Floating bubble on your webpage
Your selections will update the embed code automatically.