> ## Documentation Index
> Fetch the complete documentation index at: https://docs.insighto.ai/llms.txt
> Use this file to discover all available pages before exploring further.
# Whatsapp Widget
# Deploying Your Assistant on WhatsApp
In this guide, you’ll learn how to deploy your AI chat assistant on a **WhatsApp number** to automatically respond to incoming user queries, including **text messages** and **voice notes**. This integration allows your assistant to handle inbound conversations seamlessly.
> ⚠ **Limitations:**\
> WhatsApp integration currently supports **inbound messages only**—your assistant cannot initiate outbound conversations as the first message due to WhatsApp's policy.
***
## 🧩 Prerequisite
1: Set Up WhatsApp Business on Meta Developer Account
Before deploying your assistant, you must first set up **WhatsApp Business** on your **Meta Developer Account**. This includes:
* Creating a Meta App
* Verifying your phone number
* Obtaining access tokens
🔗 [Follow this guide to complete your WhatsApp Business setup →](https://docs.insighto.ai/Whatsapp-Setup)
Once completed, return to Insighto to deploy your assistant.
***
## 🚀 Create WhatsApp Widget
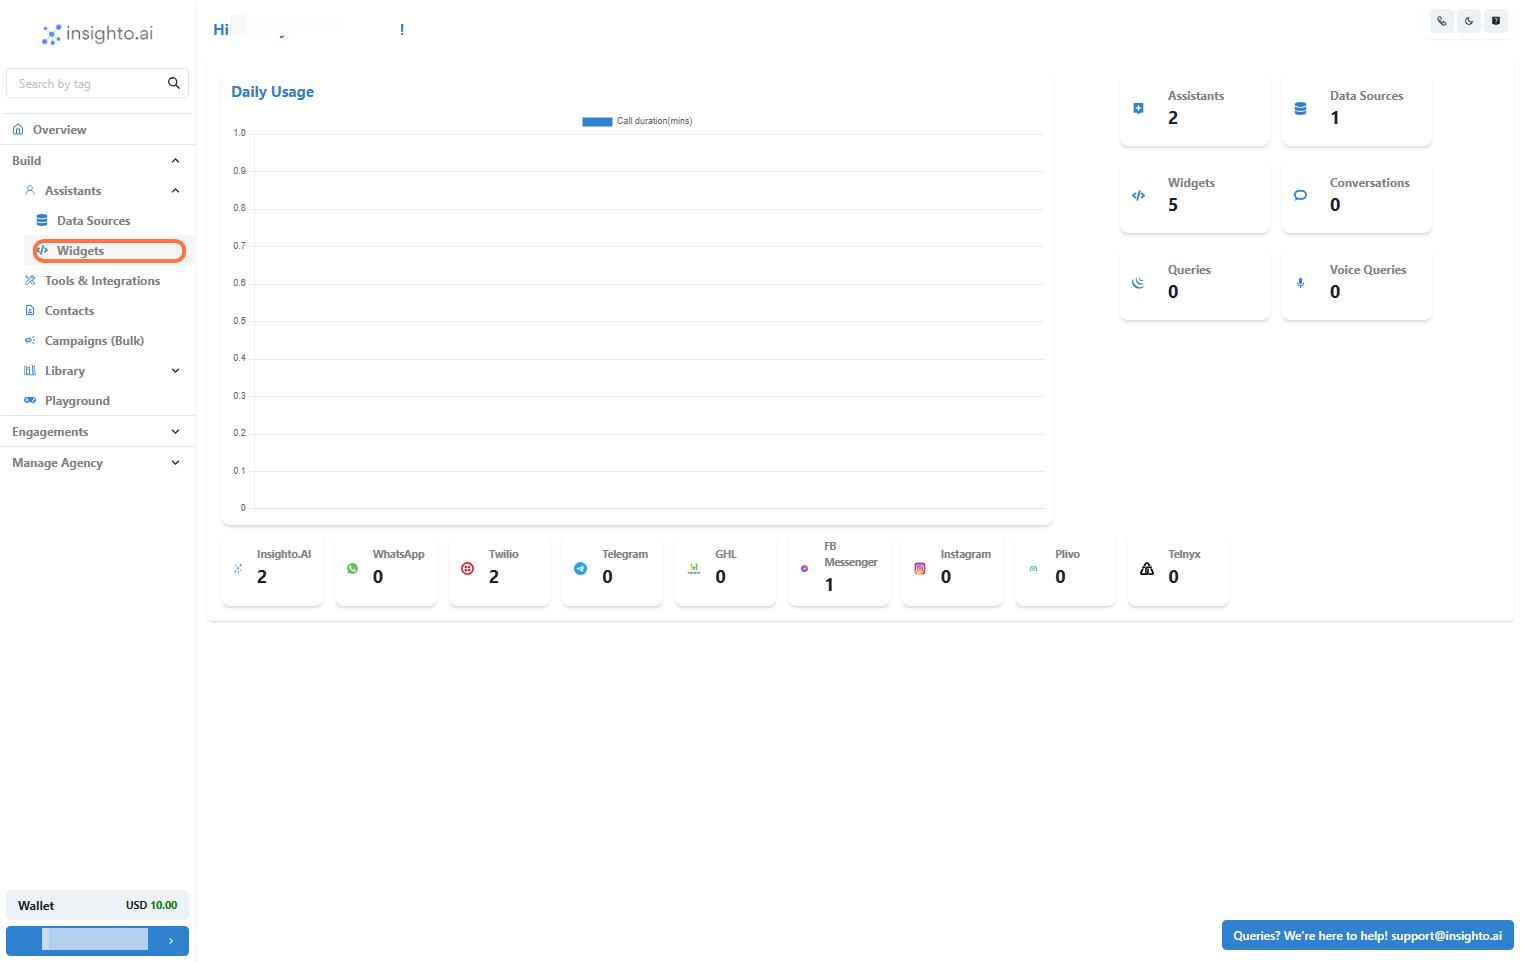
2: Click on Widgets from the Left Panel
In the **Assistants** section on the left panel, click **Widgets**. This opens the widget setup page for deploying your AI assistant.
> 🔔 **Note:**\
> Ensure you've already created an AI assistant before proceeding. If not, follow the assistant creation guide first.
 ***
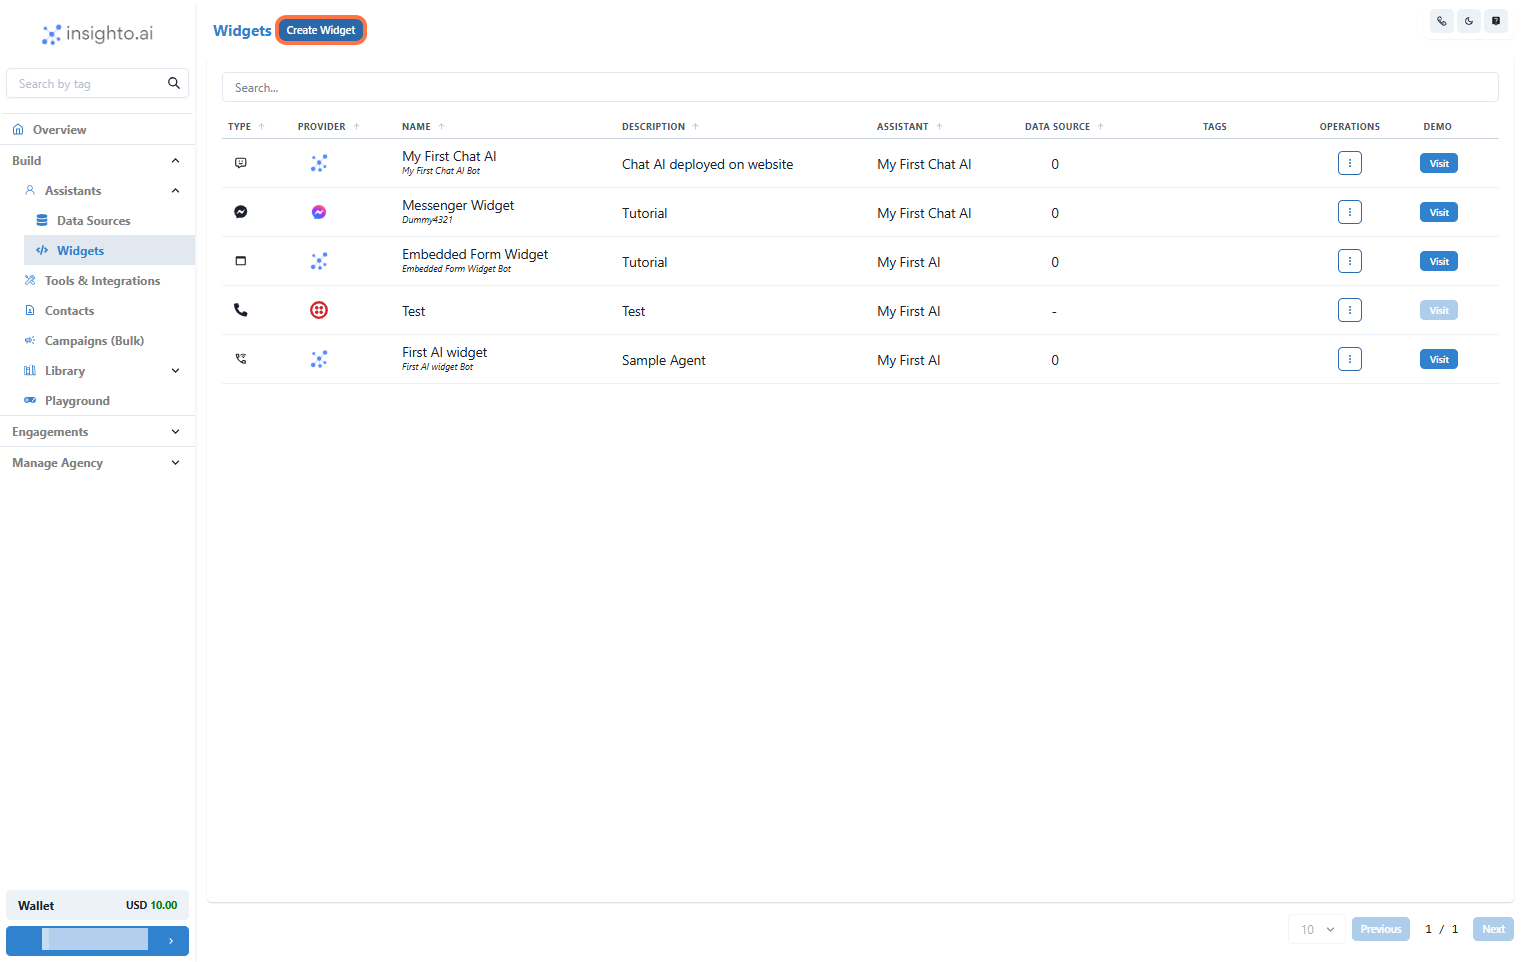
3: Create a New Widget
Click on **Create New Widget** to start the setup process.
***
3: Create a New Widget
Click on **Create New Widget** to start the setup process.
 ***
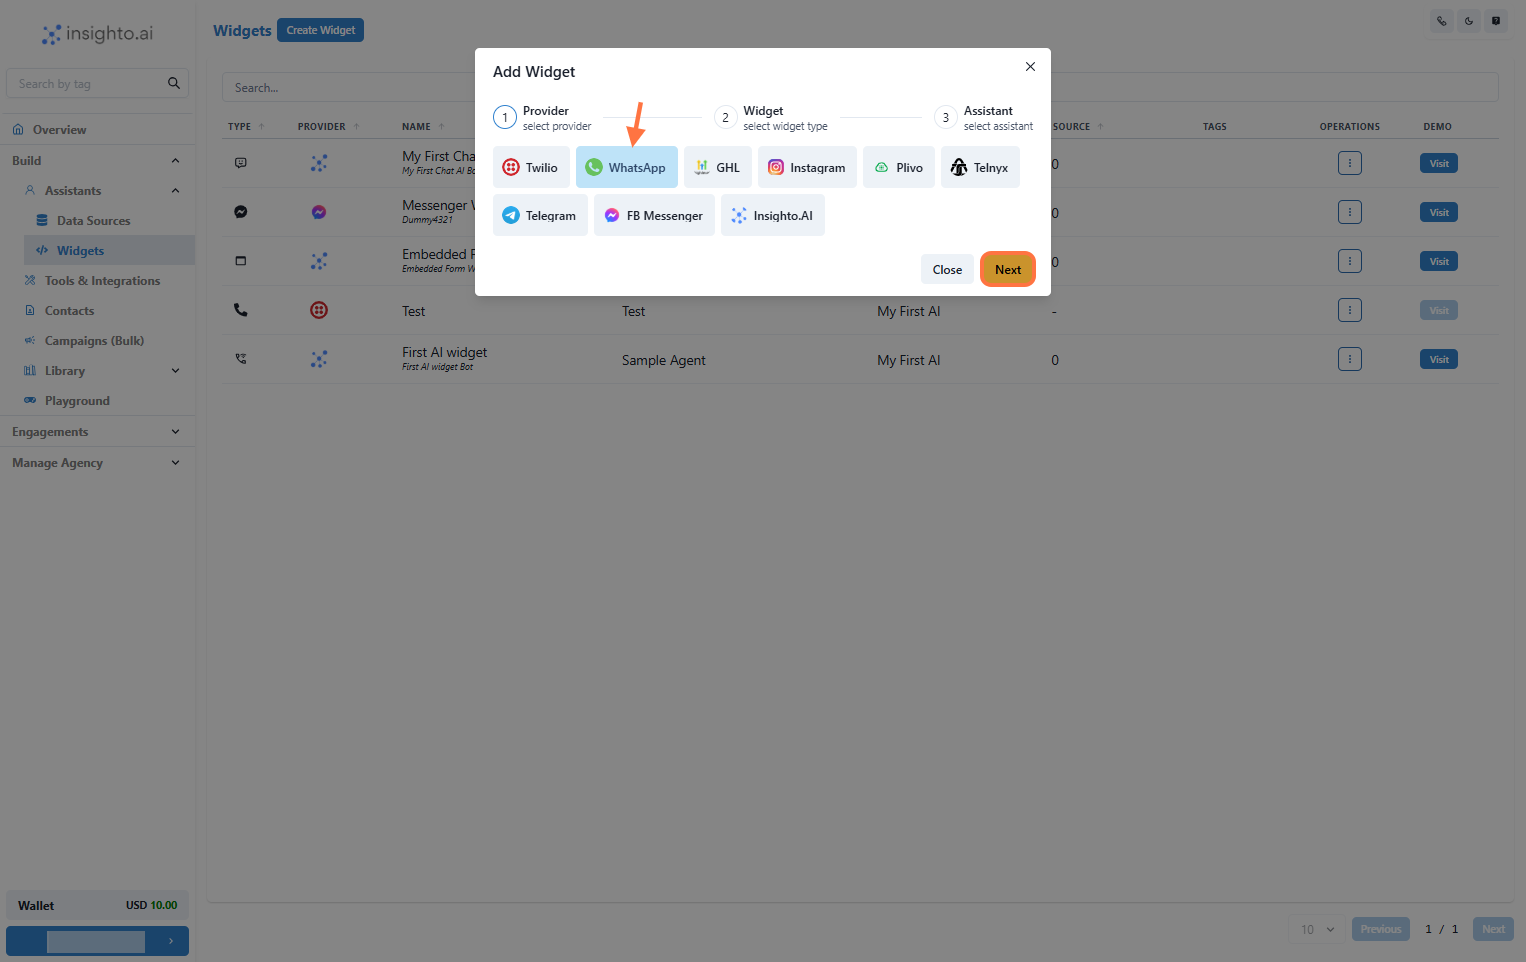
4: Select WhatsApp as the Provider Type
In the setup screen:
* Set **Provider Type** to `WhatsApp`
* Click **Next** to proceed
***
4: Select WhatsApp as the Provider Type
In the setup screen:
* Set **Provider Type** to `WhatsApp`
* Click **Next** to proceed
 ***
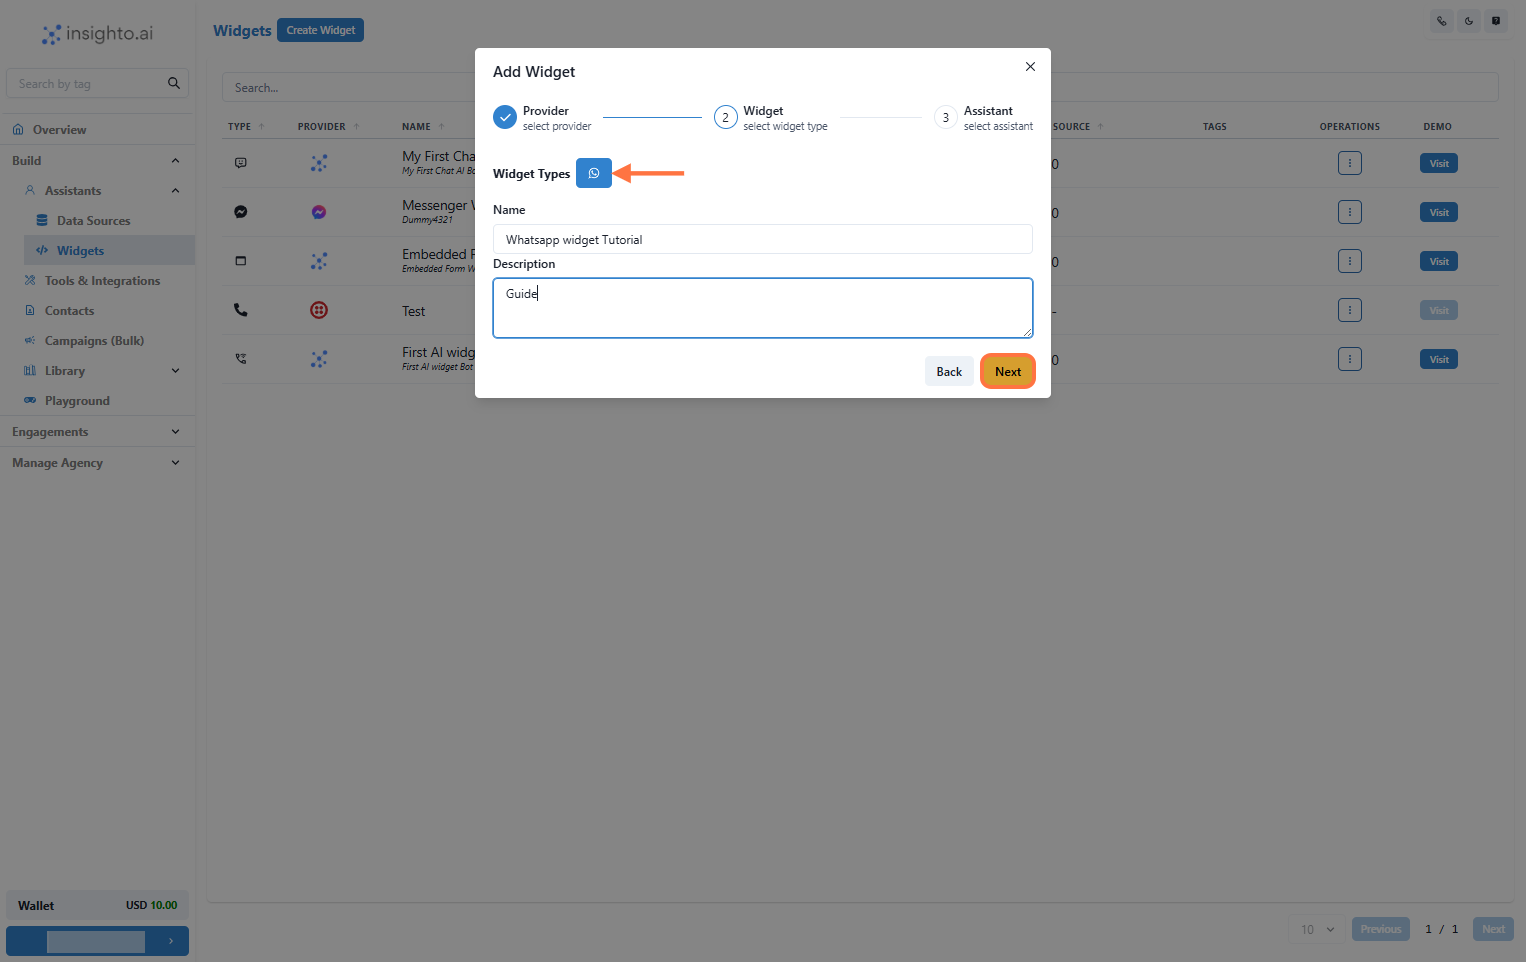
5: Select Widget Type, Name, and Describe Your Widget
Fill in the widget details:
* **Widget Type:** Choose appropriate type
* **Name:** e.g., `Customer Support Chat`
* **Description:** e.g., `Handles customer support inquiries via WhatsApp`
Click **Next** when done.
***
5: Select Widget Type, Name, and Describe Your Widget
Fill in the widget details:
* **Widget Type:** Choose appropriate type
* **Name:** e.g., `Customer Support Chat`
* **Description:** e.g., `Handles customer support inquiries via WhatsApp`
Click **Next** when done.
 ***
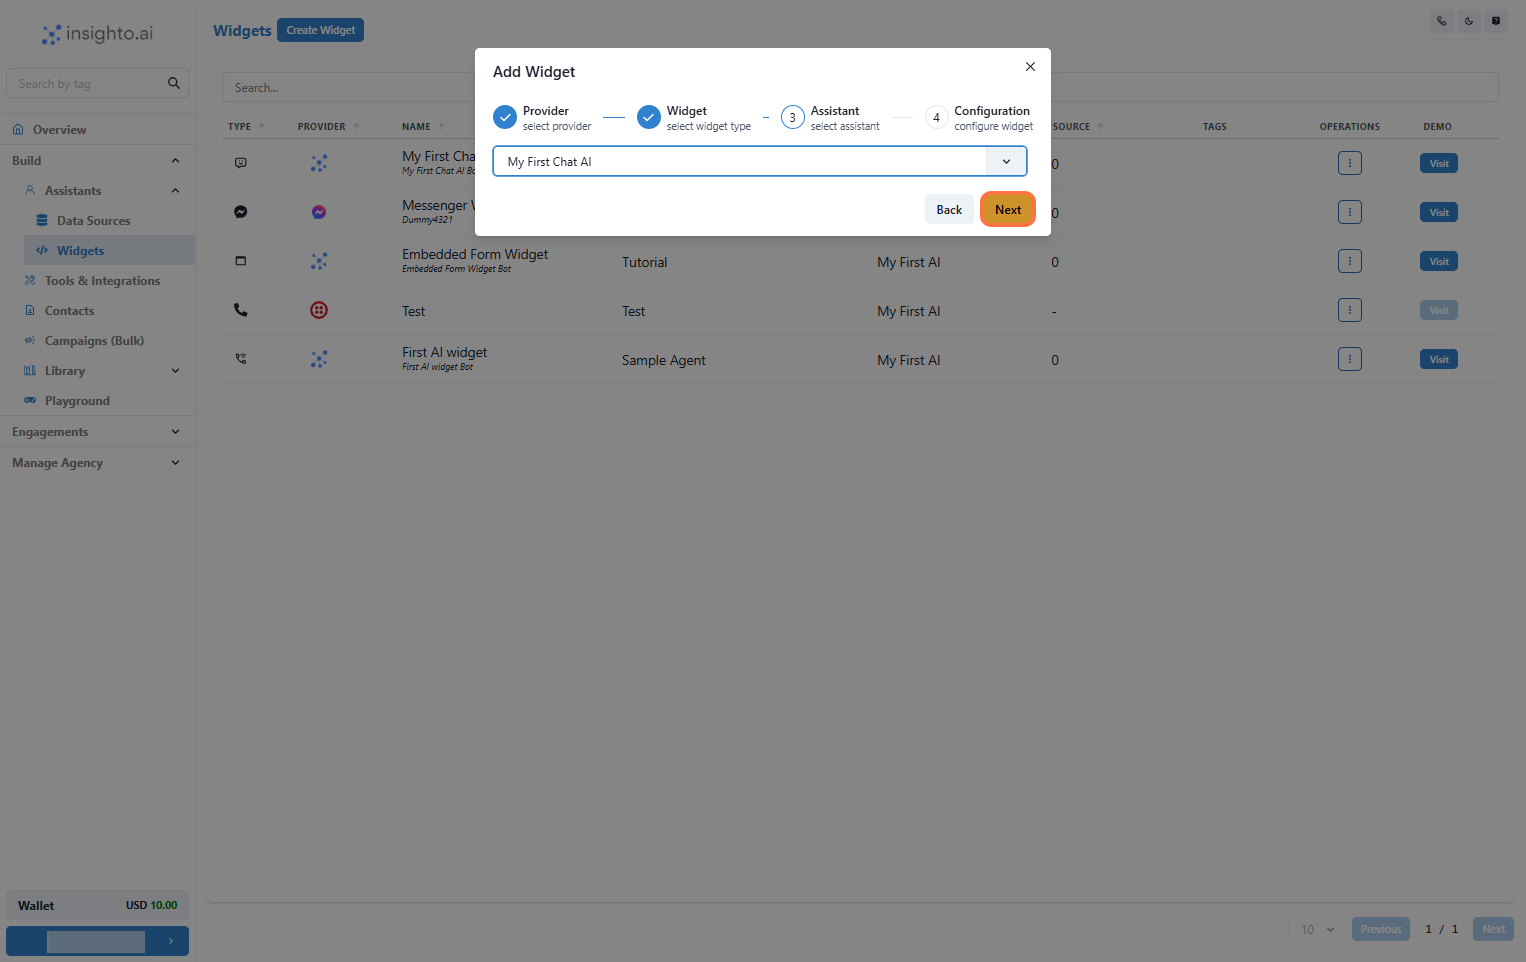
6: Select Your Chat Assistant
Choose the assistant you created earlier from the dropdown list.
***
6: Select Your Chat Assistant
Choose the assistant you created earlier from the dropdown list.
 ***
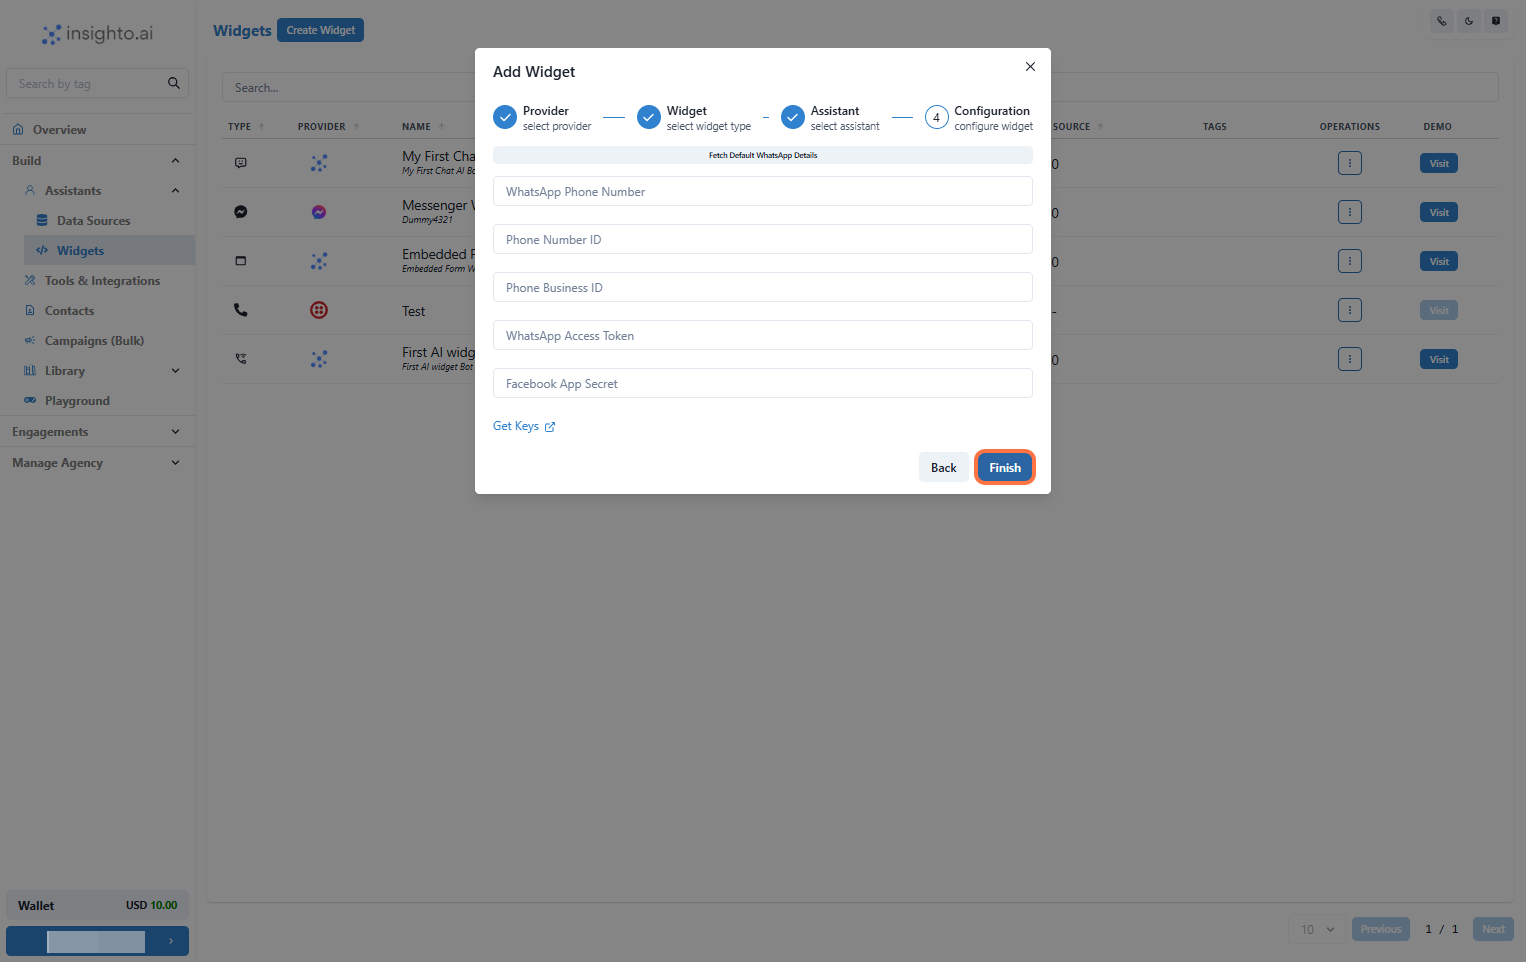
7: Enter WhatsApp Business Credentials & Finish
Fill in the following details obtained during your WhatsApp Business setup:
* **Phone Number ID**
* **WhatsApp Business Account ID**
* **WhatsApp Access Token**
* **Facebook App Secret Key**
Click **Finish** to complete the integration.
> ✅ **Note:**\
> Ensure all values are accurate—incorrect or missing details may prevent the assistant from functioning on WhatsApp.
***
7: Enter WhatsApp Business Credentials & Finish
Fill in the following details obtained during your WhatsApp Business setup:
* **Phone Number ID**
* **WhatsApp Business Account ID**
* **WhatsApp Access Token**
* **Facebook App Secret Key**
Click **Finish** to complete the integration.
> ✅ **Note:**\
> Ensure all values are accurate—incorrect or missing details may prevent the assistant from functioning on WhatsApp.