

🛠️ Create your Custom Tool
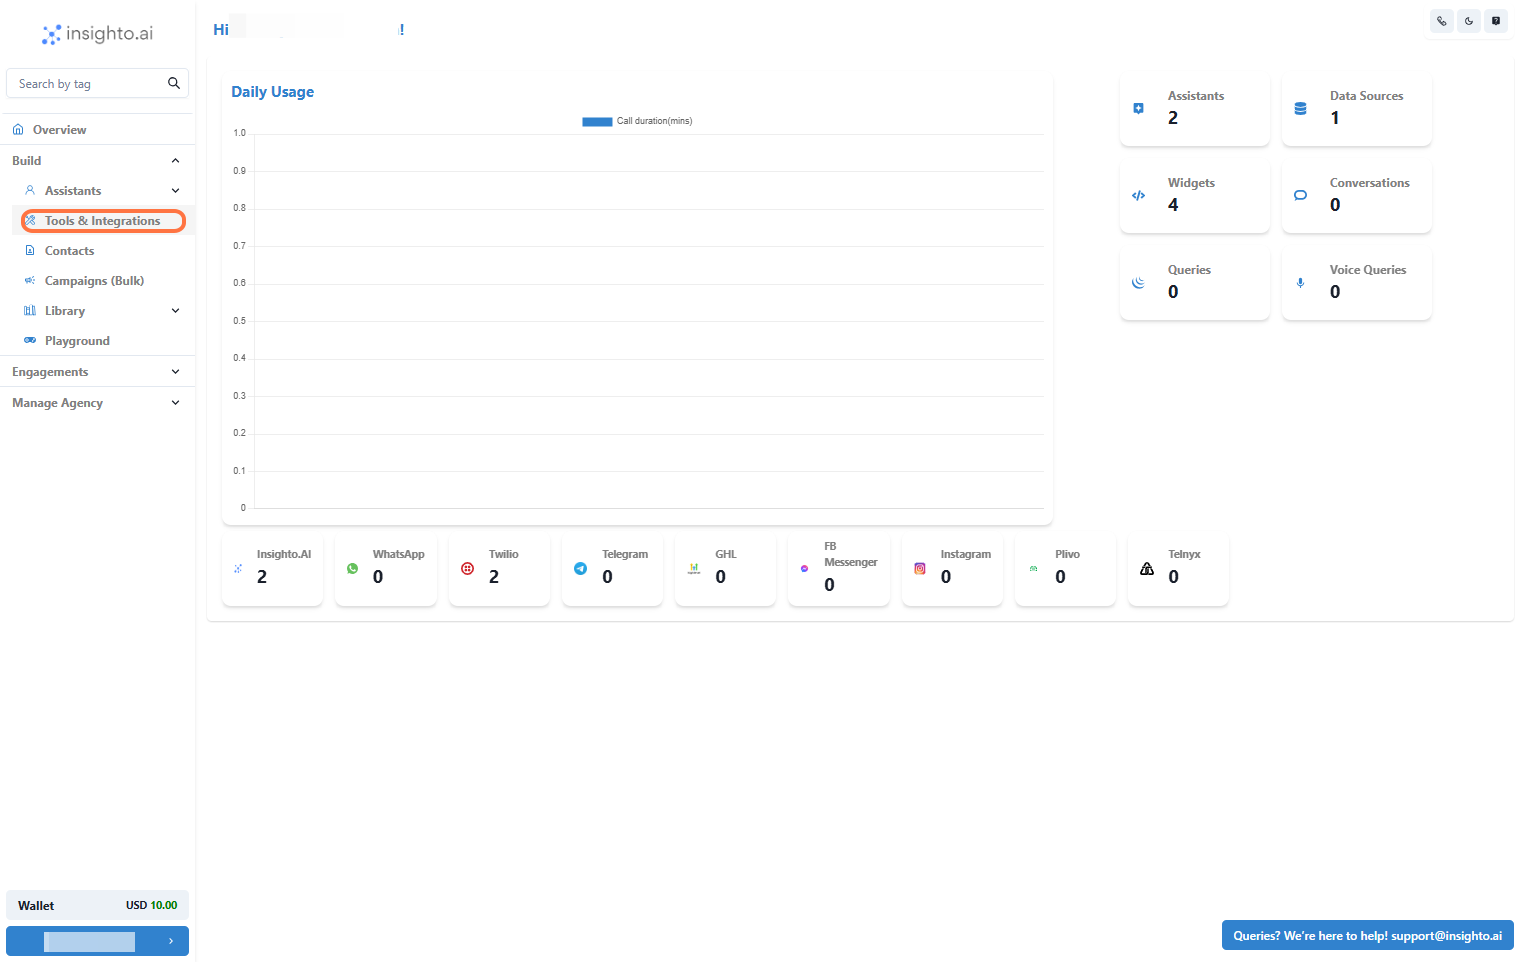
- Go to Tools & Integration
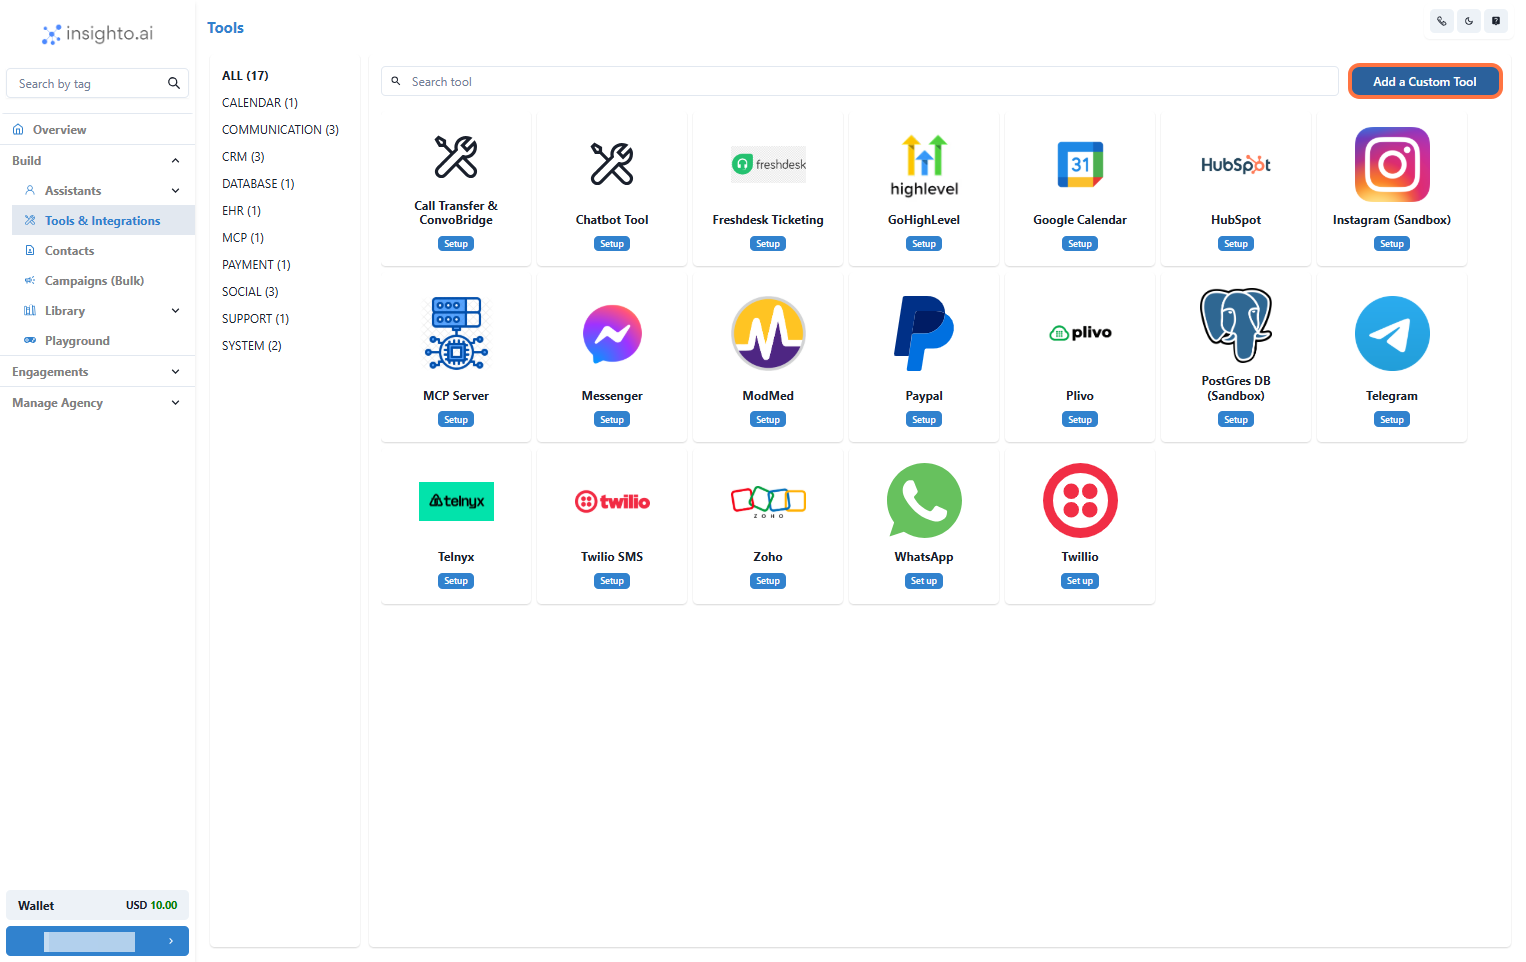
- Click the “Add Custom Tool” Button
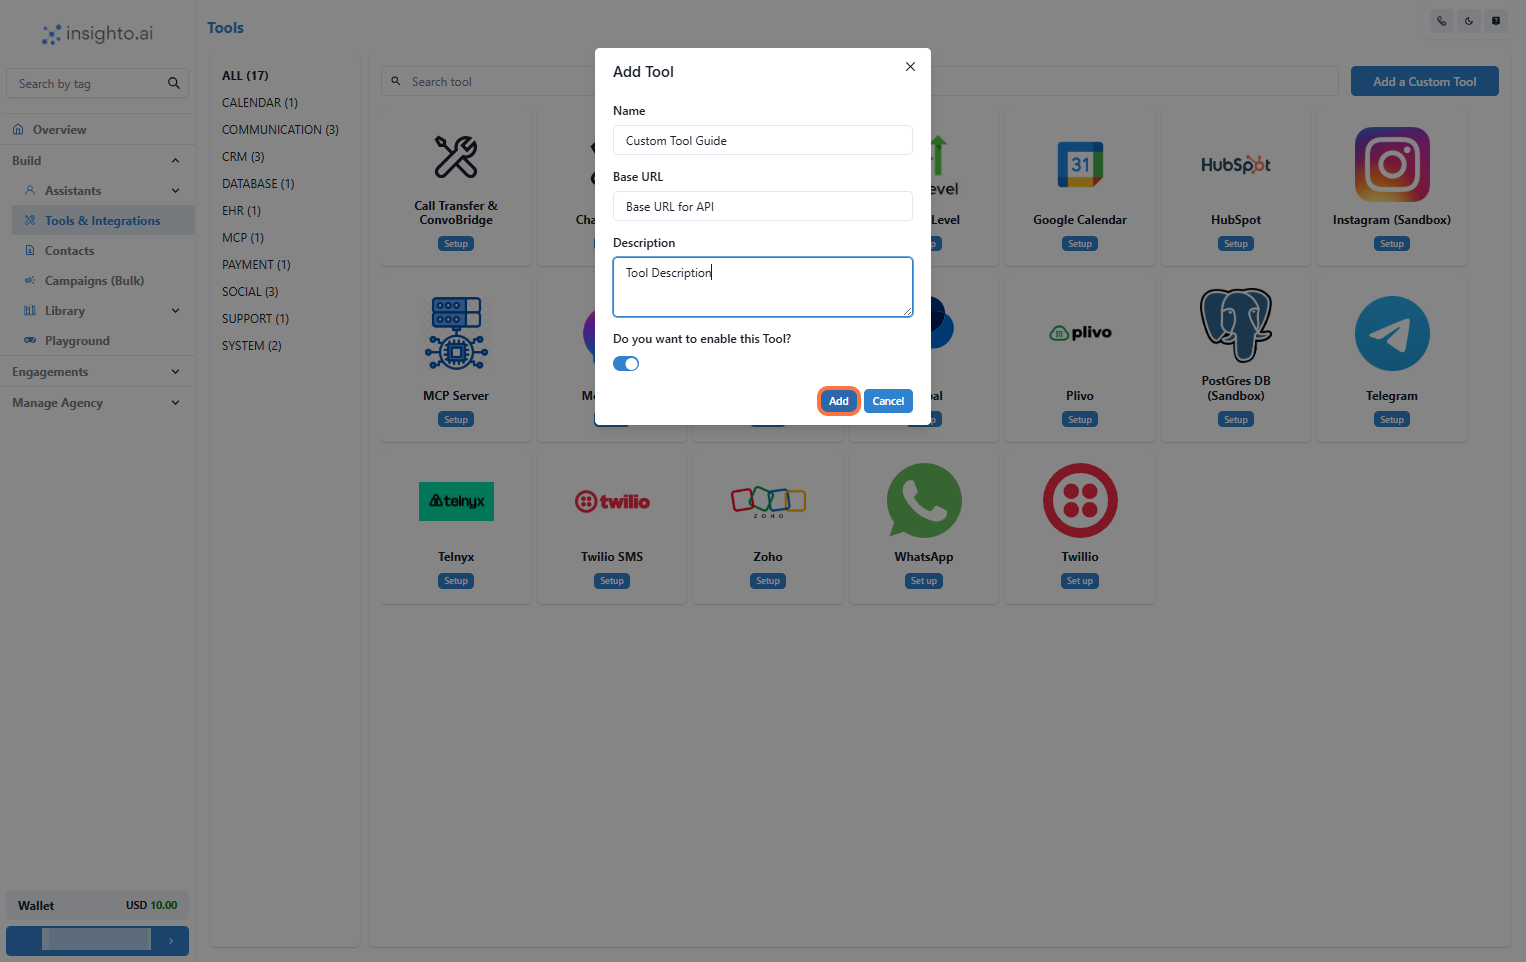
- Fill Out the Add Tool Form
- Name: Enter a suitable name for your custom tool.
- Base URL: This is the fixed part of the external API URL you want to use.
- Description: Write a brief description of what your custom tool does and how you plan to use it.
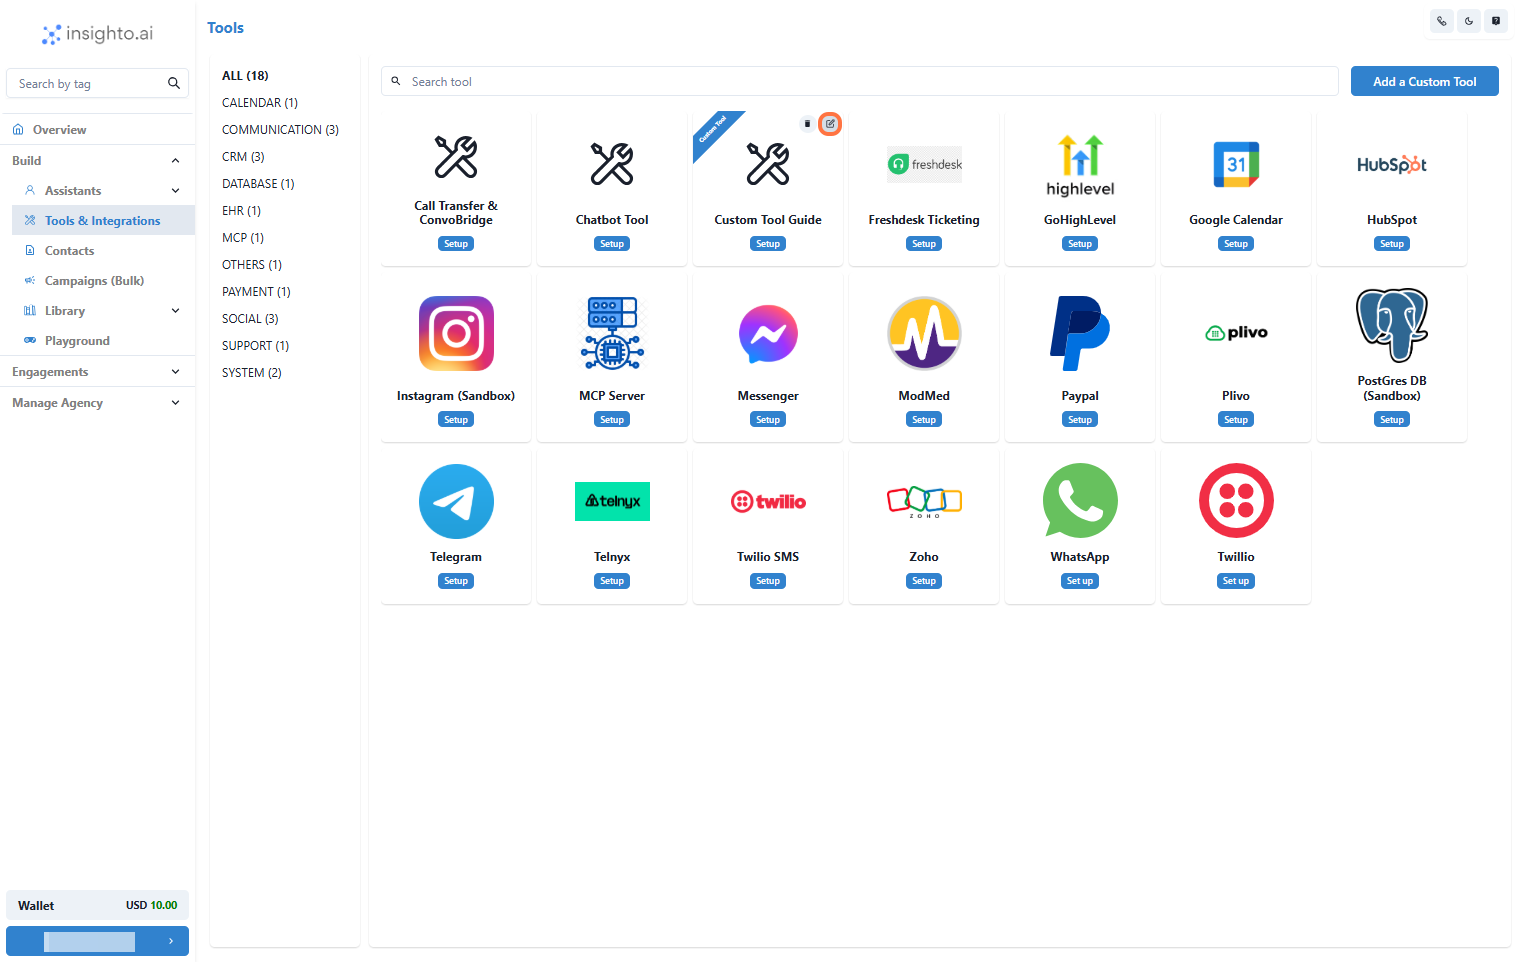
⚙️ Configure Functions for Your Custom Tool
- Locate and Edit Your Newly Created Tool
- Click on the “Functions” Option
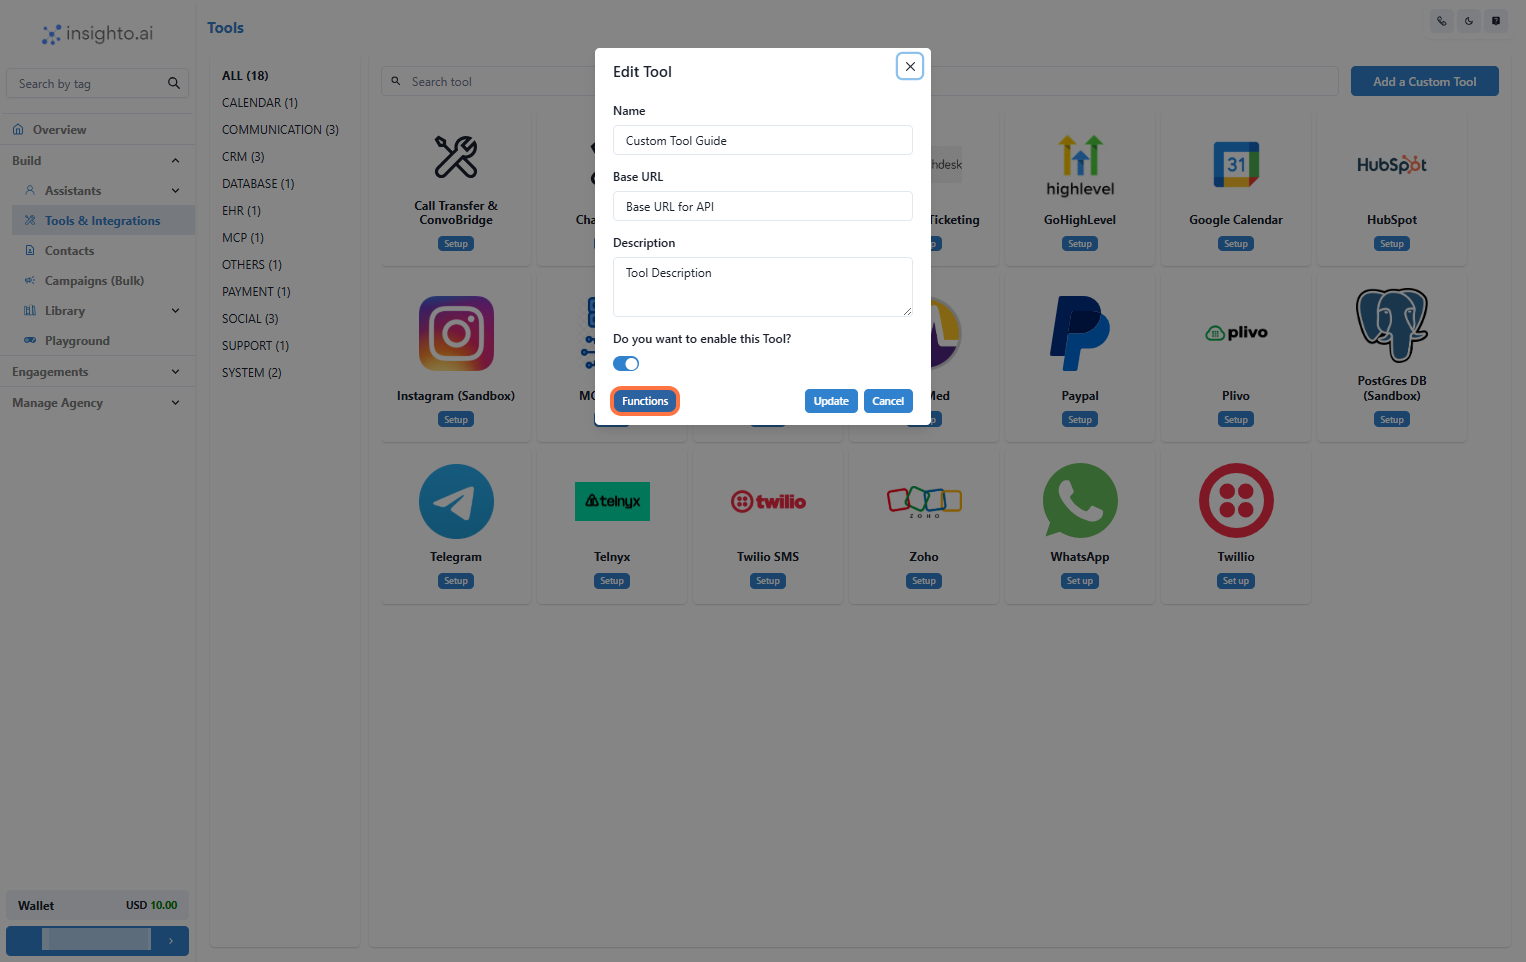
- Click on the “Create Function” Option
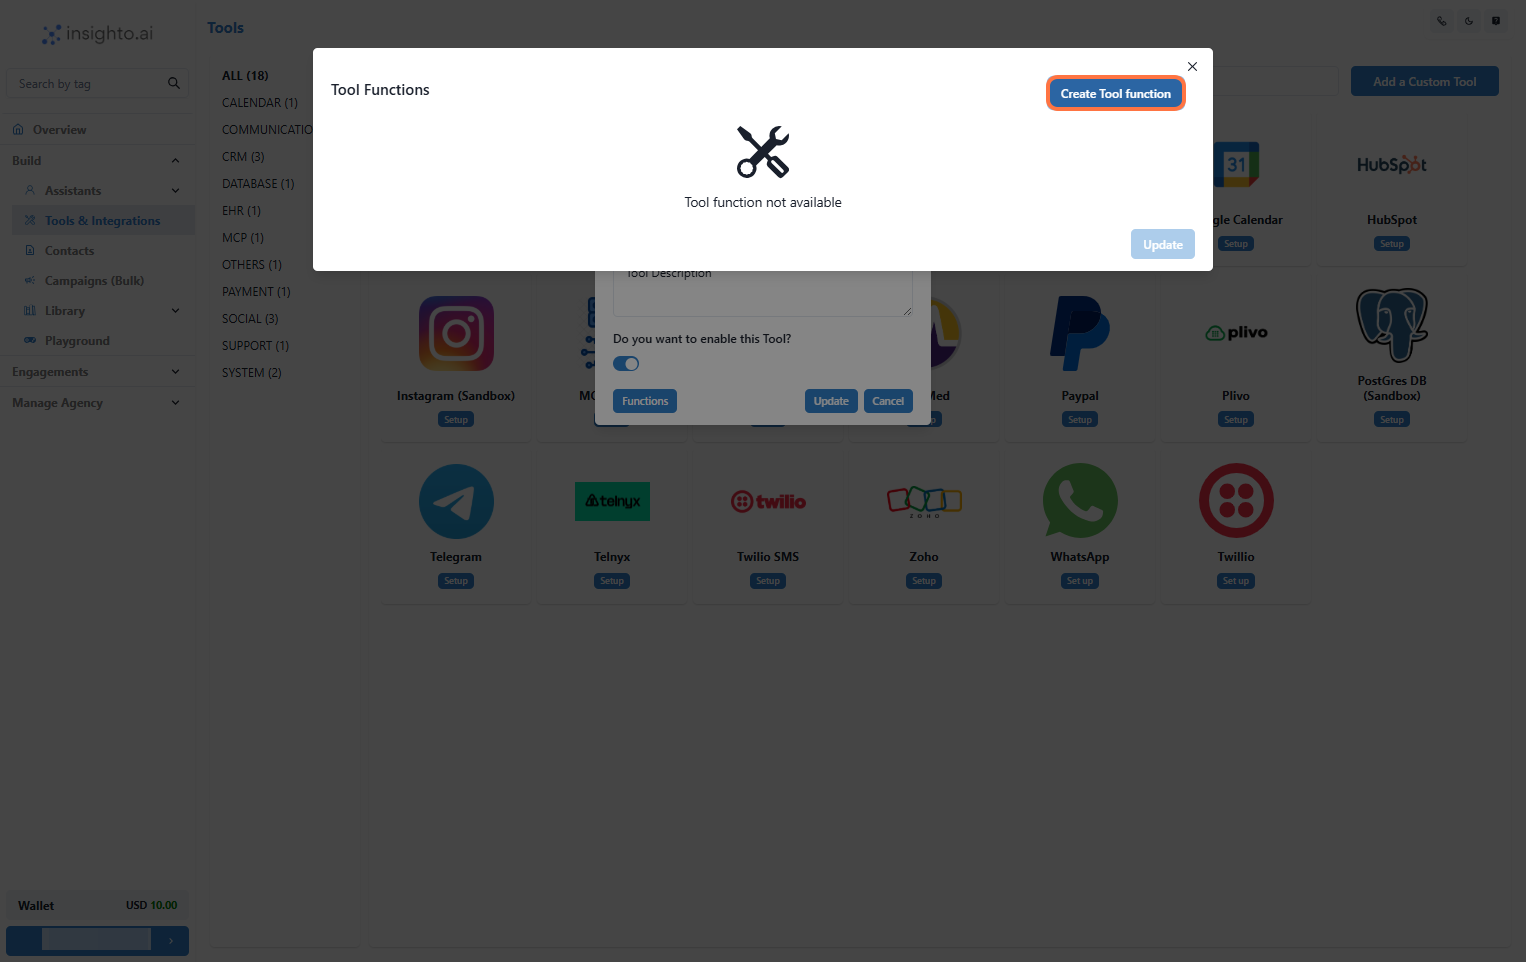
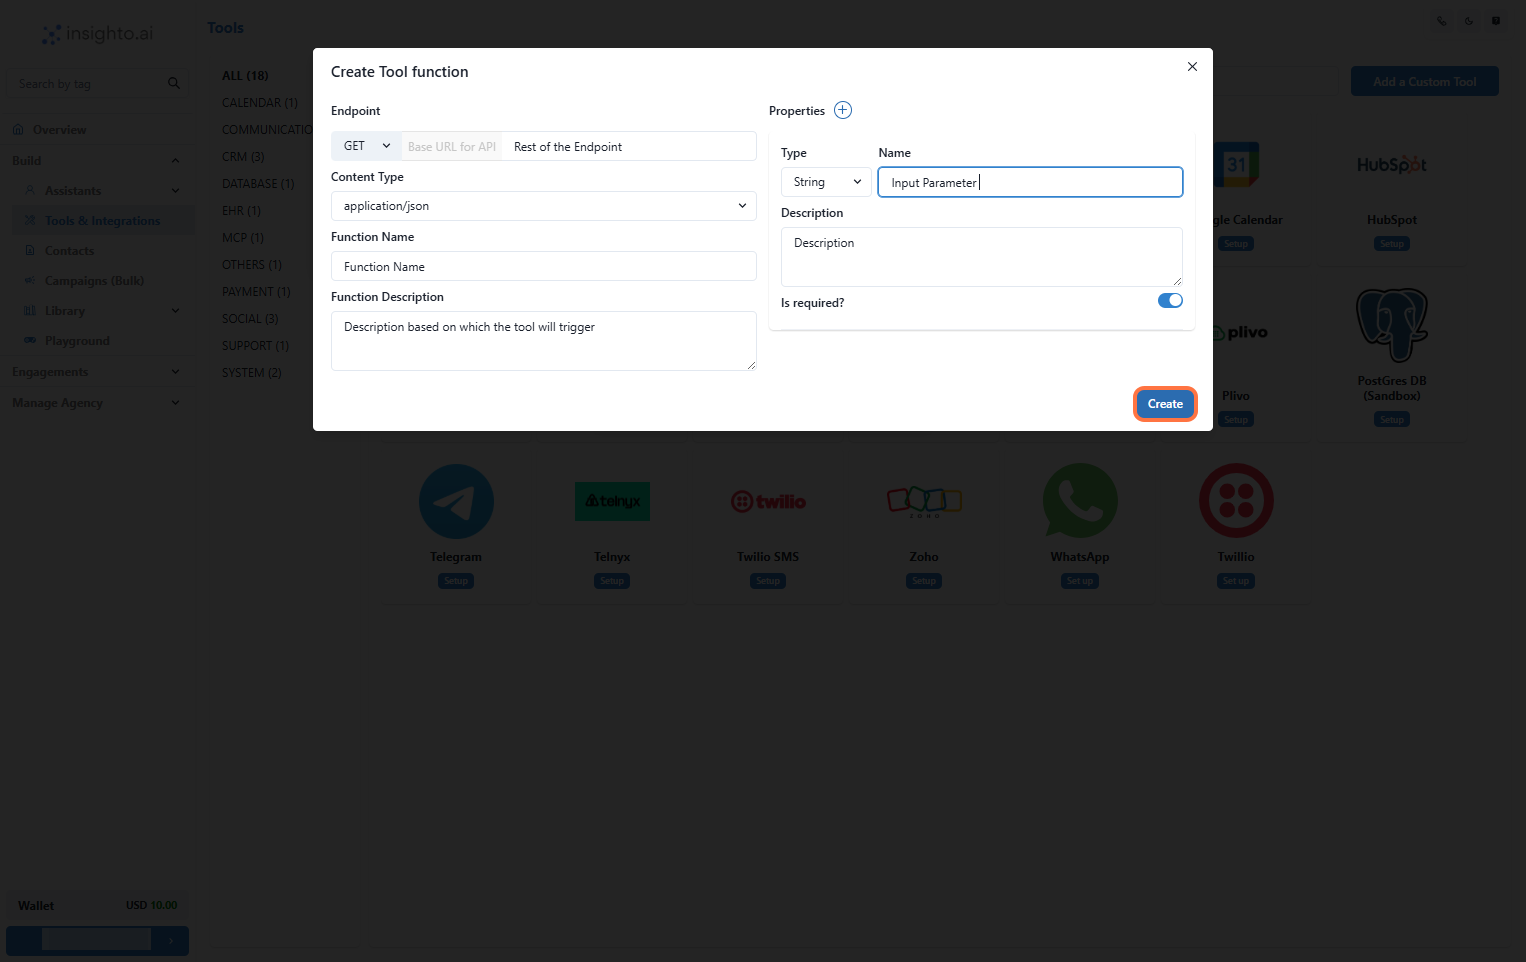
- Define Your Tool Function
- Endpoint: The URL endpoint this function will call.
- Content Type: Specify the content type (e.g., JSON).
- Function Name & Description: A clear name and description that will help trigger this function from prompts.
- Type (e.g., string, integer)
- Name
- Description
🔗 Setting Up Your Custom Tool to Connect with the Assistant
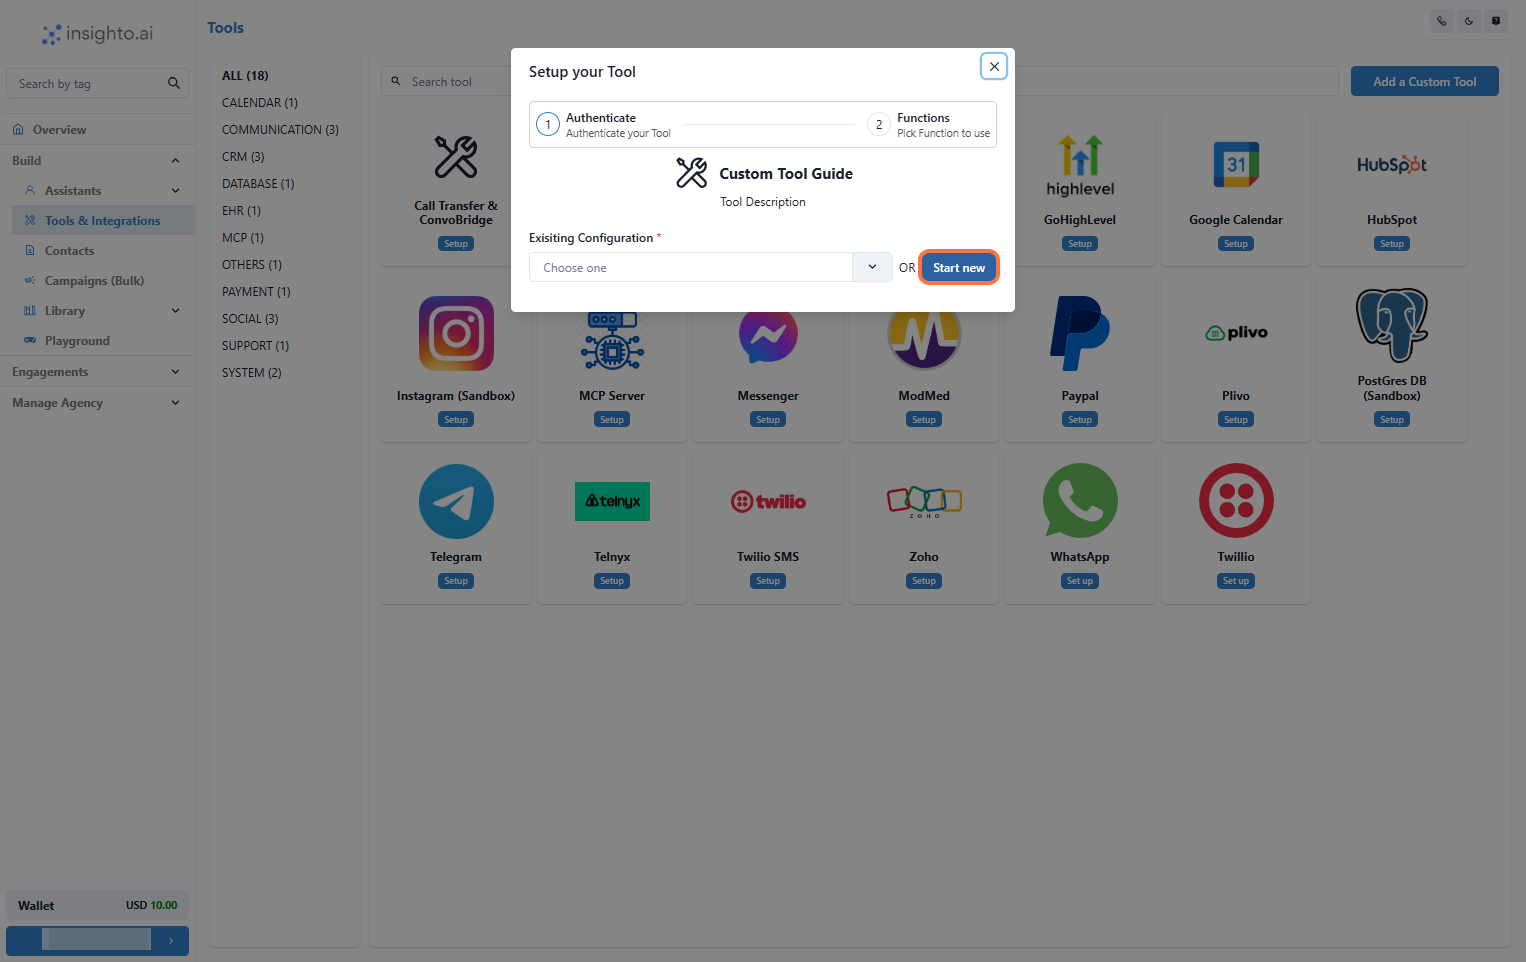
- Click on Set Up
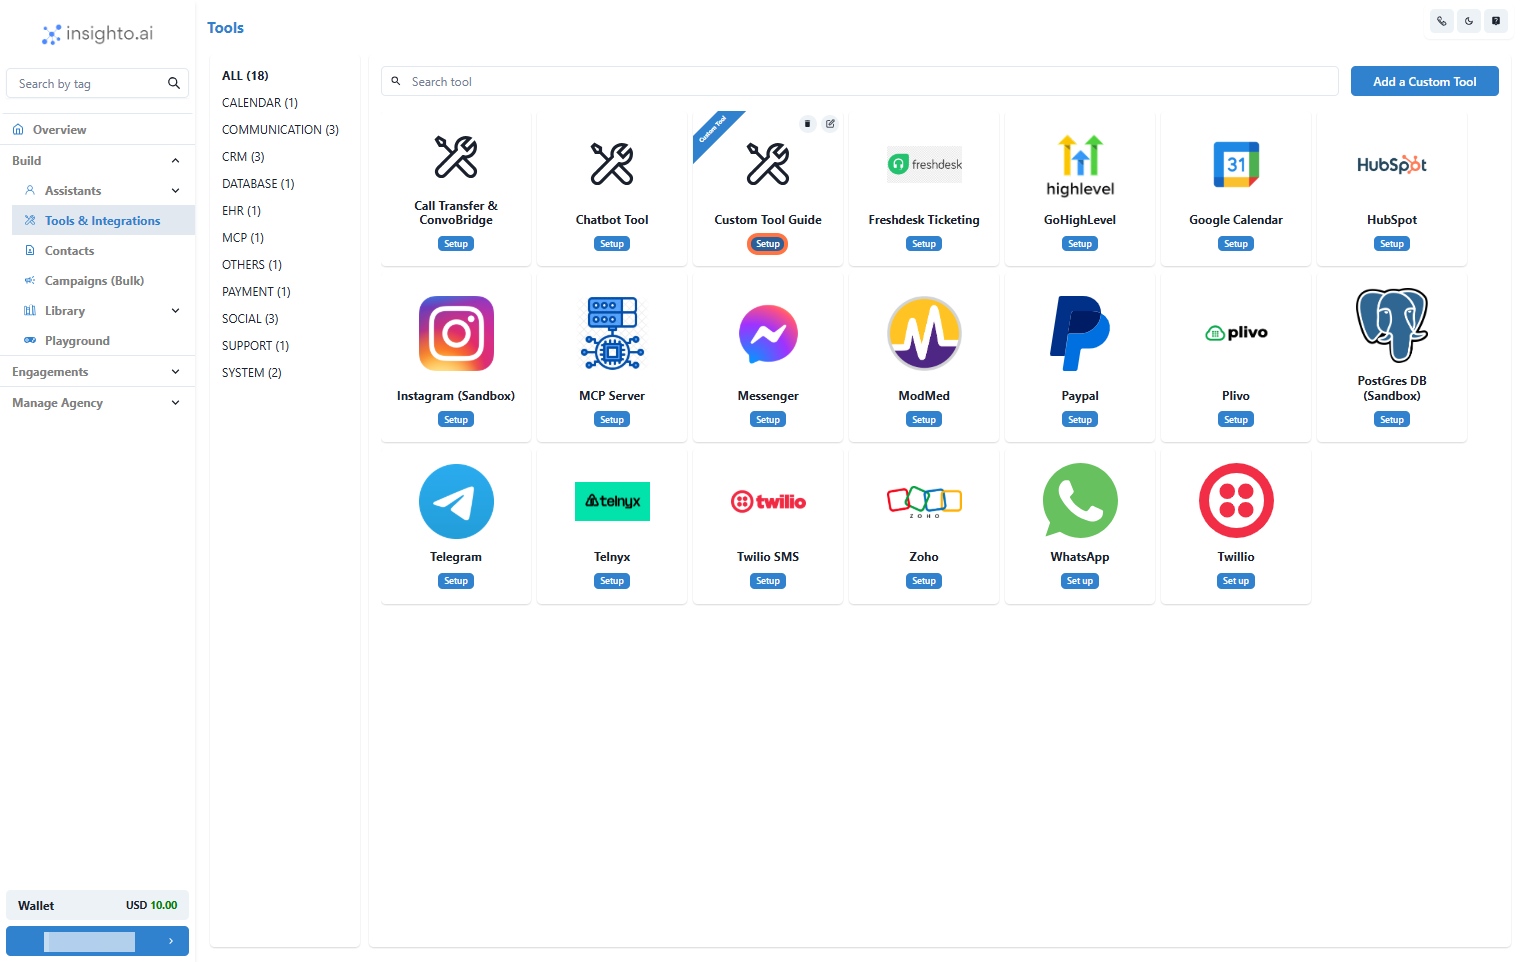
- Click on Start New
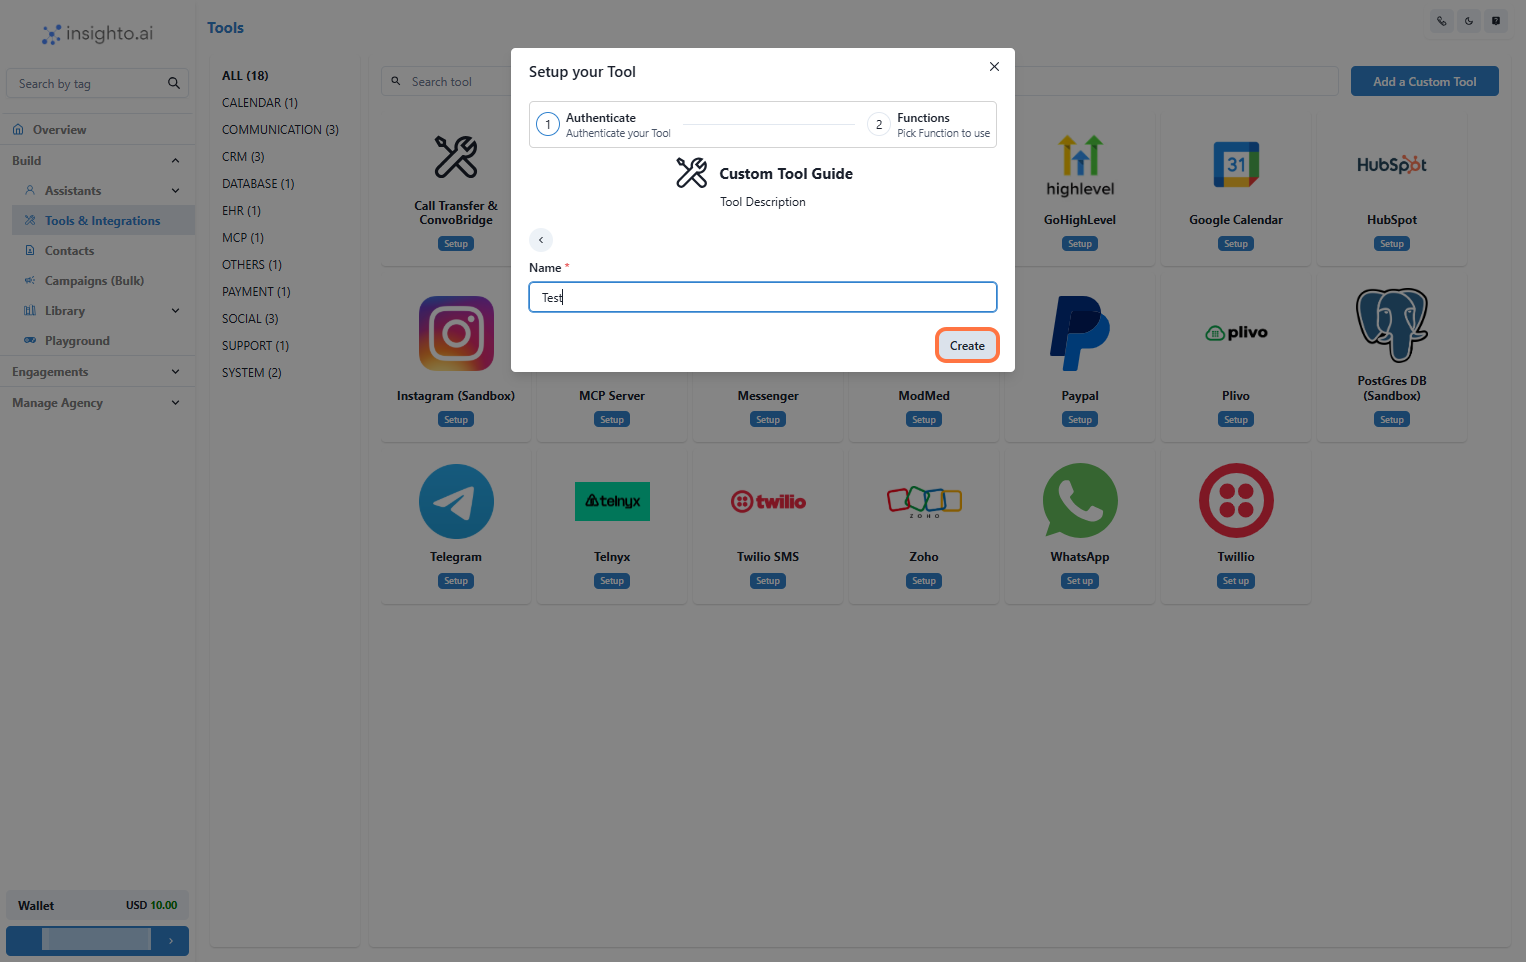
- Name Your Configuration and Click Create
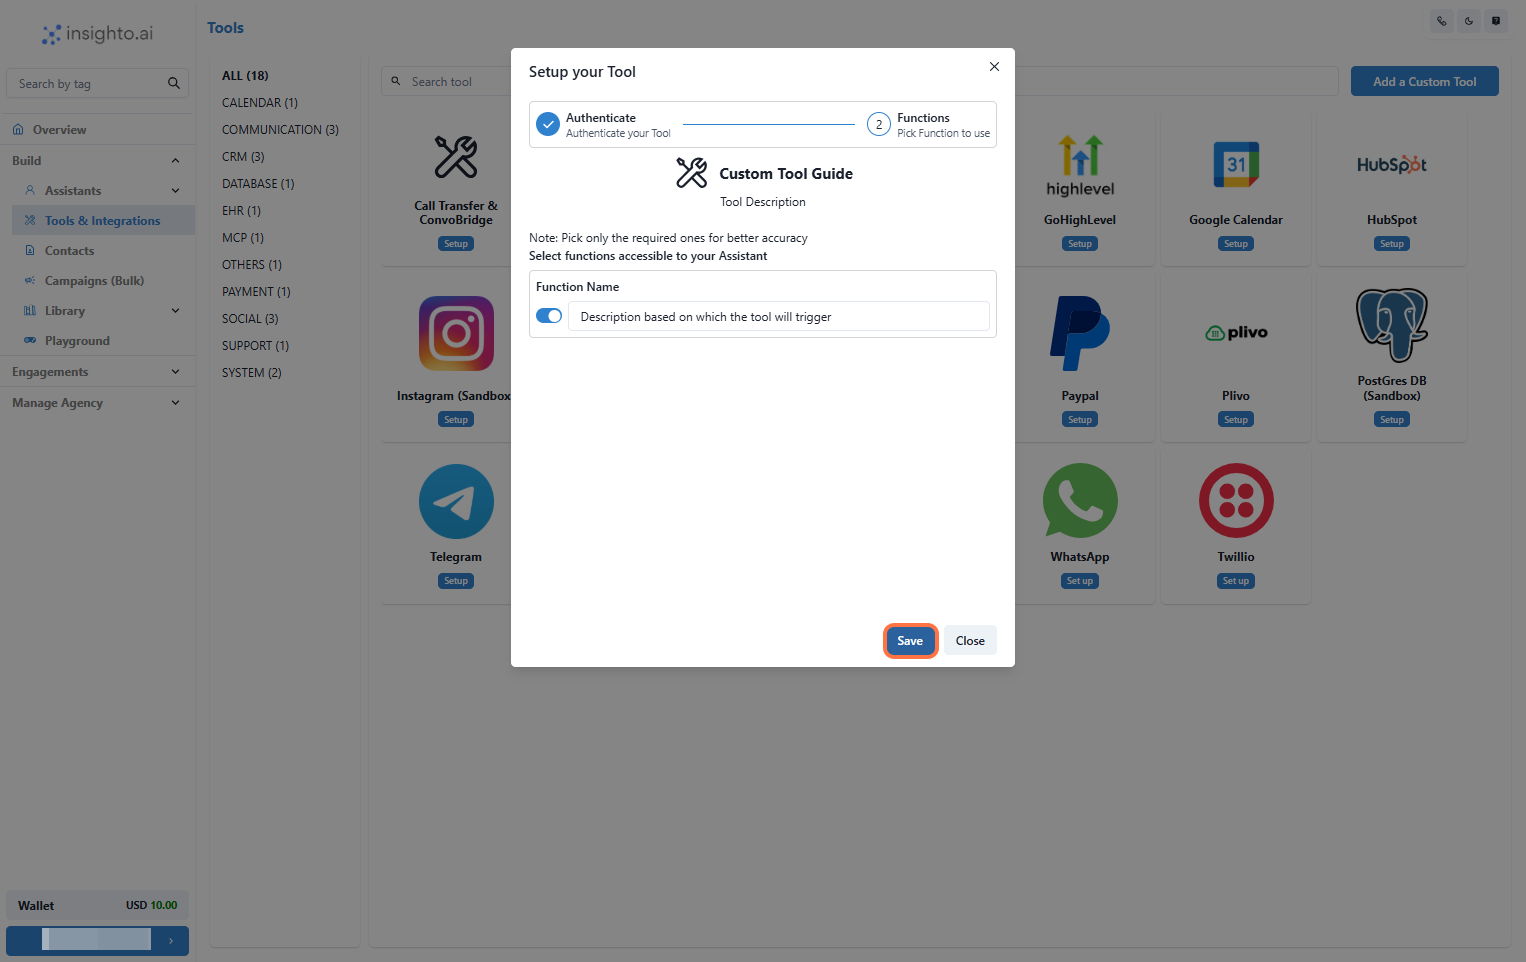
- Enable Required Functions and Save
🤖 Connect with Your Assistant
- Go to the assistant you want to connect this tool with.
- Click Edit on the assistant.
- Navigate to the Tools tab.
- Find and connect your newly created custom tool.
- Add prompts that trigger your tool’s functions.
- Use the phrase “using the available tool” in prompts to ensure the assistant activates it correctly.