

This guide will walk you through setting up Plivo, integrating it with Insighto, and deploying your assistant.
☁ Ideal for users who want to enable call-based interactions using Plivo.
Plivo Set Up Process
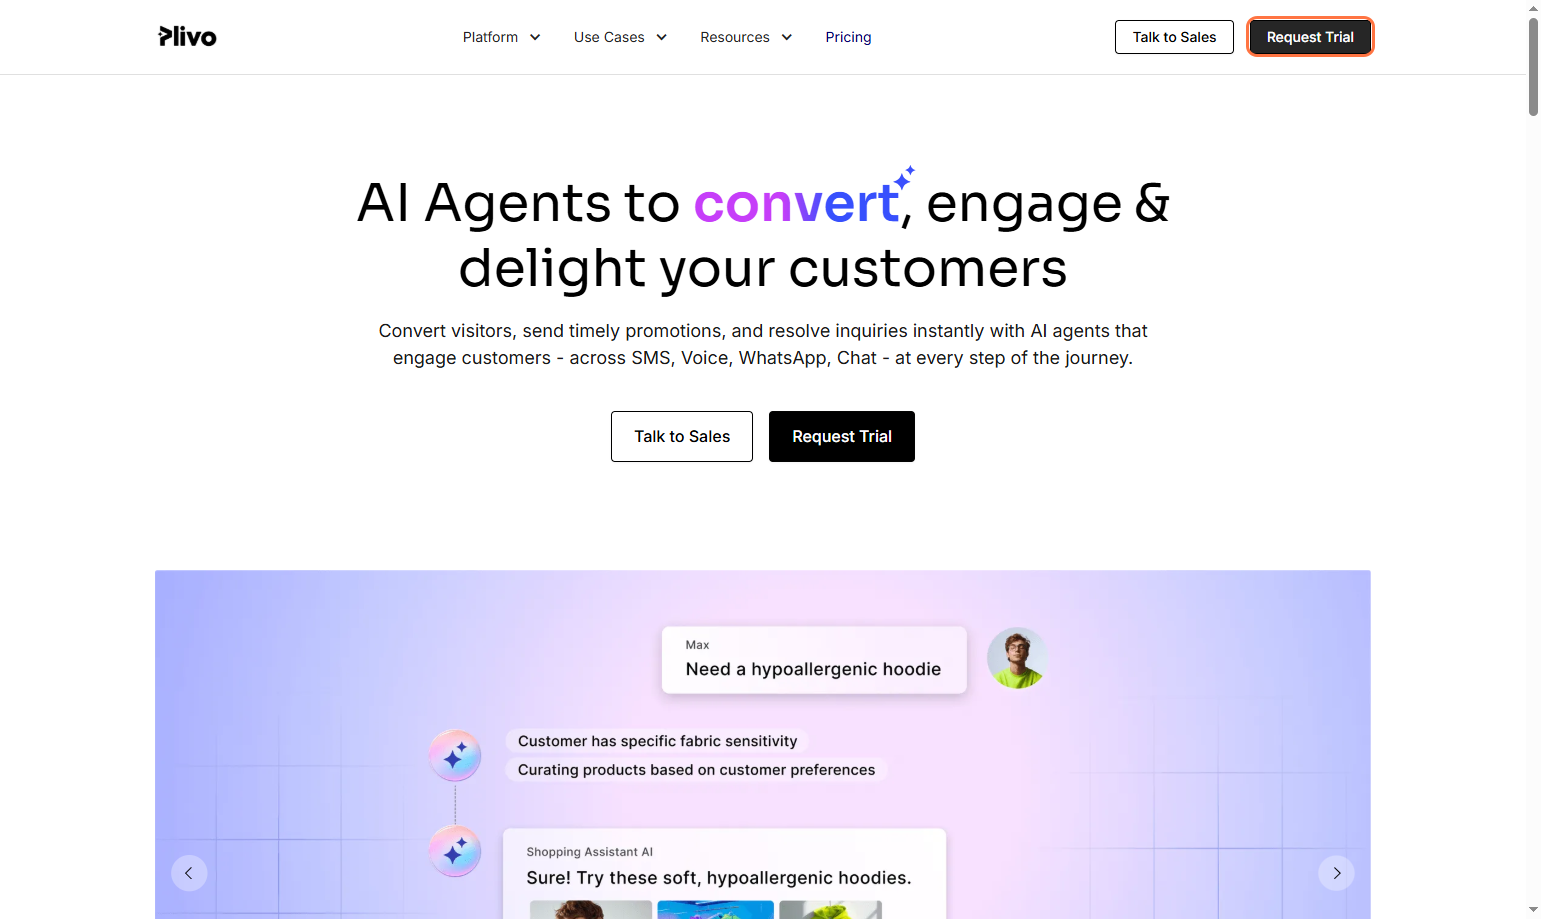
- Click on Request Trial on Plivo Website
Click on the “Request Trial” button—this will take you to the signup page.
Fill in the required details to create your account.
- Log In to Your Plivo Account
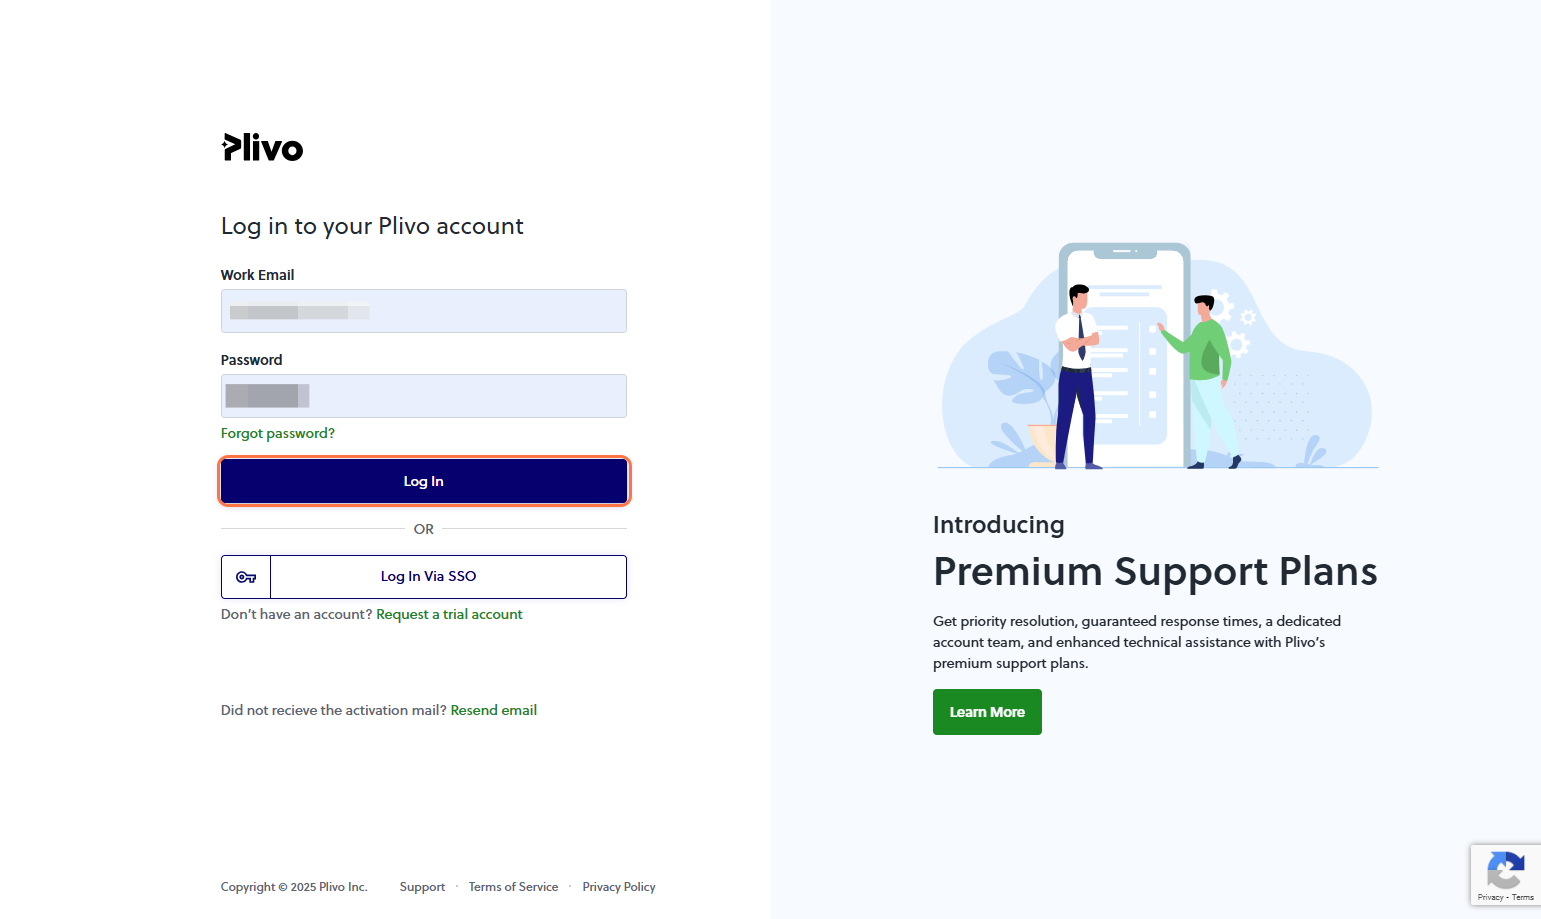
- Go to the Plivo Login Portal.
- Enter your credentials and sign in to access your dashboard.
- Copy Auth ID and Auth Token
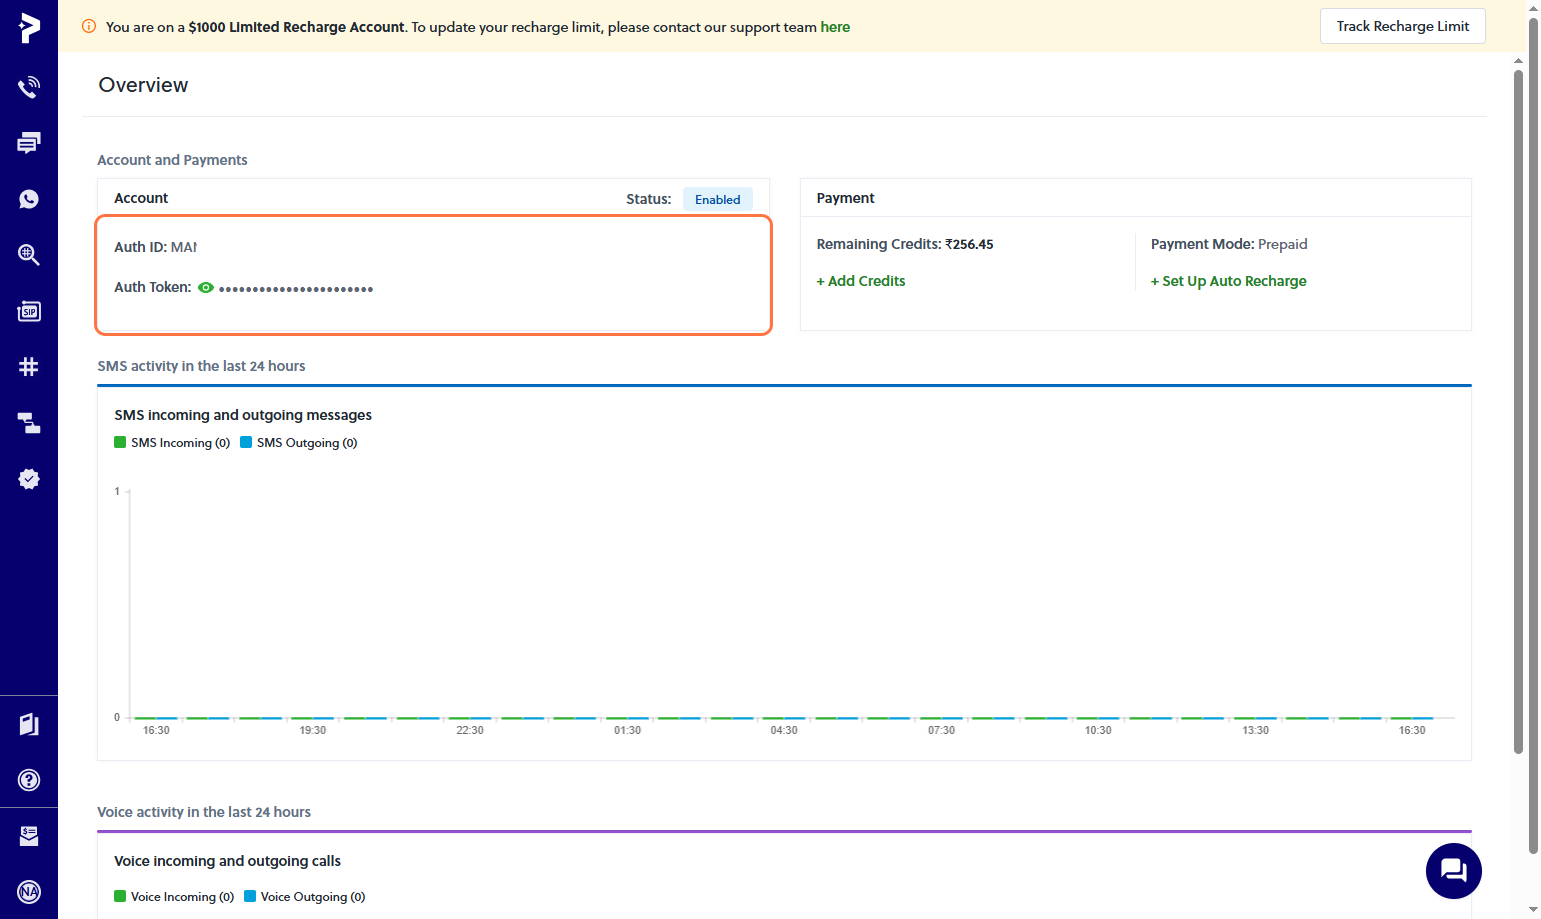
Copy and keep them handy — you’ll need these to integrate Plivo with Insighto.
🔒 Treat these as sensitive credentials. Don’t share them publicly.
- Buy a Plivo Phone Number
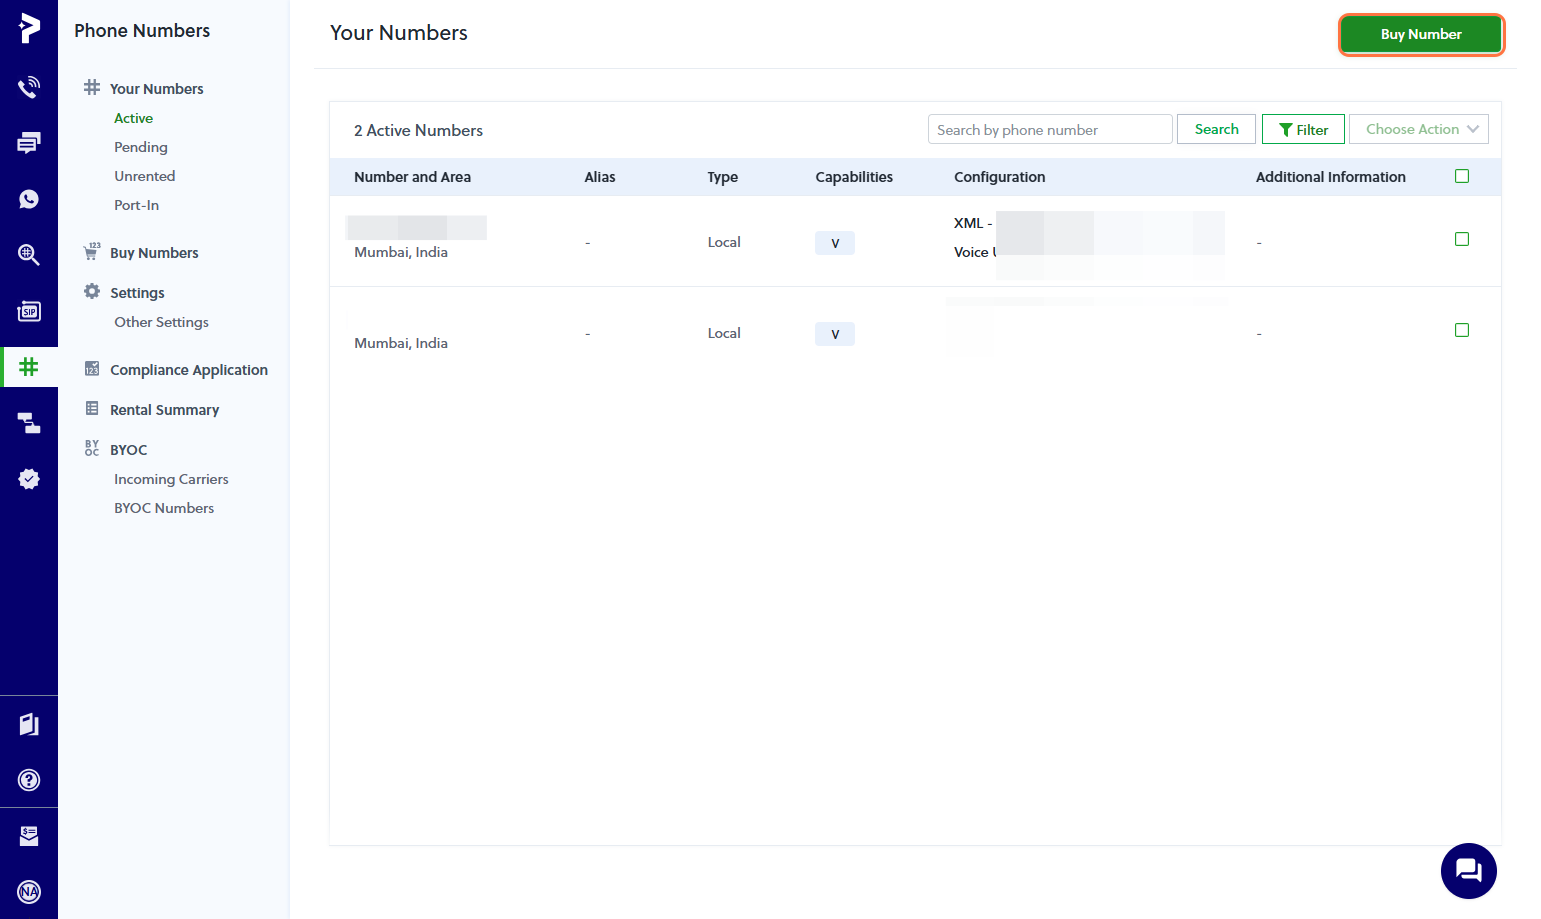
- Go to the Phone Numbers section in your Plivo Console and click Buy a Number.
- Use filters to select your country and ensure the number has Voice capability.
✅ Plivo Setup Complete
Plivo Integration with Insighto.ai
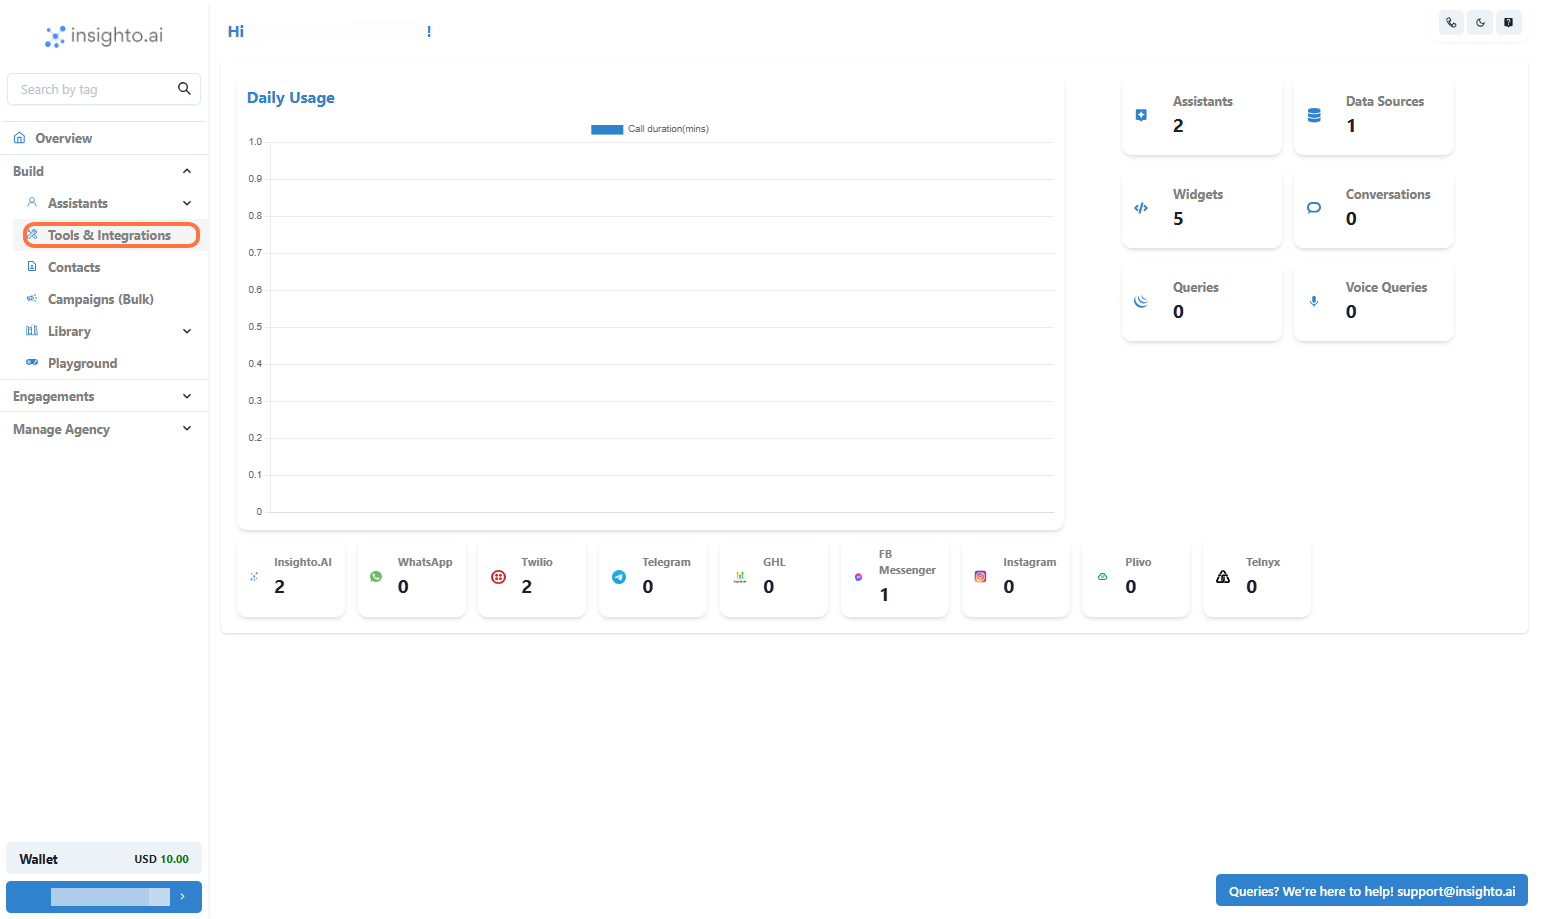
- Click on Tools & Integrations
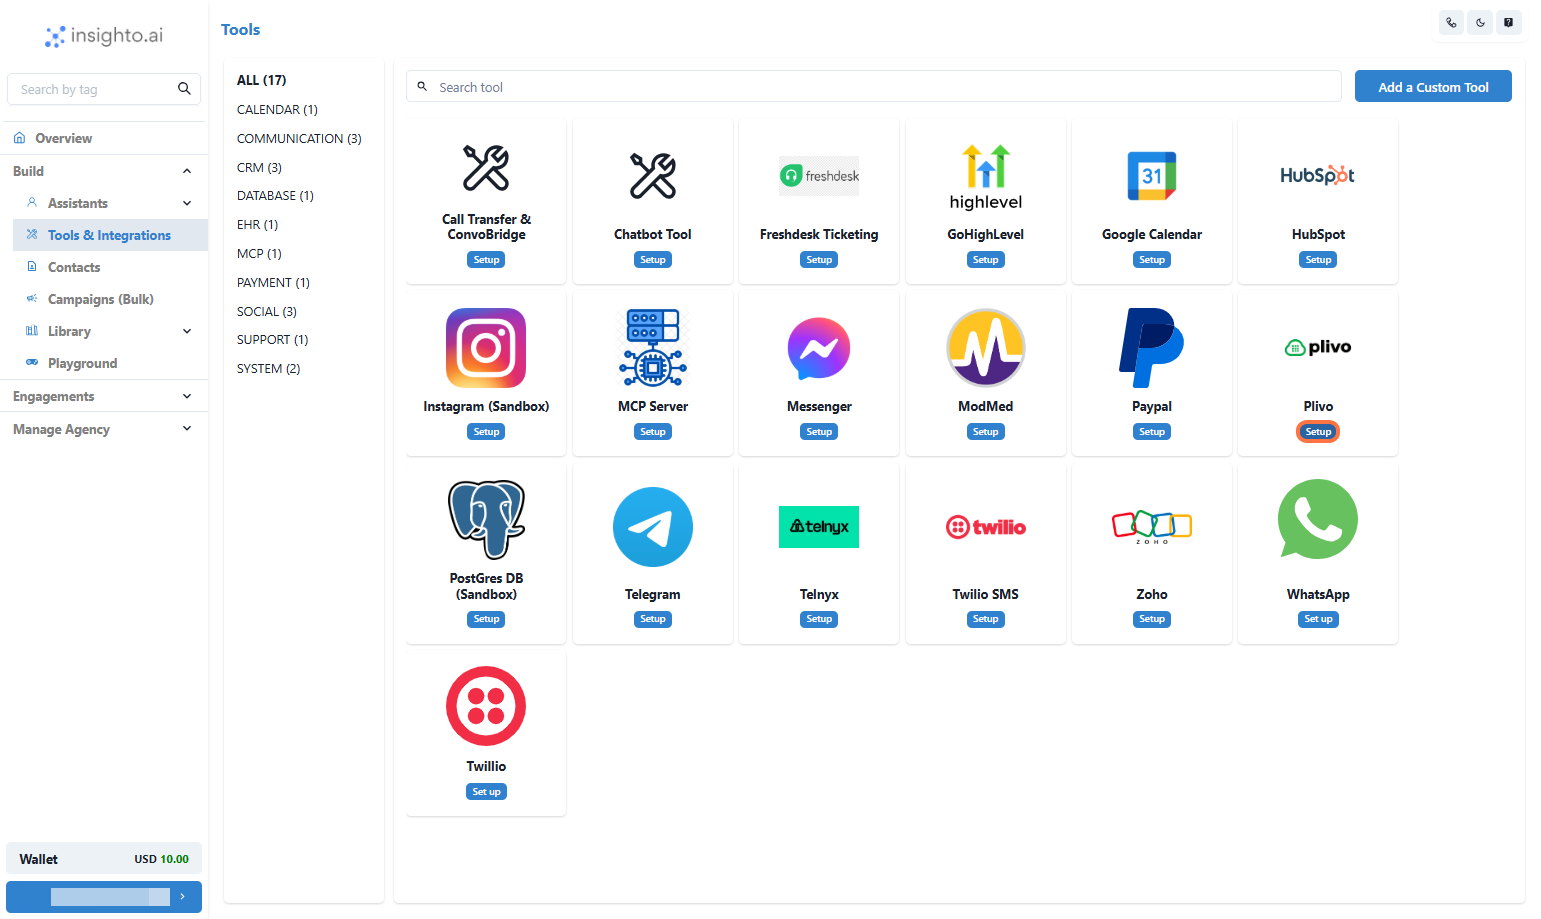
- Click on Plivo Tool Setup
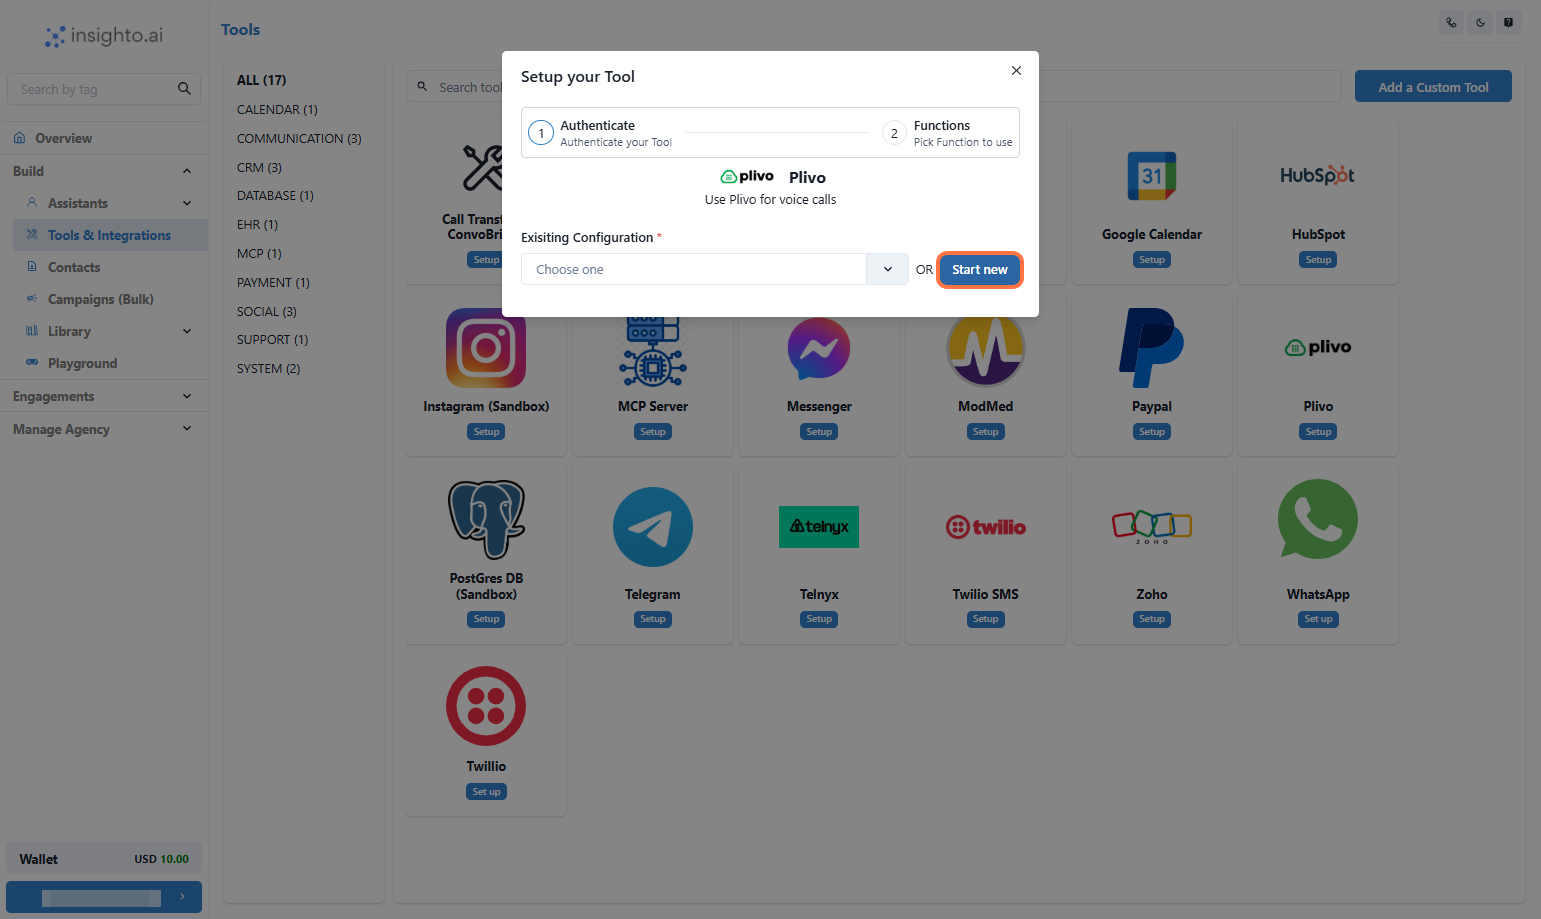
- Click on Start new
- Click on Submit
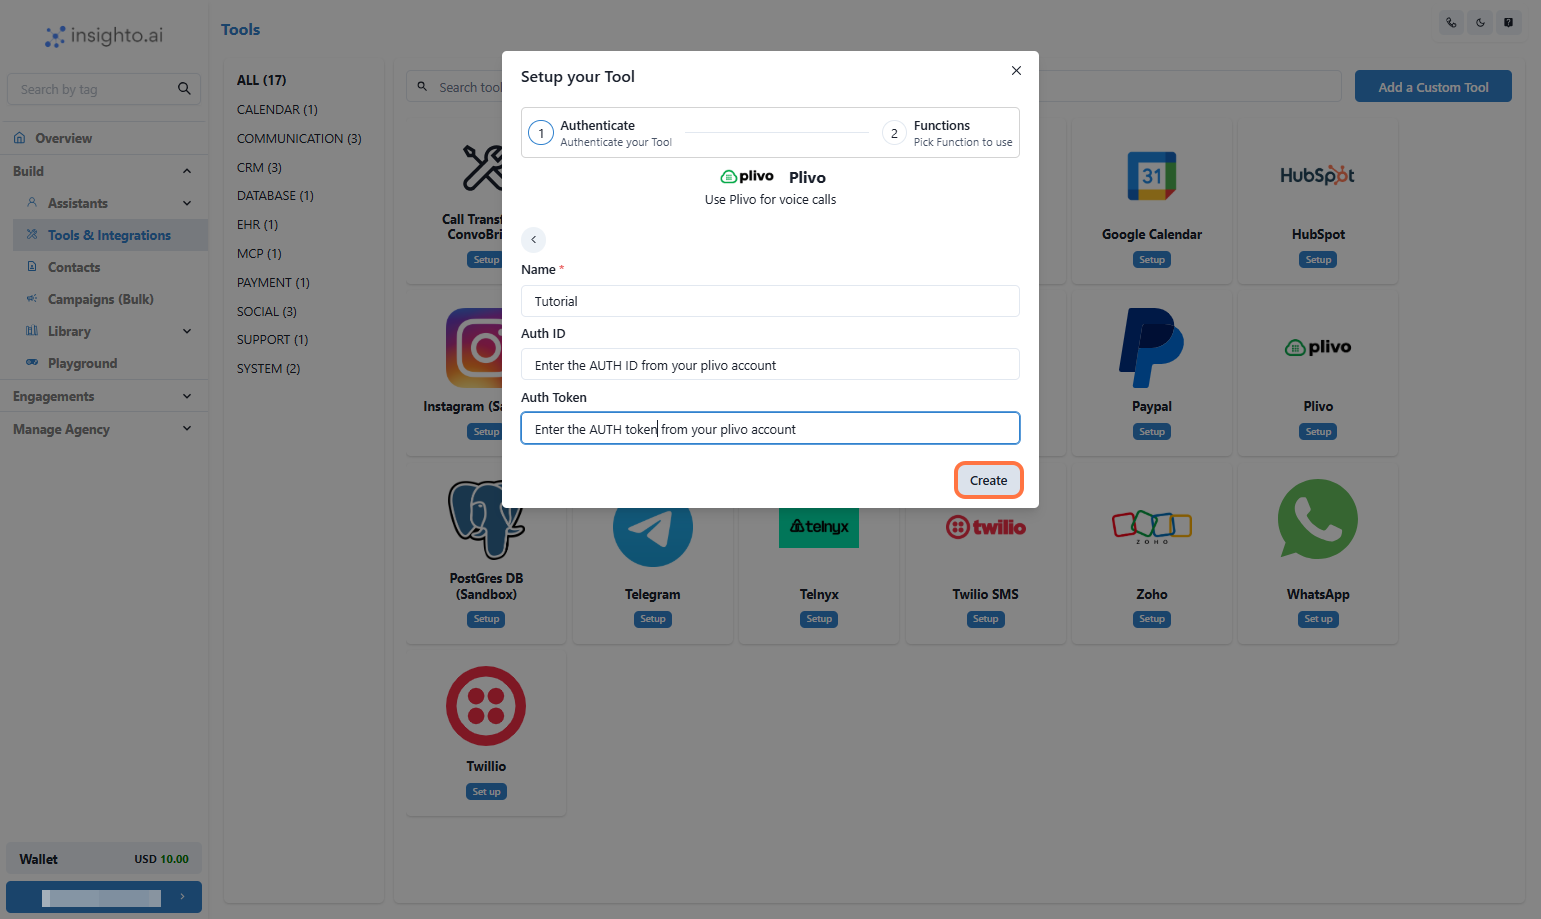
- Provide a Name
- Input your Auth ID and Auth Token
- Click on Submit
- Click on Save
The tool doesn’t require additional configuration at this stage because it serves as a simple integration point. Click on Save
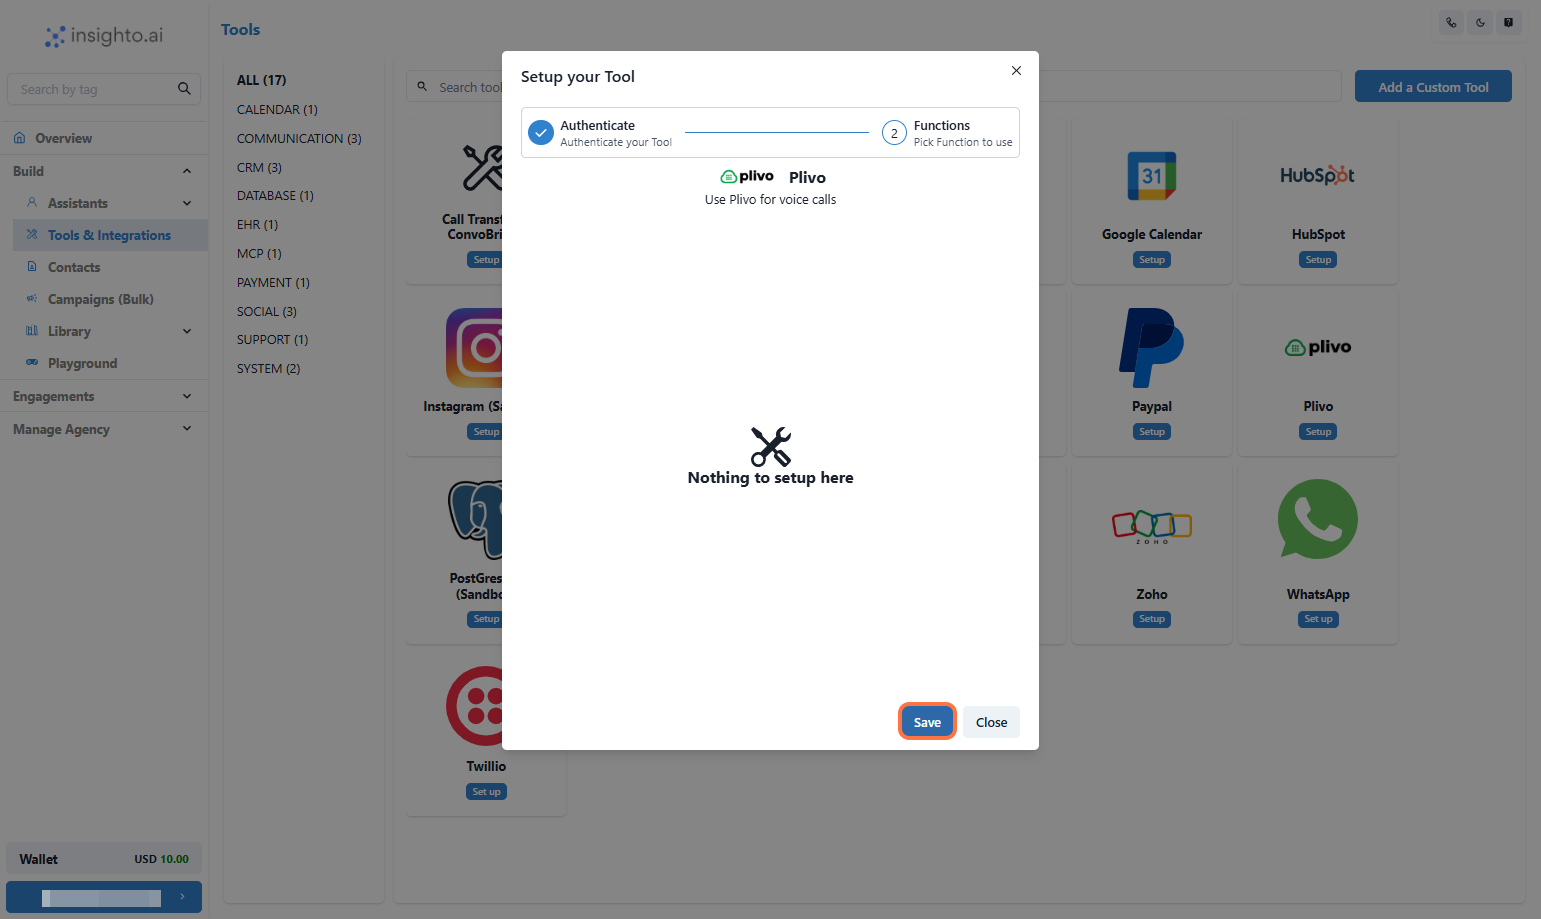
🔗 Plivo Integration Complete Your Plivo account is now successfully connected to Insighto.
Let’s move on to the final step — deploying your voice assistant on the Plivo number.
Plivo Widget Set Up Process
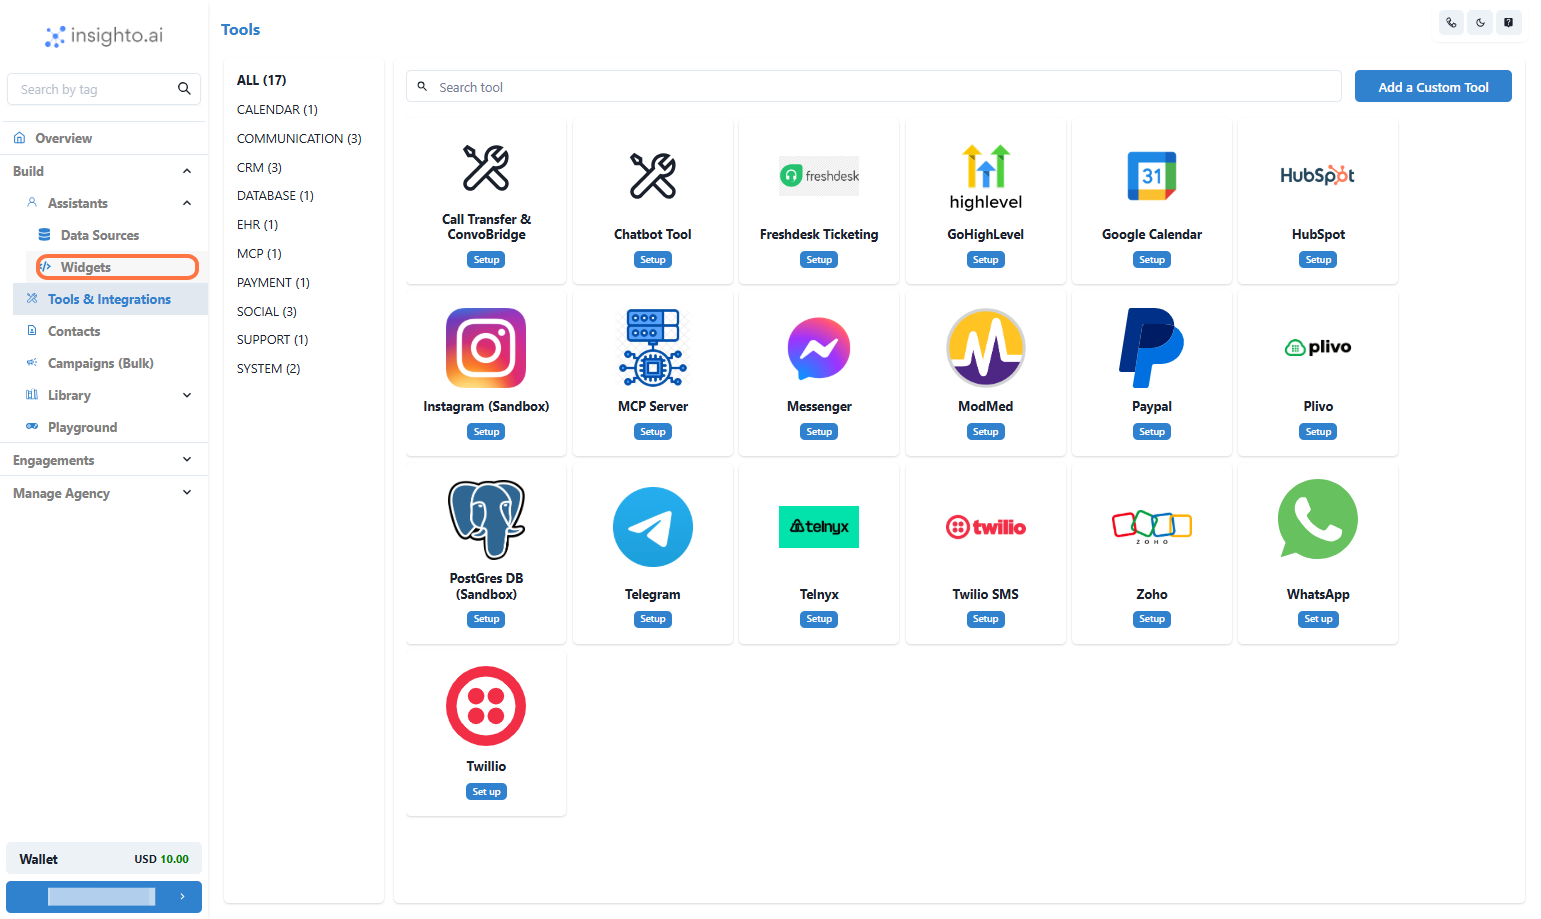
- Click on Widgets
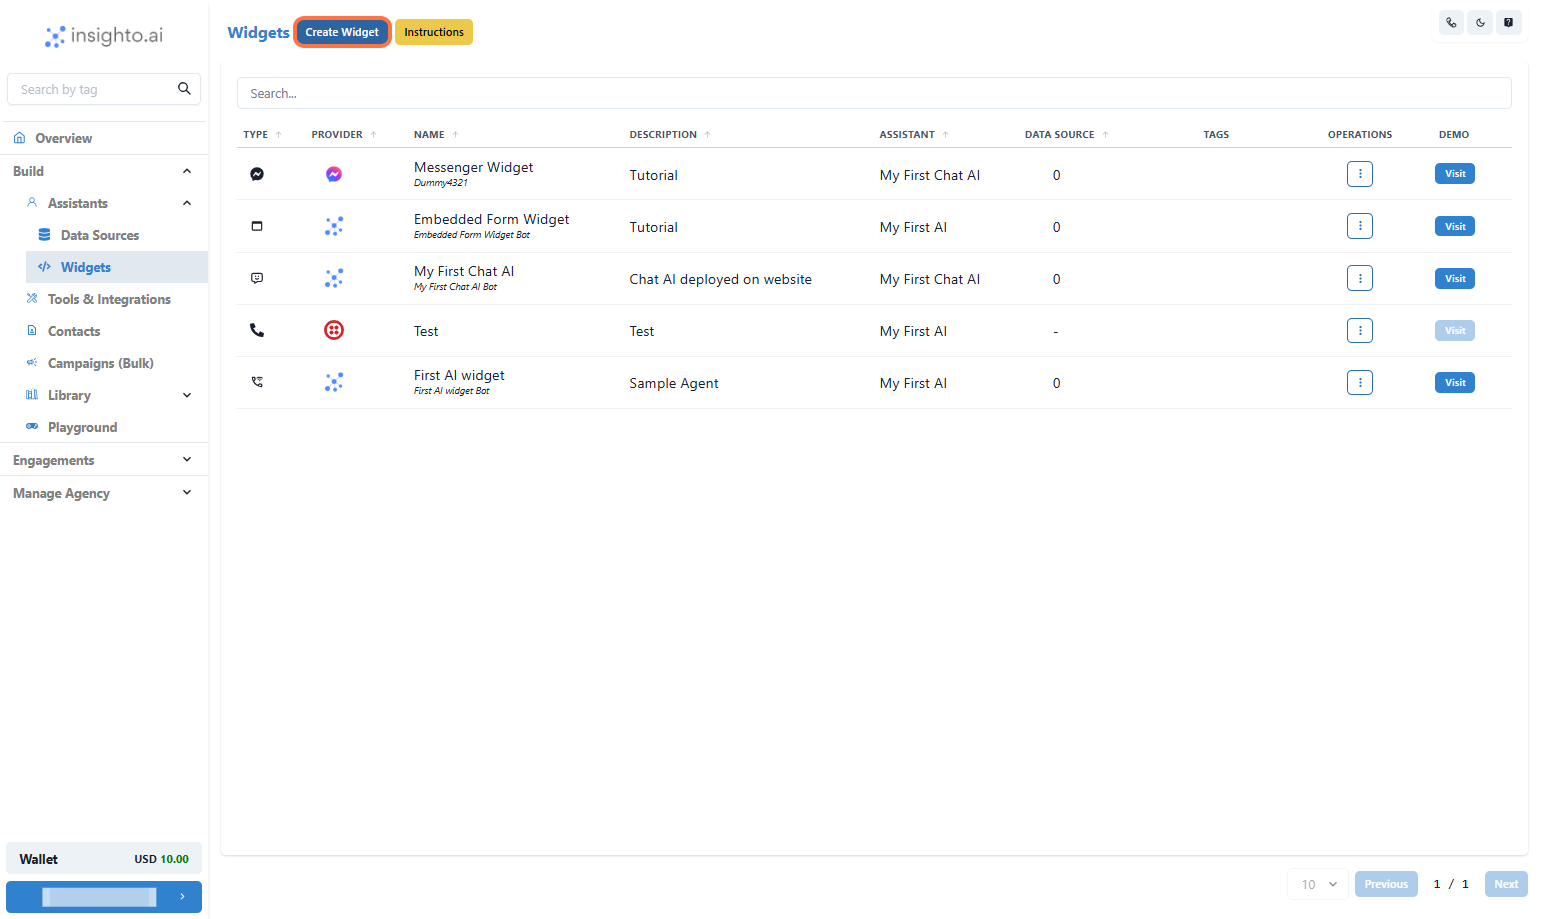
- Click on Create Widget
- Select Provider Type
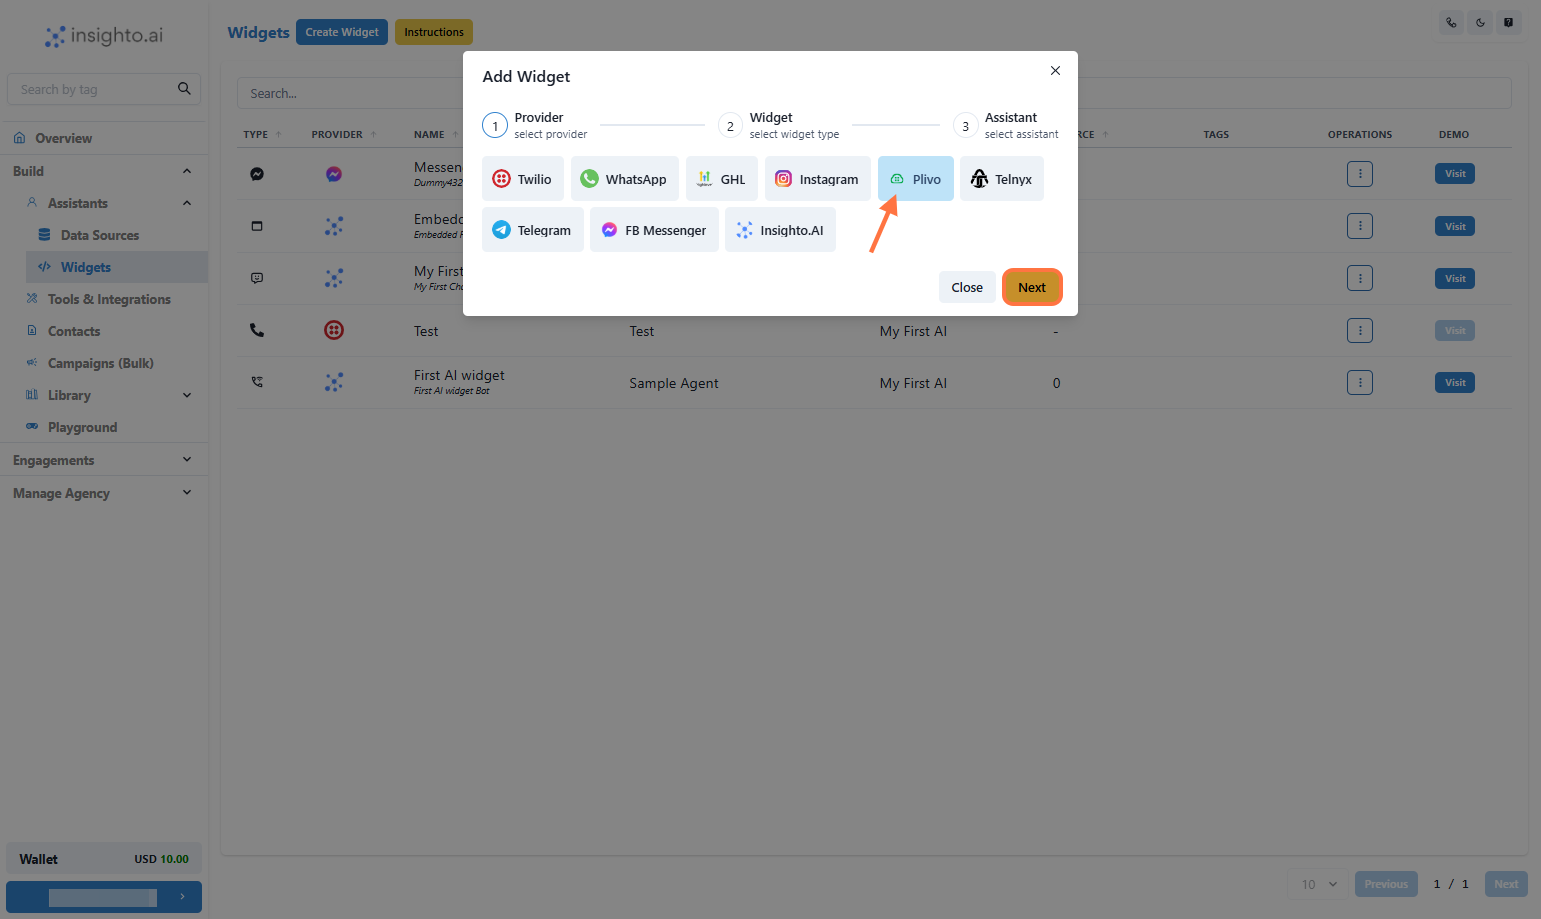
- Select Widget Type
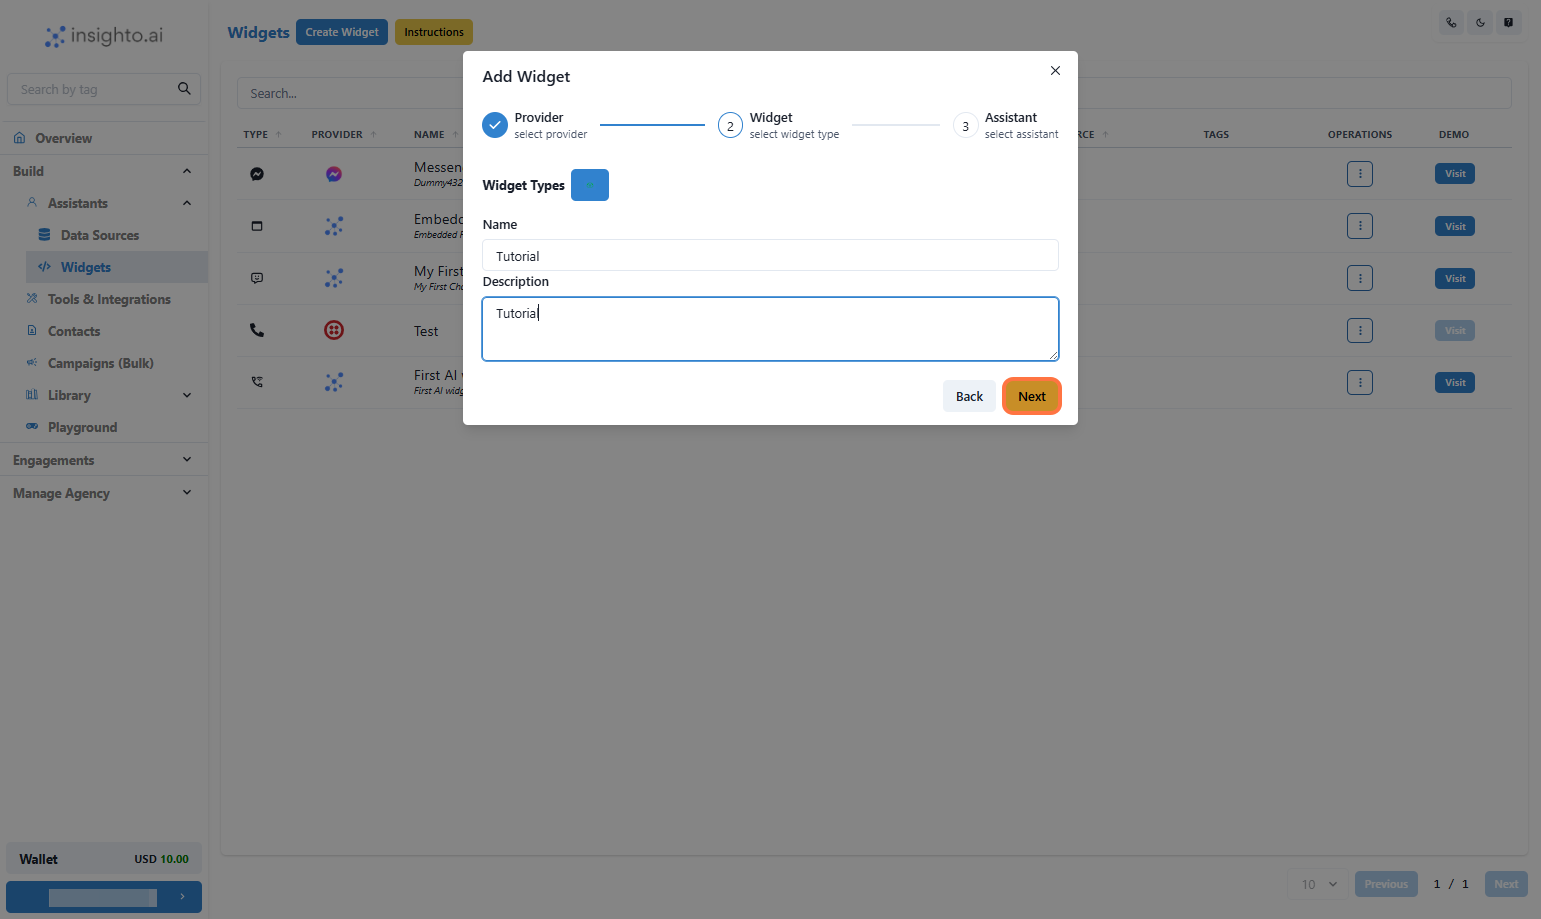
Provide Name & Description of the Widget
Click on Next
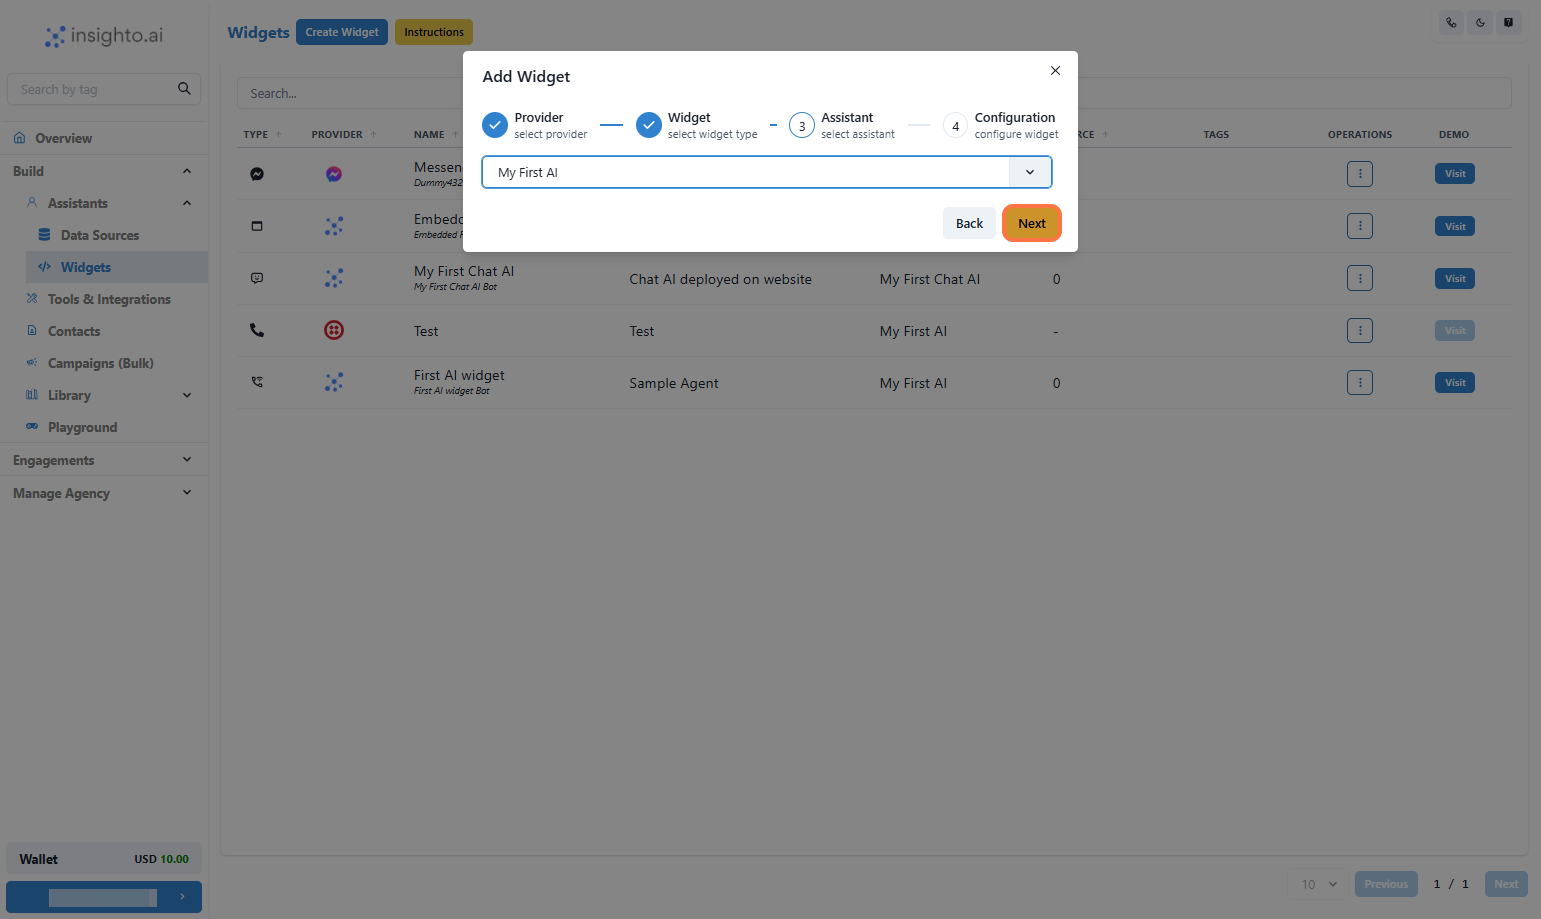
- Select the Assistant
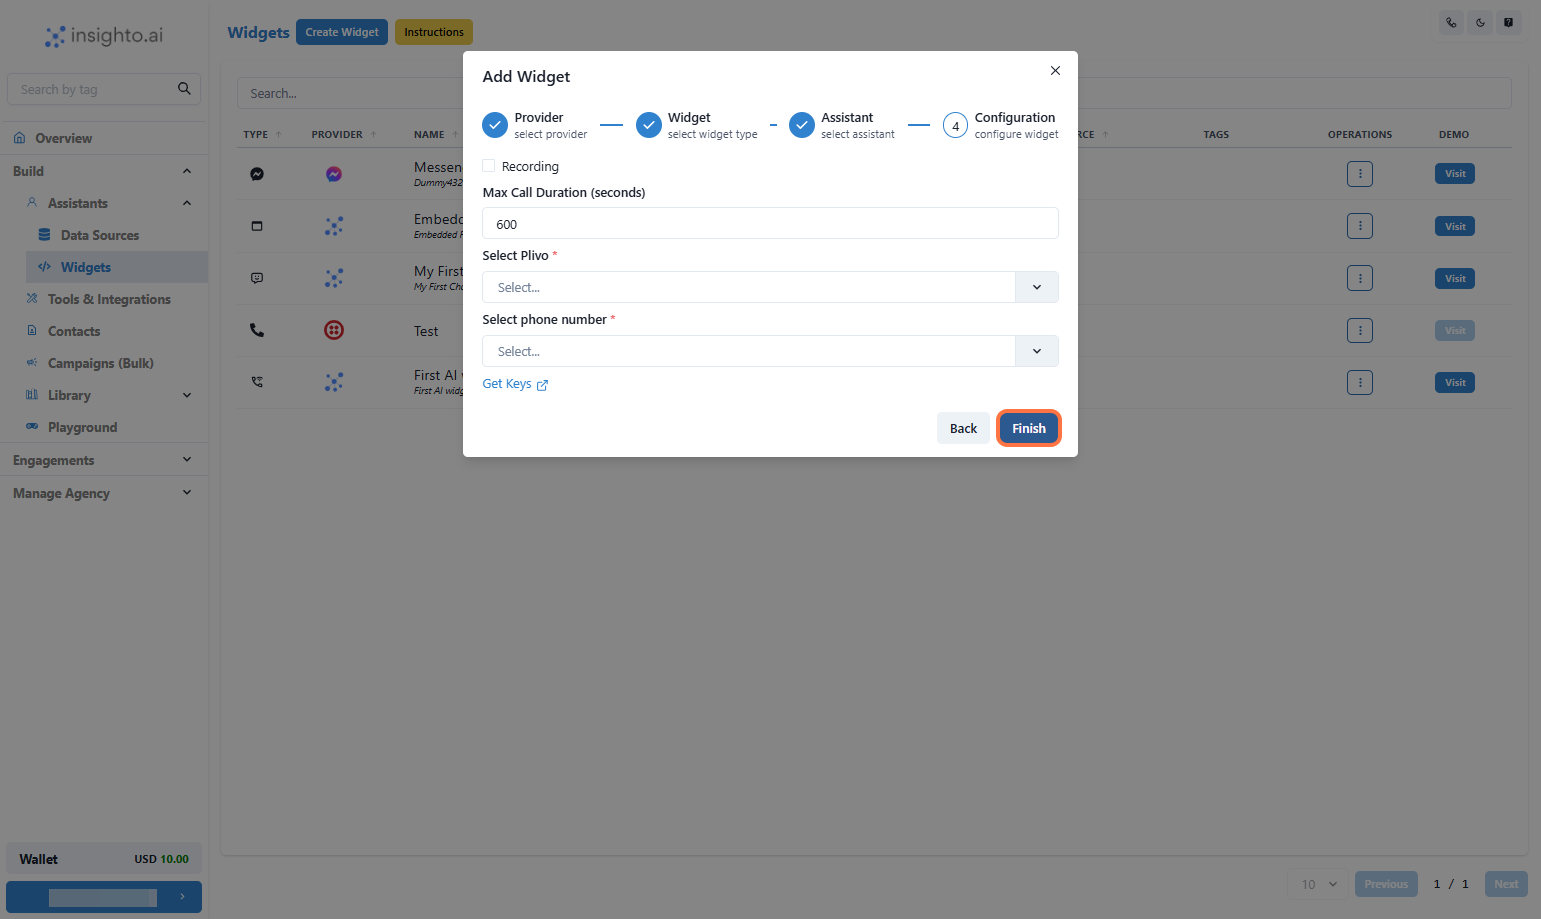
- Configure Plivo Widget
- Enable Call Recording (optional) – Recordings will be available in your Plivo dashboard
- Set Maximum Call Duration in seconds (e.g., 300 for 5 minutes)
- Select Your Plivo Account from the dropdown
- Choose a Phone Number associated with that account
- Test Your Voice Assistant
Make sure the conversation flows as expected based on your prompt and voice settings.