In this guide, you’ll learn how to build custom forms, connect them with your assistant, and trigger them dynamically during conversations to capture structured information from users.Documentation Index
Fetch the complete documentation index at: https://docs.insighto.ai/llms.txt
Use this file to discover all available pages before exploring further.
Creating Forms and Connect them with Assistants
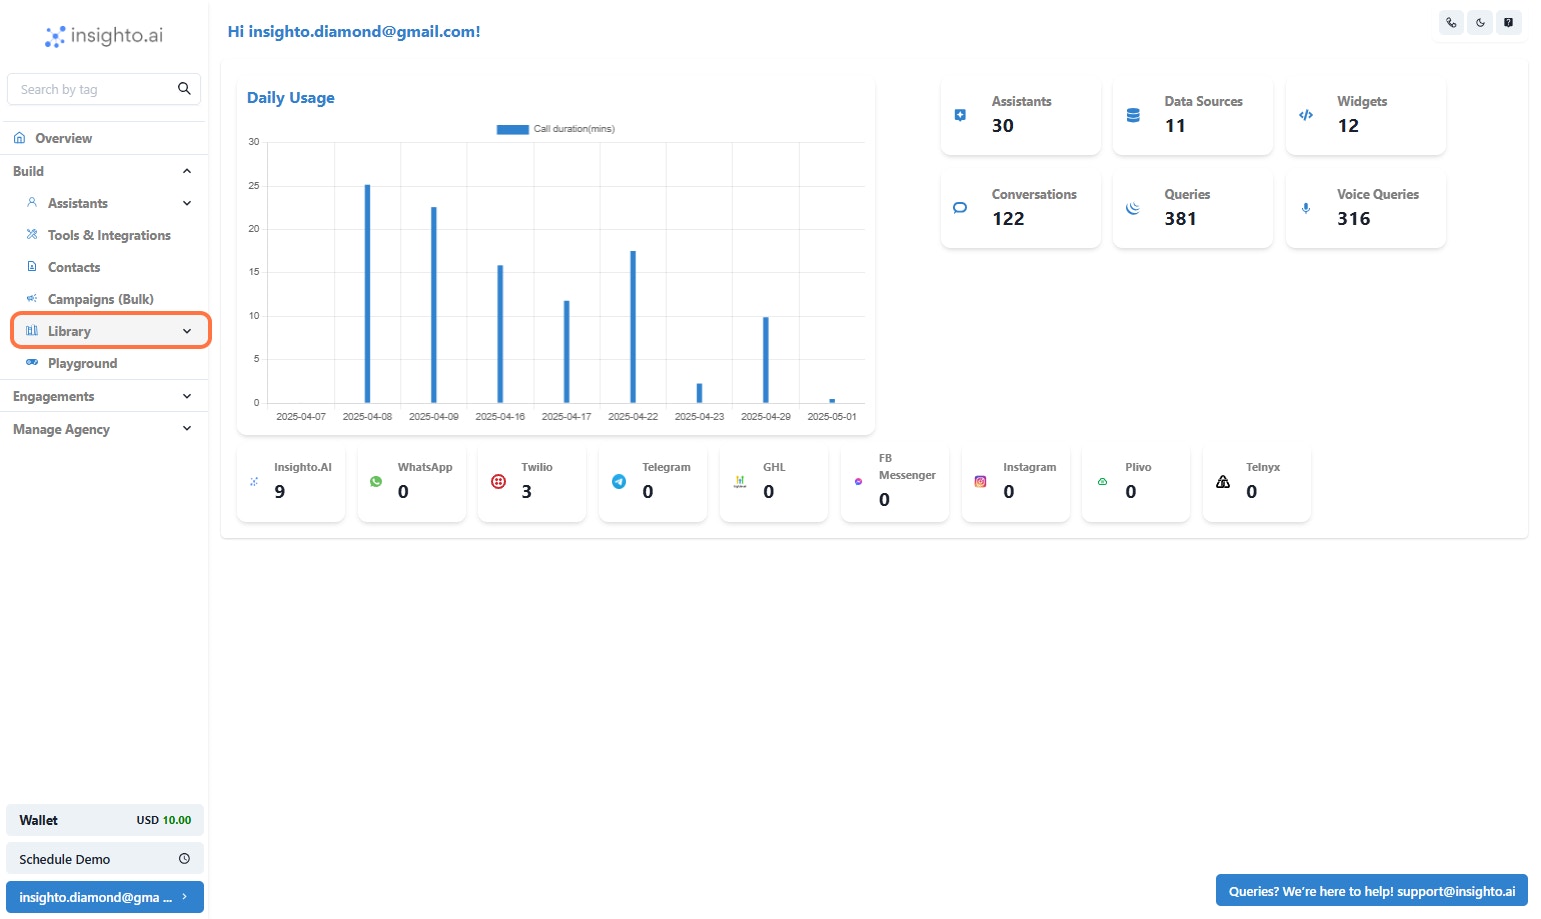
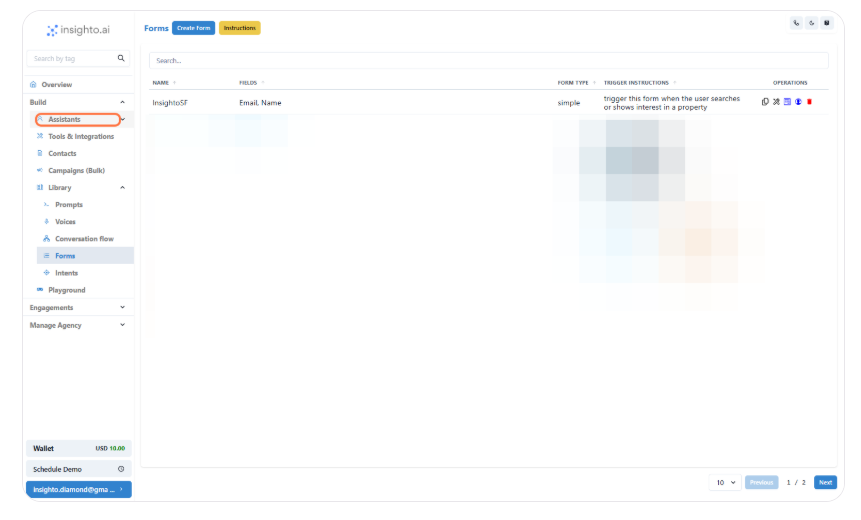
- Navigate to the Library
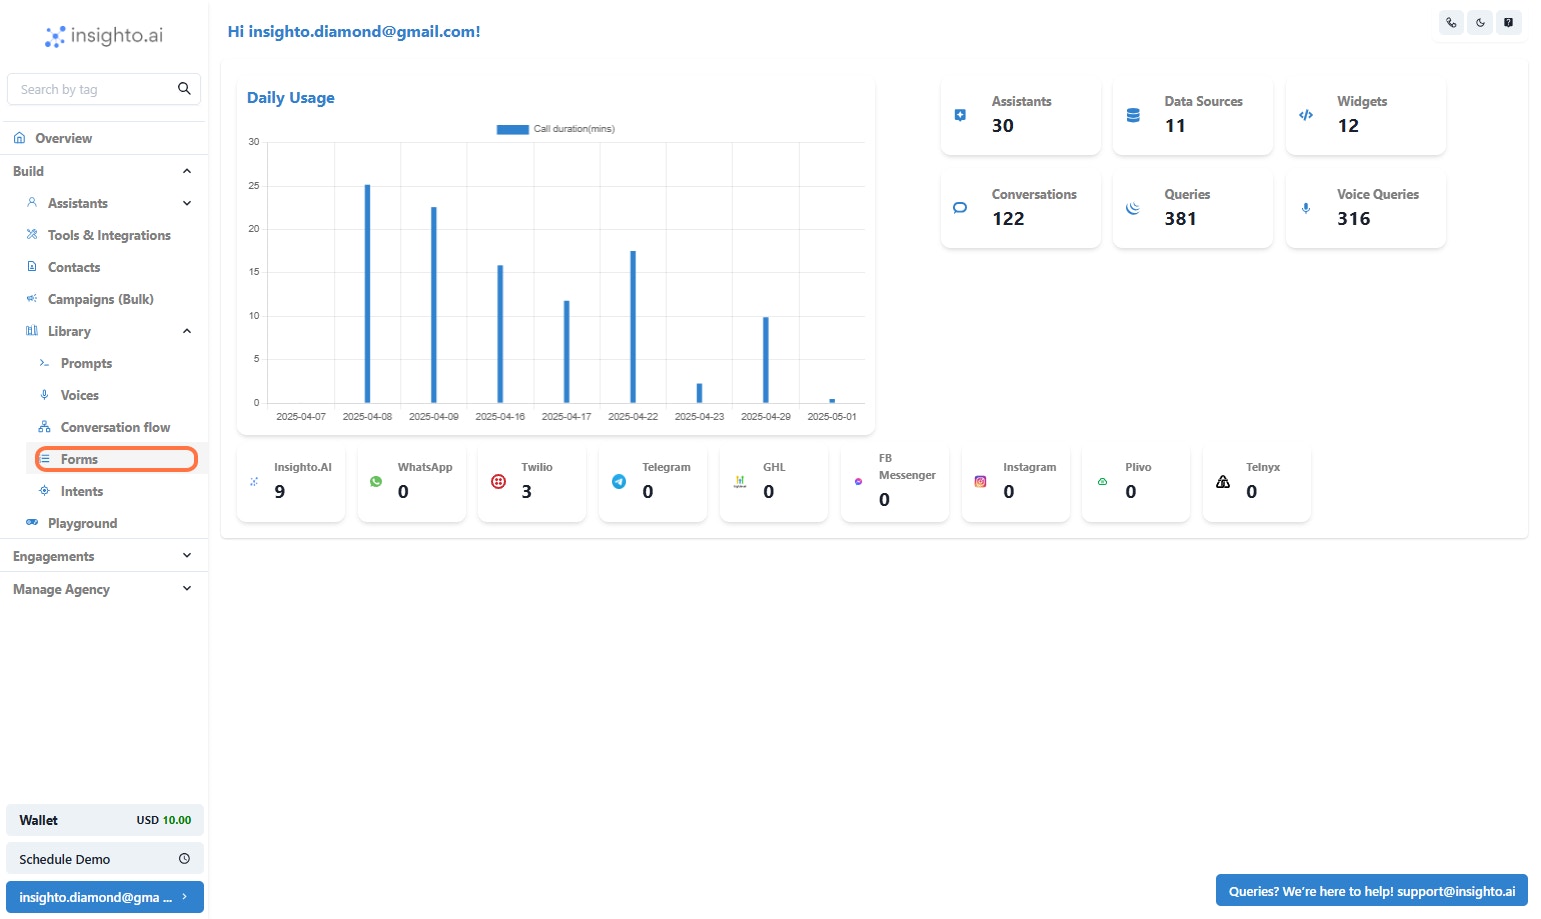
- Click on Forms
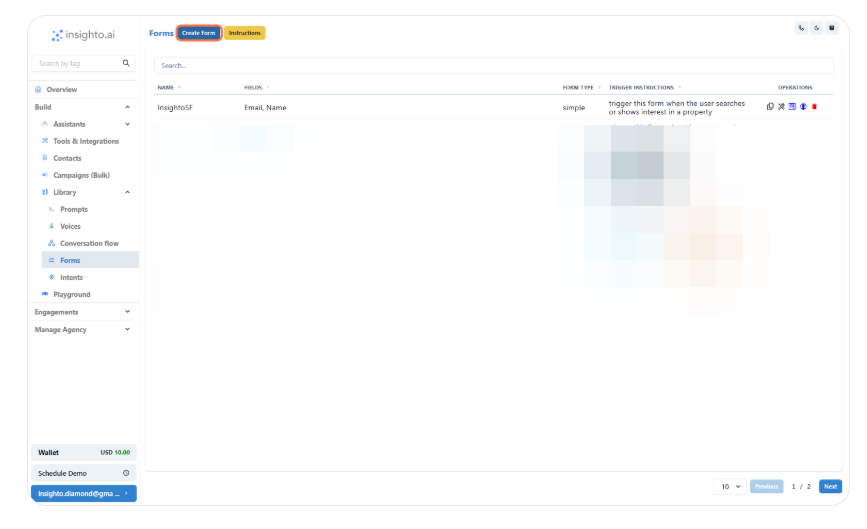
- Click on Create Form
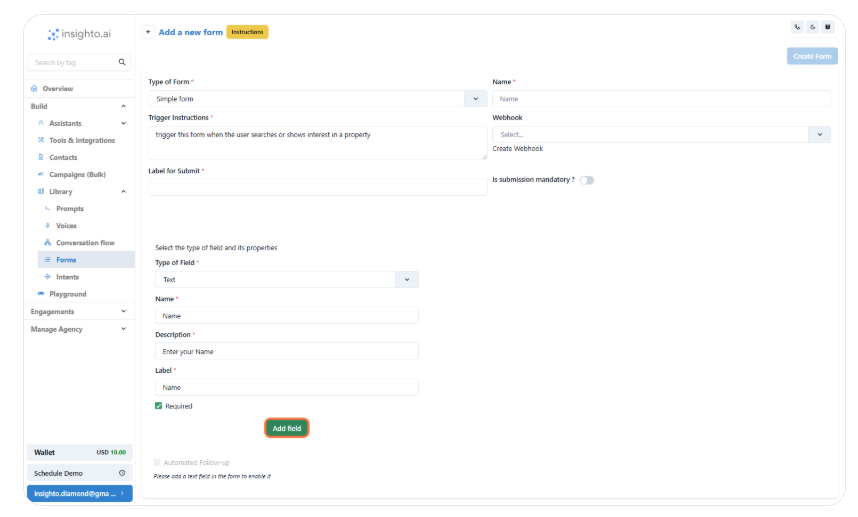
- Define Basic Form Details

- Add a Text Field to Capture User Name
- Name: Used internally to identify the field. Avoid spaces. Use formats like
FullNameorfull_name. - Description: A short helper text to guide the user on what to enter in this field.
- Label: This is the visible field name on the form. You can use spaces here, like Full Name, for better readability.
- Required: Enable this checkbox if you want to make this field mandatory for form submission.
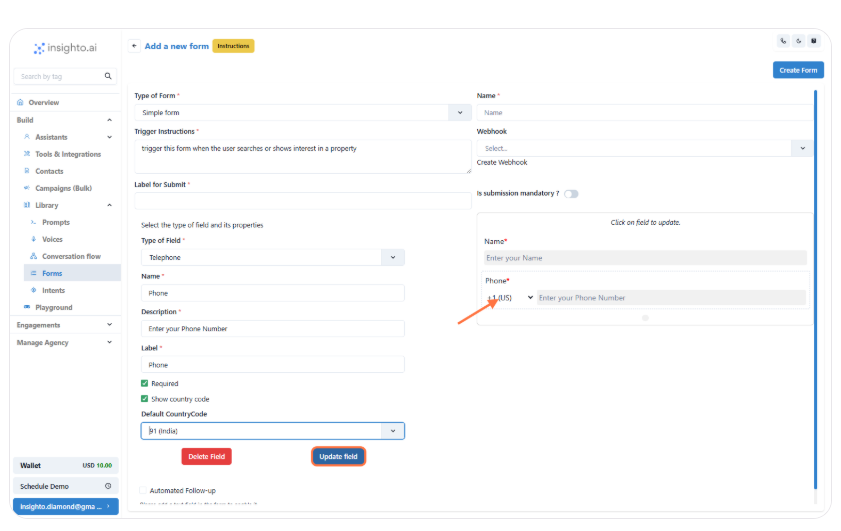
- Add a Phone Number Field
- Name: Internal reference for the field (e.g.,
PhoneNumber). Avoid using spaces. - Description: Text to guide the user (e.g., “Enter your phone number including area code”).
- Label: The visible field name shown to users (e.g., Phone Number).
- Required: Check this box if the phone number must be provided before form submission.
- Show Country Code: Enable this checkbox to allow users to select their country code.
- Default Country Code: Set a default country code to prefill the field (e.g.,
+1for the US).

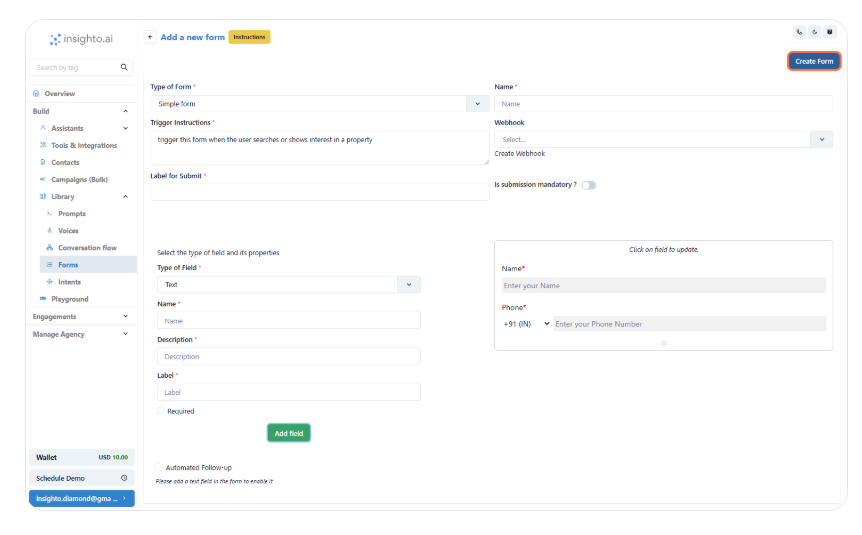
- Edit or Delete a Form Field
- Hover over the field and click on it.
- In the left panel, choose Update to edit or Delete to remove the field.
- Make necessary changes and save, or confirm deletion.
- Click on Create Form
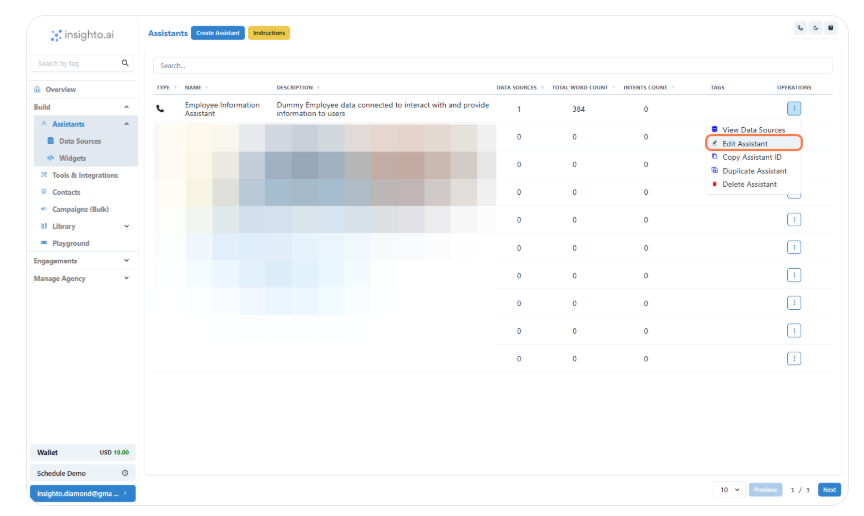
- Go to Assistants
- Click on Options
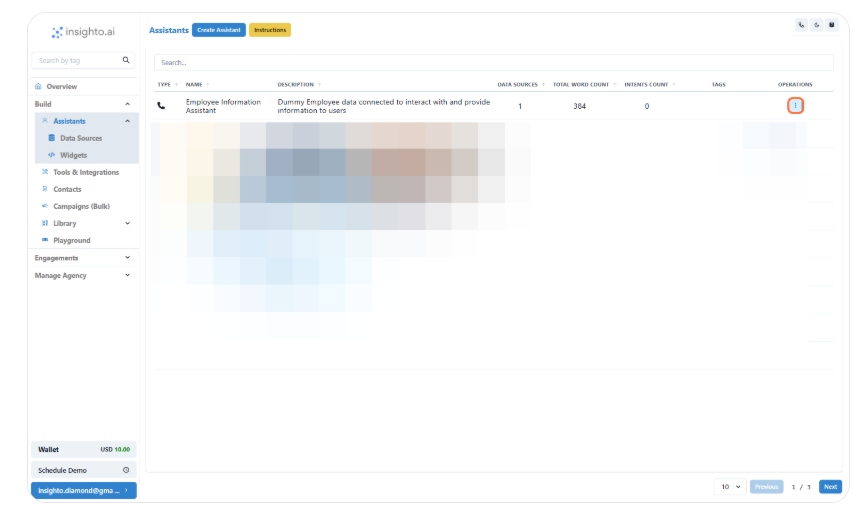
- Click on Edit Assistant
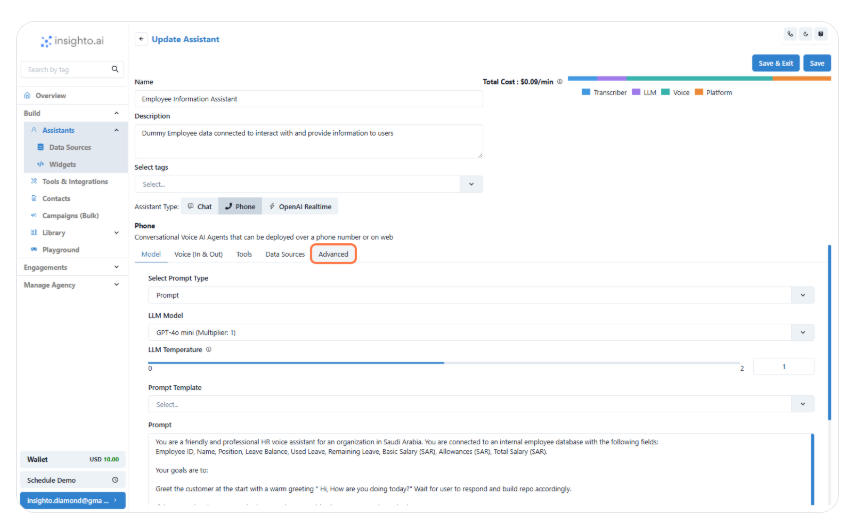
- Click on Advanced
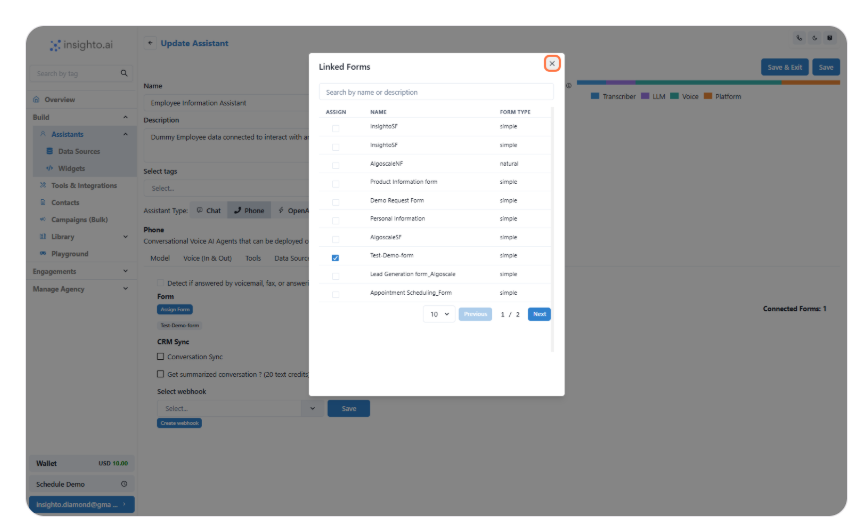
- Click on Assign Form
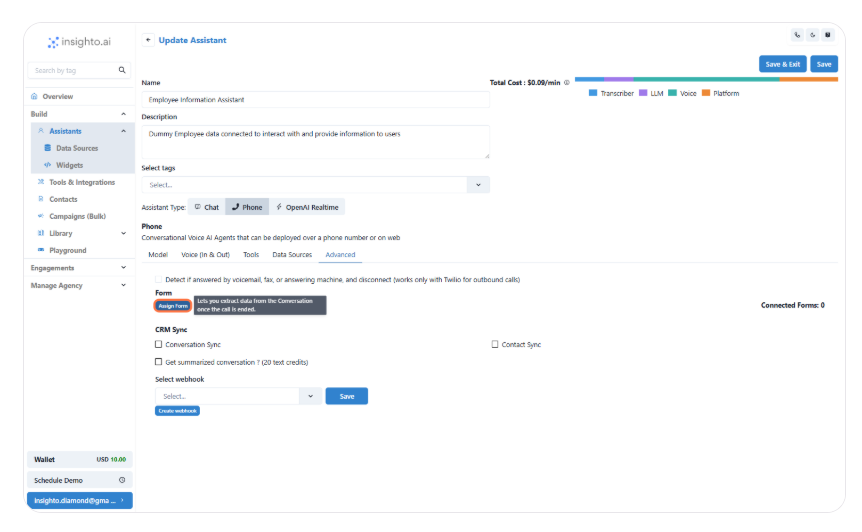
- Connect the Form